Hip Dips: Why You Have Them (+ 10-Minute Workout)
Understand what hip dips are, why they're a natural part of your anatomy, and discover a 10-minute workout to build muscle and make them less noticeable.

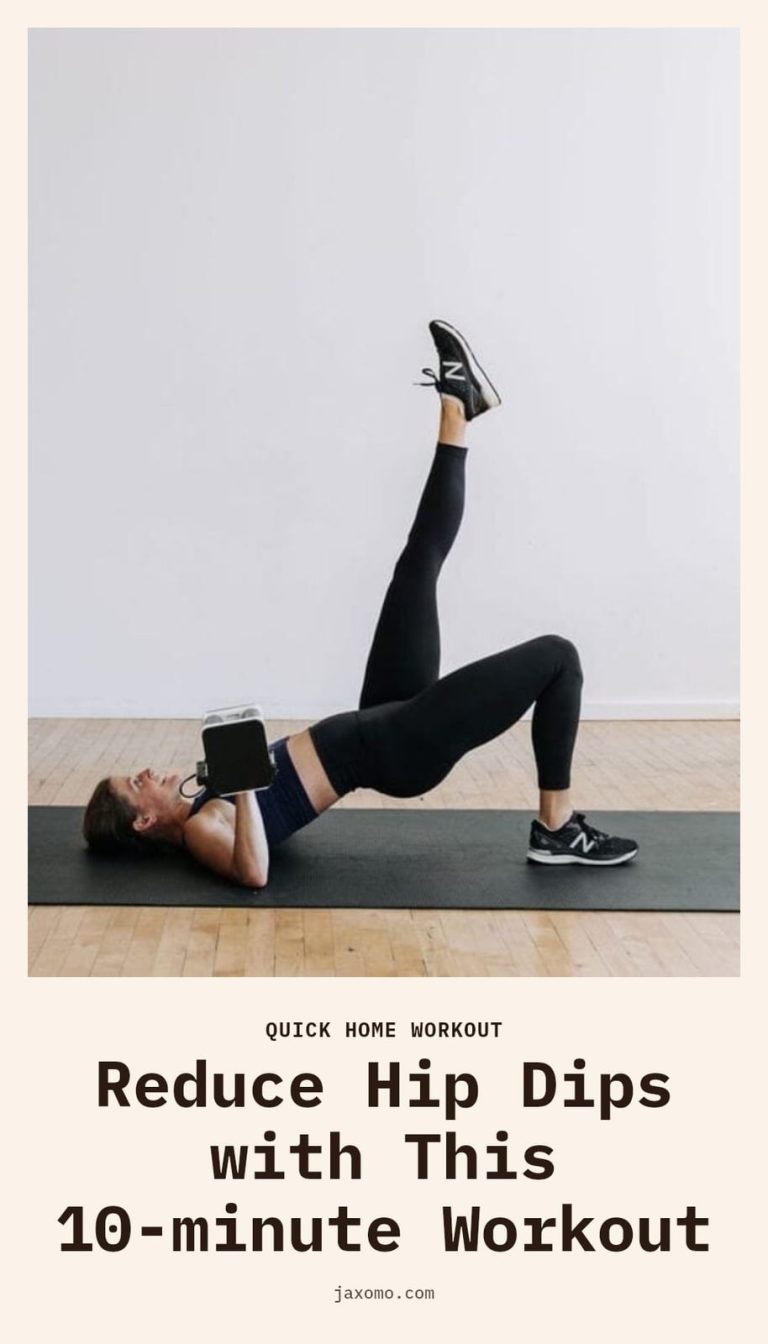
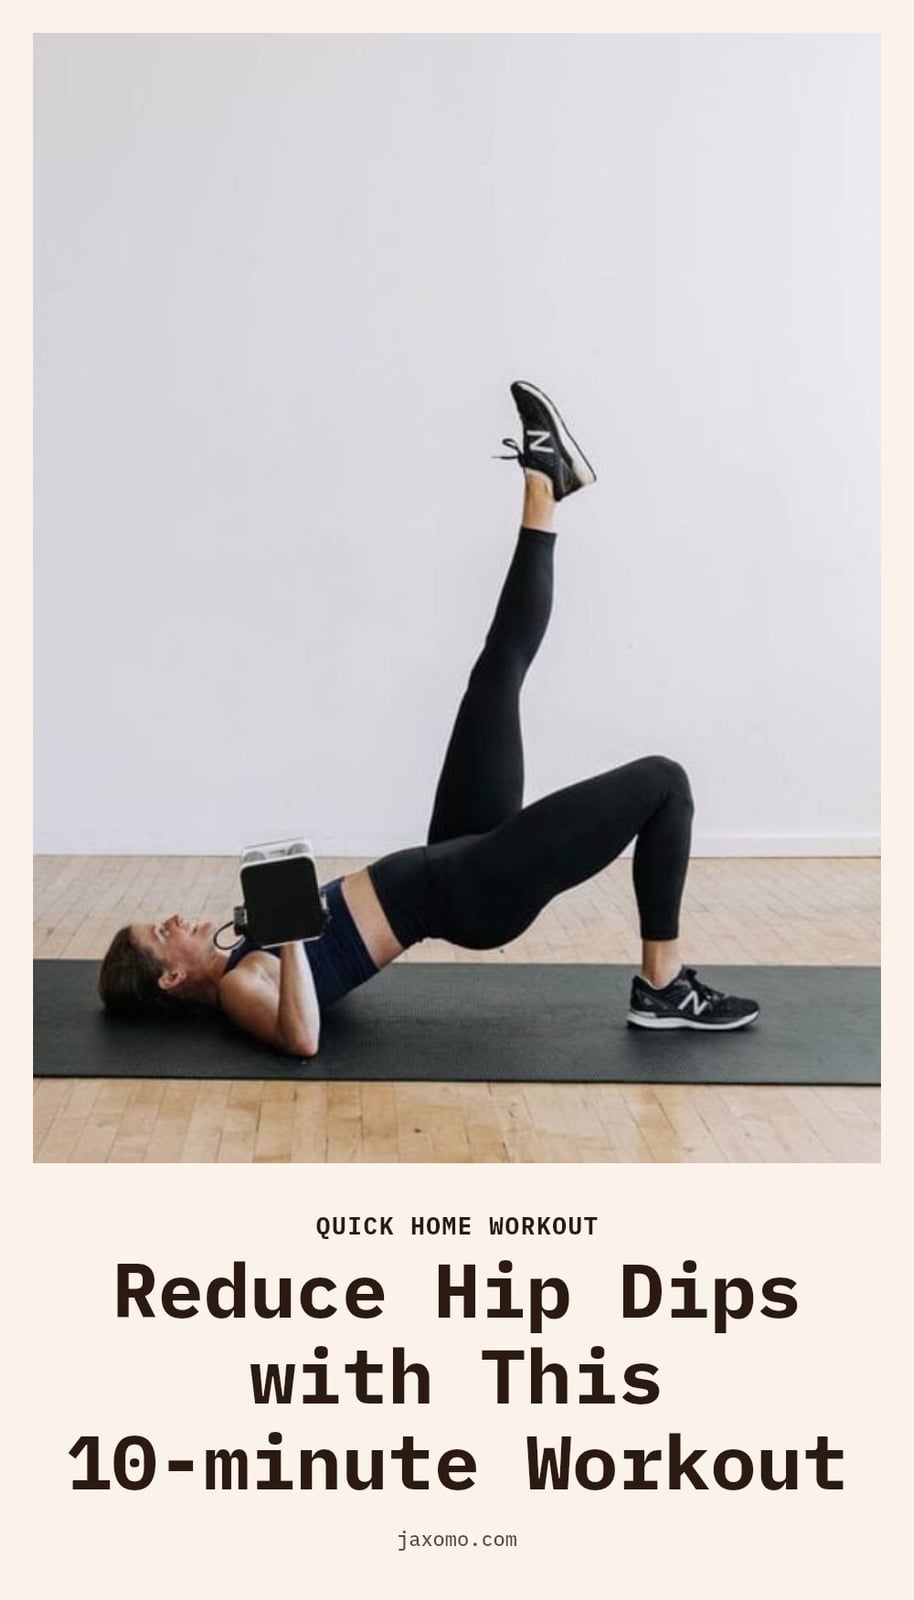
If you’ve ever noticed a natural inward curve on the sides of your hips just below your hip bone, you’re not alone. That’s what many people call hip dips, and they’re a completely normal part of your body’s anatomy. In this article, I’ll walk you through what hip dips actually are, why you have them, and a simple 10-minute workout that can help strengthen the muscles around that area.
Key Takeaways
- Hip dips are natural indentations caused by your pelvic bone structure, not by your fitness level.
- You cannot completely eliminate hip dips through exercise, but you can build muscle to make them less noticeable.
- Exercises targeting the gluteus medius and minimus, like clamshells and side leg raises, are most effective.
- Consistent workouts 3-4 times per week may show visible changes in 6-12 weeks.
What Exactly Are Hip Dips?
Hip dips are natural indentations on the outer thigh, below the hip bone and above the thigh bone. They are also known as trochanteric depressions. This is a normal anatomical feature, not a flaw or sign of poor health. Your pelvic structure and genetics determine how prominent they are.
1. Warm-Up: Leg Swings
Stand tall and hold onto a wall or chair for balance. Swing one leg forward and backward in a controlled motion, gradually increasing your range of motion. This movement preps your hip joints and activates the surrounding muscles.
- Sets and reps: 10-15 swings per leg, about 1 minute total
- Form cue: Keep your upper body still and avoid leaning
- Make it easier or harder: Hold the support with both hands for stability or release one hand for a balance challenge
2. Clamshells
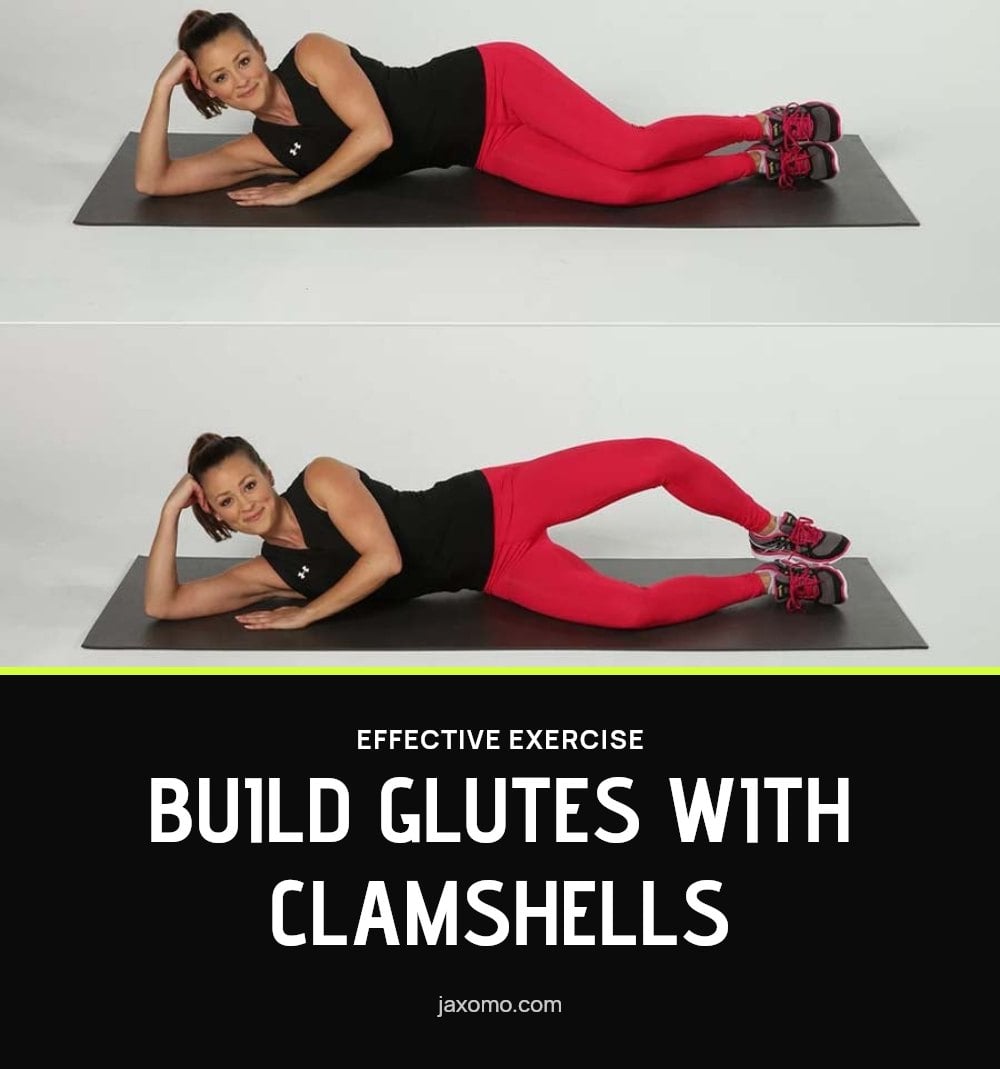
Lie on your side with knees bent at a 45-degree angle and hips stacked. Keeping your feet together, lift your top knee toward the ceiling while engaging your glutes. This targets the gluteus medius, a key muscle for hip appearance.
- Sets and reps: 3 sets of 12-15 repetitions per side
- Form cue: Don’t let your hips roll back; keep them stacked
- Make it easier or harder: Perform without a band, or add a resistance band around your thighs for extra challenge
3. Side-Lying Leg Raises
Lie on your side with legs extended and stacked, resting on your forearm. Keeping your top leg straight and foot flexed, slowly raise it toward the ceiling. Control the movement both up and down to maximize muscle engagement.
- Sets and reps: 3 sets of 12-15 repetitions per side
- Form cue: Keep your hips stacked and avoid tilting forward
- Make it easier or harder: Bend your bottom leg for stability, or add an ankle weight for more resistance
4. Glute Bridges
Lie on your back with knees bent, feet flat on the floor hip-width apart. Engage your core and glutes, lifting your hips off the floor until your body forms a straight line from shoulders to knees.
- Sets and reps: 3 sets of 15-20 repetitions.
- Form cue: Squeeze your glutes at the top of the movement for maximum activation.
- Make it easier or harder: Place your feet closer to your glutes for more difficulty, or keep them farther out for less.
5. Curtsy Lunges
Stand with feet hip-width apart. Step your right leg behind your left, crossing it over and bending both knees as if curtsying. Keep your torso upright and your front knee aligned over your ankle.
- Sets and reps: 3 sets of 10-12 repetitions per leg.
- Form cue: Your front knee should not extend past your toes.
- Make it easier or harder: Use a wall for balance if needed, or hold dumbbells for added resistance.
6. Fire Hydrants
Start on all fours, hands directly under shoulders and knees under hips. Keeping your knee bent at 90 degrees, lift one leg out to the side, like a dog at a fire hydrant, without shifting your hips.
- Sets and reps: 3 sets of 12-15 repetitions per side.
- Form cue: Keep your core engaged and avoid rotating your hips.
- Make it easier or harder: Perform without a band, or add a resistance band around your thighs for extra challenge.
7. Donkey Kicks
Start on all fours, hands directly under shoulders and knees under hips. Keeping your knee bent at 90 degrees, kick one foot up toward the ceiling, squeezing your glute at the top.
- Sets and reps: 3 sets of 12-15 repetitions per side.
- Form cue: Control the movement both up and down, avoiding any swinging.
- Make it easier or harder: Keep your knee bent at a smaller angle for less range, or add ankle weights for more resistance.
8. Cool-Down: Figure Four Stretch
Lie on your back with knees bent and feet flat on the floor. Cross one ankle over the opposite knee, forming a figure four shape. Gently pull the bottom thigh toward your chest until you feel a stretch in your glute and outer hip.
- Time: Hold for 30 seconds per side.
- Form cue: Keep your lower back pressed into the mat.
- Make it easier: Pull less deeply if the stretch feels too intense.
Why Do I Have Hip Dips?
The primary cause of hip dips is the structure of your pelvis, specifically the width of your hip bones and the position of the greater trochanter (the top of your thigh bone). This skeletal shape is determined by genetics, so some people naturally have more prominent indentations than others.
Your body fat and muscle distribution also play a role. If you carry less fat or muscle directly over that area, the dip may appear deeper. Conversely, more muscle or fat in the surrounding regions can make it less noticeable.
Hip dips are a normal anatomical feature, not a sign of poor health or fitness. They are simply part of your unique bone structure.
Can You Get Rid of Hip Dips?
It is not possible to completely eliminate hip dips through diet or exercise, because they are a structural feature of your pelvis. However, you can build muscle in the surrounding areas to make them appear less pronounced.
Exercises that target the gluteus medius, gluteus minimus, and tensor fasciae latae (TFL), like side leg raises, clamshells, and curtsy lunges, can help fill out the outer glutes. Consistent strength training 3-4 times per week may show visible changes in muscle fullness over 6-12 weeks.
Weight loss alone will not remove hip dips and may actually make them more noticeable if fat is lost from the surrounding area. Focus on building muscle and embracing your natural shape.
Frequently Asked Questions
Are hip dips a sign of being unhealthy?
No, hip dips are not a sign of poor health or being unfit. They are a natural anatomical feature determined by the shape of your pelvis and your genetic makeup. Many healthy, active people have prominent hip dips.
Can diet changes reduce hip dips?
Diet alone cannot eliminate hip dips because they are structural, not caused by excess fat. Weight loss might even make them more noticeable if fat is lost from the area around the hips. A balanced diet supports muscle growth, but it won’t change your bone structure.
How long does it take to see results from hip dip exercises?
With consistent exercise targeting the glutes and outer thighs, performed 3-4 times per week, you may notice changes in muscle definition and fullness in 6 to 12 weeks. Keep in mind that complete elimination of hip dips is not possible, but many people see a difference in that timeframe.
Is surgery an option for hip dips?
Some cosmetic procedures, such as fat grafting or implants, can alter the appearance of hip dips. However, these come with risks and limitations, and results vary. It’s important to consult with a medical professional and fully understand the potential downsides before considering any surgical option.
Final Thoughts
My tip: Stick with this routine for at least a few months and focus on how your strength and confidence grow, not just the mirror. Realistic results take time, and your body’s unique shape is something to appreciate. Whether your hip dips soften or stay as they are, you’re building a stronger, healthier foundation for yourself.
This article provides general information for educational purposes and is not a substitute for professional medical or fitness advice. Before starting any new exercise program or making changes to your health routine, consult with a doctor, physical therapist, or certified fitness professional, especially if you have pre-existing conditions or concerns.