Homemade Lotion with Shea Butter: Easy Recipe
Learn how to make your own luxurious shea butter lotion at home with this easy recipe. Customize ingredients for natural, glowing skin.

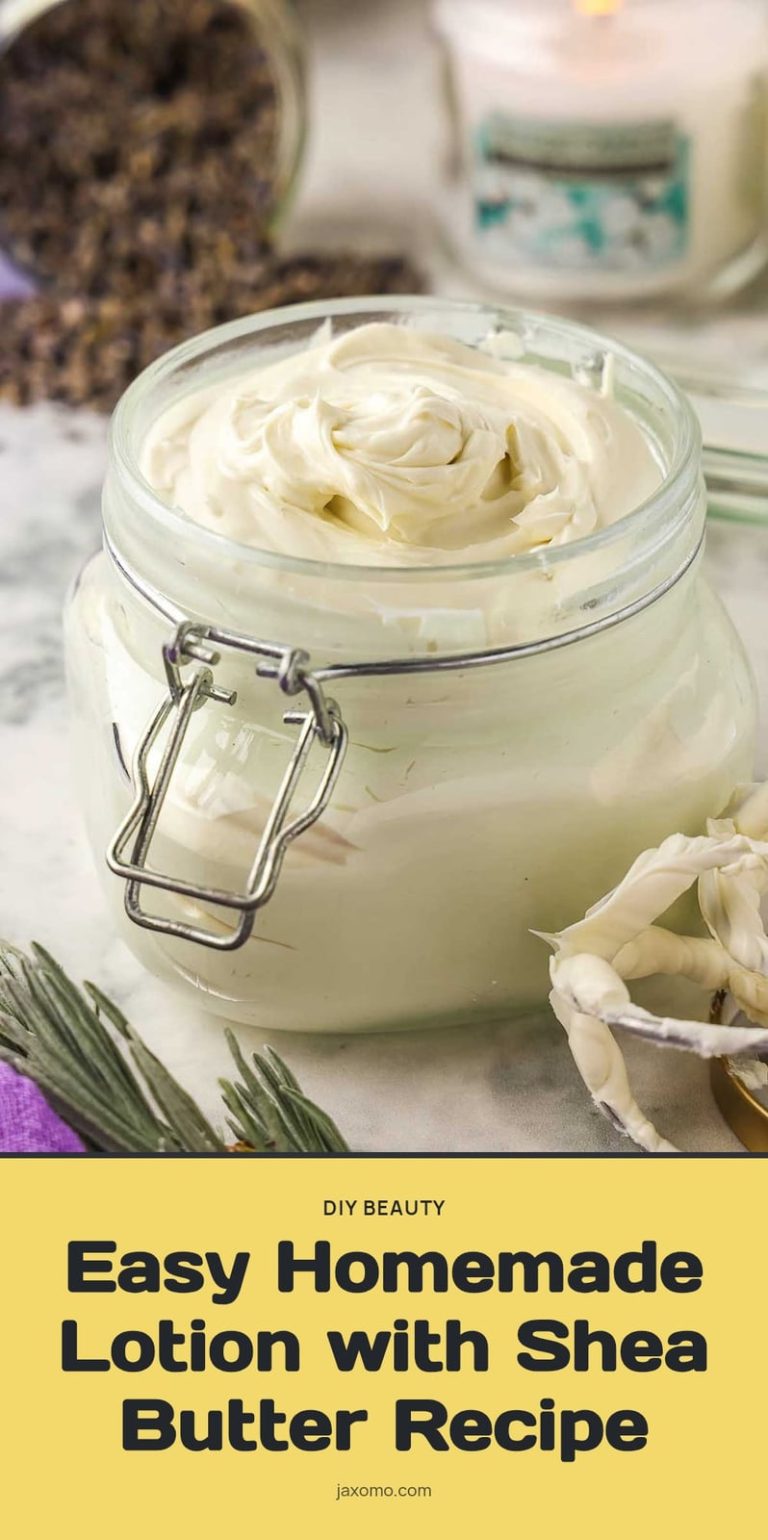
If you have ever wanted a moisturizer that is exactly right for your skin, without mystery ingredients, making your own shea butter lotion is the way to go. This recipe walks you through combining shea butter with oils and water using an emulsifier to create a creamy, stable lotion that won’t separate. I will cover the simple steps, essential safety tips, and how to customize it for your skin type.
Key Takeaways
- Always use a broad-spectrum preservative if your lotion contains water to prevent spoilage.
- Heat the oil and water phases to similar temperatures (160-170°F) before combining for proper emulsification.
- Weigh every ingredient with a digital scale for accurate ratios that keep the emulsion stable.
- Sanitize all tools and containers with 70% isopropyl alcohol before you start.
- Store finished lotion in airtight containers away from direct sunlight and heat for a longer shelf life.
Why This Homemade Shea Butter Lotion Recipe Works
This recipe works because it balances shea butter, carrier oils, and water with an emulsifier to form a stable, creamy lotion that won’t separate. Shea butter delivers deep moisture with vitamins A, E, and F, while the carrier oils let you tailor the feel to your skin. The result is a smooth, effective moisturizer free of synthetic additives, and you can adjust it with essential oils or extra ingredients as your skin changes.
Your Simple Shea Butter Lotion Recipe
Base recipe (makes about 8 oz):
- 20% shea butter (rich in fatty acids and vitamins for deep moisturizing)
- 10% carrier oil (sweet almond, jojoba, or avocado)
- 5% emulsifying wax (blends oil and water phases seamlessly)
- 64% distilled water or hydrosol
- 1% broad-spectrum preservative (essential for safety and shelf life)
Optional (add during cool-down): 0.5-1% essential oil for fragrance, 0.5% vitamin E oil as antioxidant, or 2% glycerin for extra hydration. Always weigh ingredients by grams for accuracy.
Gather Your Tools and Ingredients
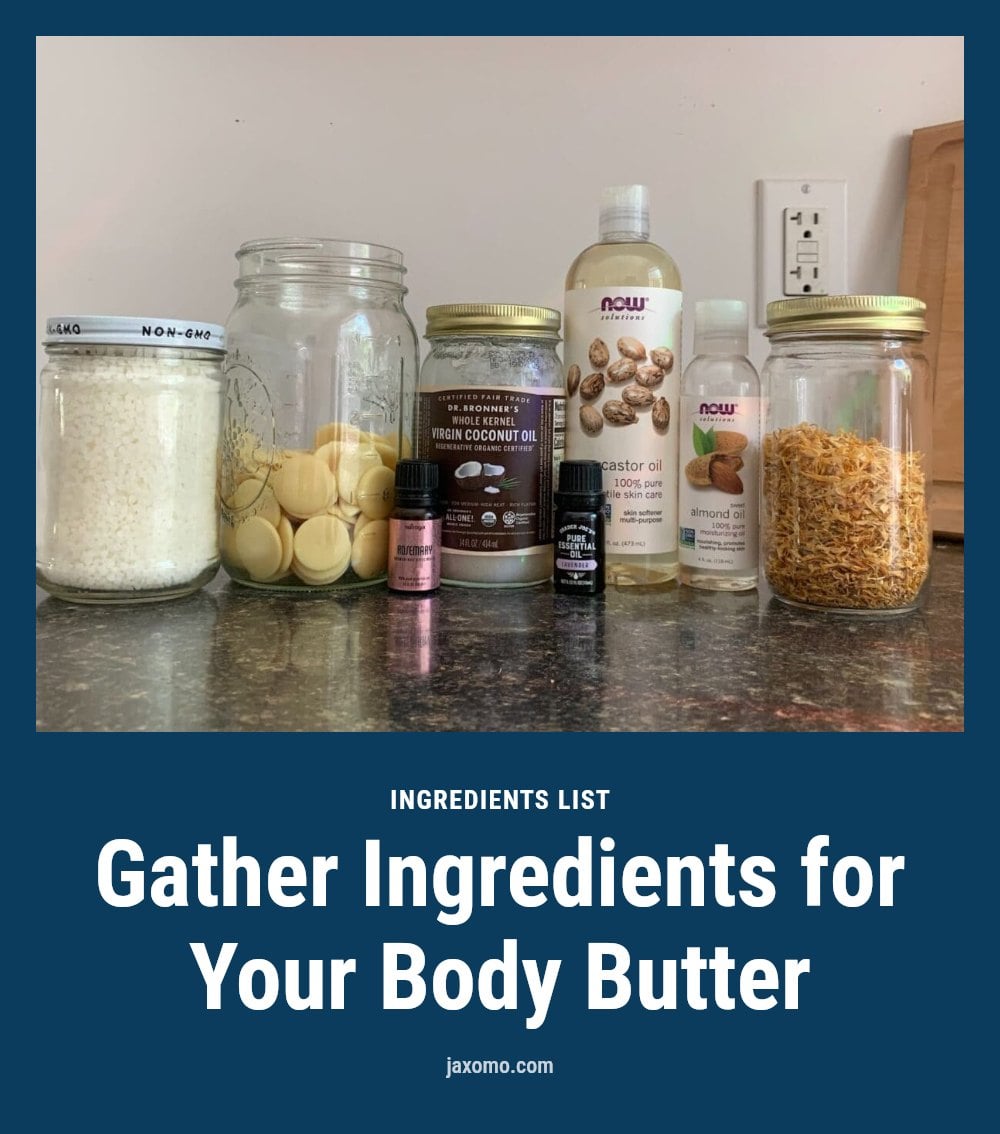
Before you start, sanitize everything, tools, containers, and your workspace, with isopropyl alcohol or a sanitizing solution.
- Digital kitchen scale: Essential for precise measurements by weight, not volume
- Heat-resistant containers: Glass beakers or Pyrex measuring cups for melting and mixing
- Immersion blender: Creates a smooth, emulsified lotion without air bubbles
- Thermometer: Candy or infrared type to monitor temperatures
- Spatulas: Silicone for scraping every bit of mixture
- Sterile storage containers: Pump bottles or jars, also sanitized
Step-by-Step: Crafting Your Shea Butter Lotion
- Sanitize all equipment: Wipe everything with 70% isopropyl alcohol and let it air-dry completely. Contamination is the fastest way to ruin a batch.
- Weigh ingredients separately: Measure shea butter, carrier oil, and emulsifying wax into one heat-resistant container (oil phase). Measure distilled water into another (water phase).
- Heat both phases to 160-170°F (70-75°C): Use a double boiler or microwave in short bursts. Check with a thermometer; similar temperatures are critical for emulsification.
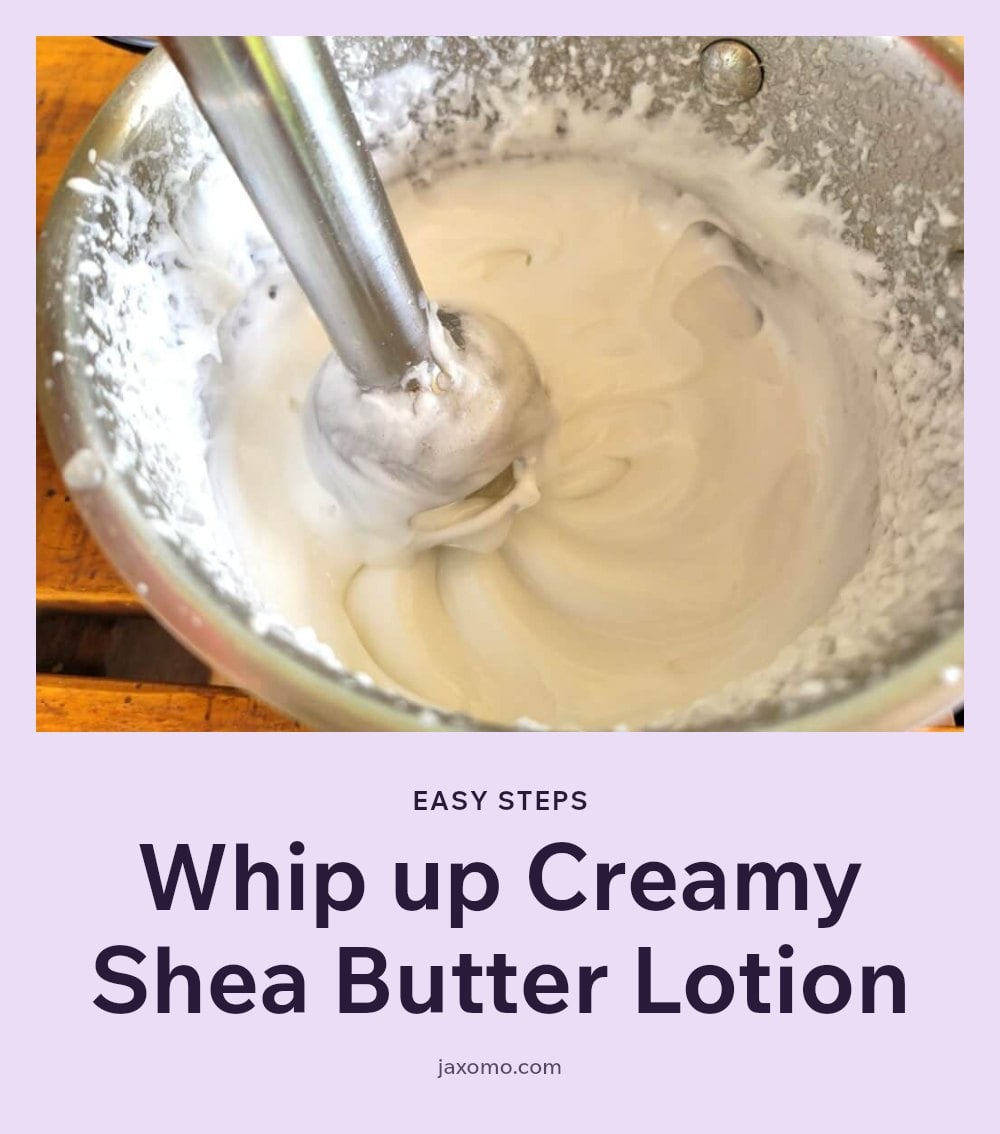
- Slowly combine while blending: Pour the oil phase into the water phase in a thin stream while blending with an immersion blender at low speed, then increase. This order helps prevent the emulsion from breaking.
- Blend continuously as it cools: Keep blending for 2-3 minutes as the mixture thickens. This prevents separation and ensures a creamy texture.
- Add preservative and optional ingredients at 104-113°F (40-45°C): Stir in the preservative first, then essential oils, vitamin E, or glycerin. Blend briefly to incorporate.
- Transfer to sterile containers: Pour into sanitized bottles or jars once the lotion has fully cooled to room temperature and set. Let it sit for a few hours before use.
Prefer to watch? WholeElise walks through the whole method in this 14-minute video. The how-to part starts at 2:43.
Top Tips for Perfect Homemade Lotion
Precision is Key: Always weigh your shea butter, oils, water, and emulsifier on a digital scale. Guessing by volume throws off the ratio and can break the emulsion.
Sanitize Everything: Wipe all bowls, beakers, spatulas, and containers with 70% isopropyl alcohol and let them air-dry. One speck of bacteria can spoil the whole batch.
Temperature Matters: Heat your oil phase and water phase to the same range, 160-170°F or 70-75°C, before combining. If one is cooler, the emulsion may not form.
Blend, Blend, Blend: Keep your immersion blender running as the mixture cools. This locks the emulsion into a smooth, creamy texture and stops separation later.
Patch Test: Dab a small amount of finished lotion on your inner arm and wait 24 hours. Even natural ingredients can cause reactions, especially with essential oils.
Common Mistakes to Avoid When Making Lotion
Skipping the Preservative: Water-based lotions need a broad-spectrum preservative to stop mold and bacteria. Without it, your lotion can spoil in days.
Incorrect Measurements: Measuring oils or water by volume (cups, tablespoons) is unreliable. Use a digital scale for every ingredient so the emulsion stays stable.
Uneven Temperatures: If your oil phase is 150°F and your water phase is 170°F, the emulsion may separate. Heat both to the same temperature before combining.
Insufficient Blending: A quick stir won’t cut it. You need to blend continuously as the lotion cools, or you risk a lumpy texture and separation.
Using Tap Water: Tap water contains minerals and microbes that can destabilize the lotion and introduce bacteria. Always use distilled water or a hydrosol.
Customizing Your Lotion: Variations and Additions
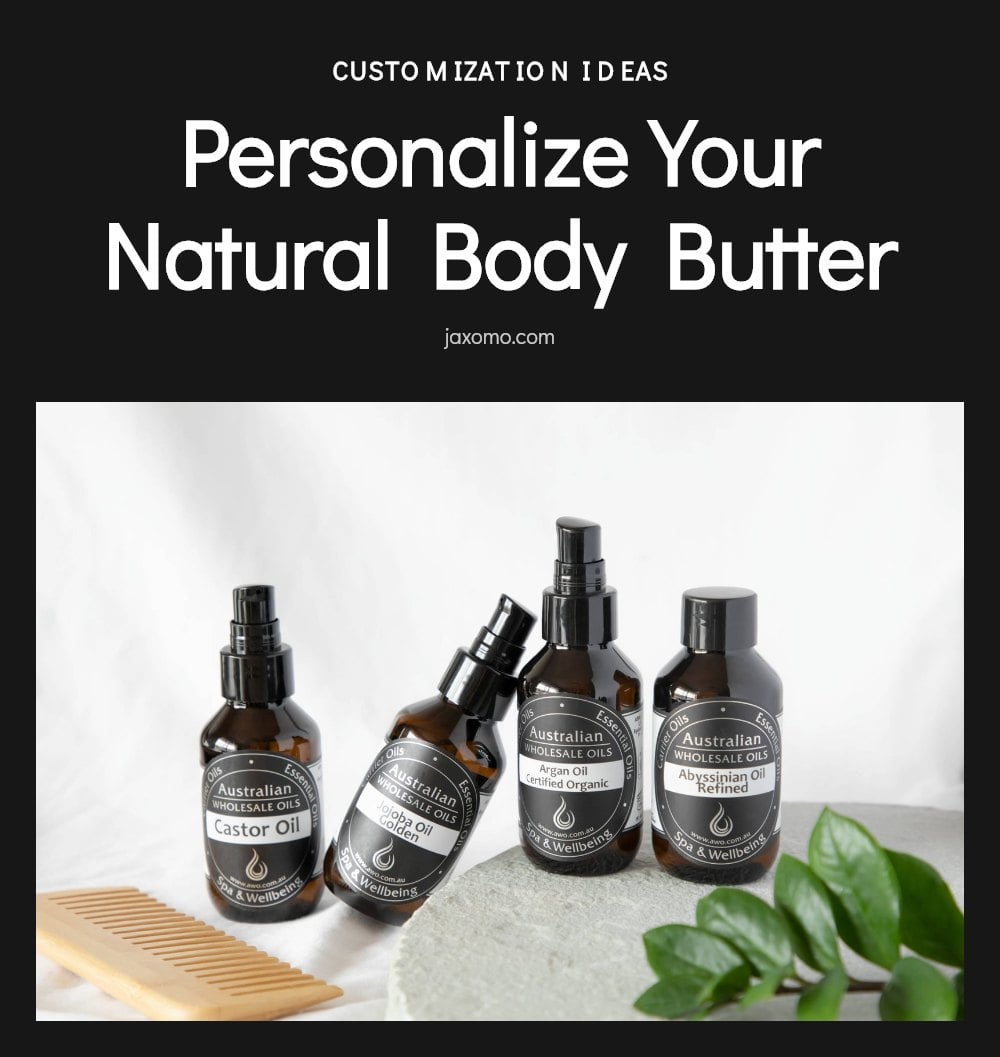
Swap Carrier Oils for Your Skin Type
Experiment with different carrier oils to tailor your lotion. Jojoba suits oily skin, sweet almond works well for normal skin, and avocado oil is ideal for dry skin. Each offers distinct fatty acids and absorption rates.
Add Essential Oils for Scent or Benefits
Add 10-15 drops of essential oil during the cool-down phase, when the mixture is between 104-113°F (40-45°C). Lavender soothes, tea tree targets blemishes, and chamomile calms sensitivity. Always research each oil’s safety, especially for pregnancy or medical conditions.
Boost Hydration With Humectants
Stir in 2-3% glycerin or panthenol during the cool-down phase. These humectants draw moisture into the skin and make the lotion feel lighter and more refreshing.
Storing Your Homemade Lotion Safely
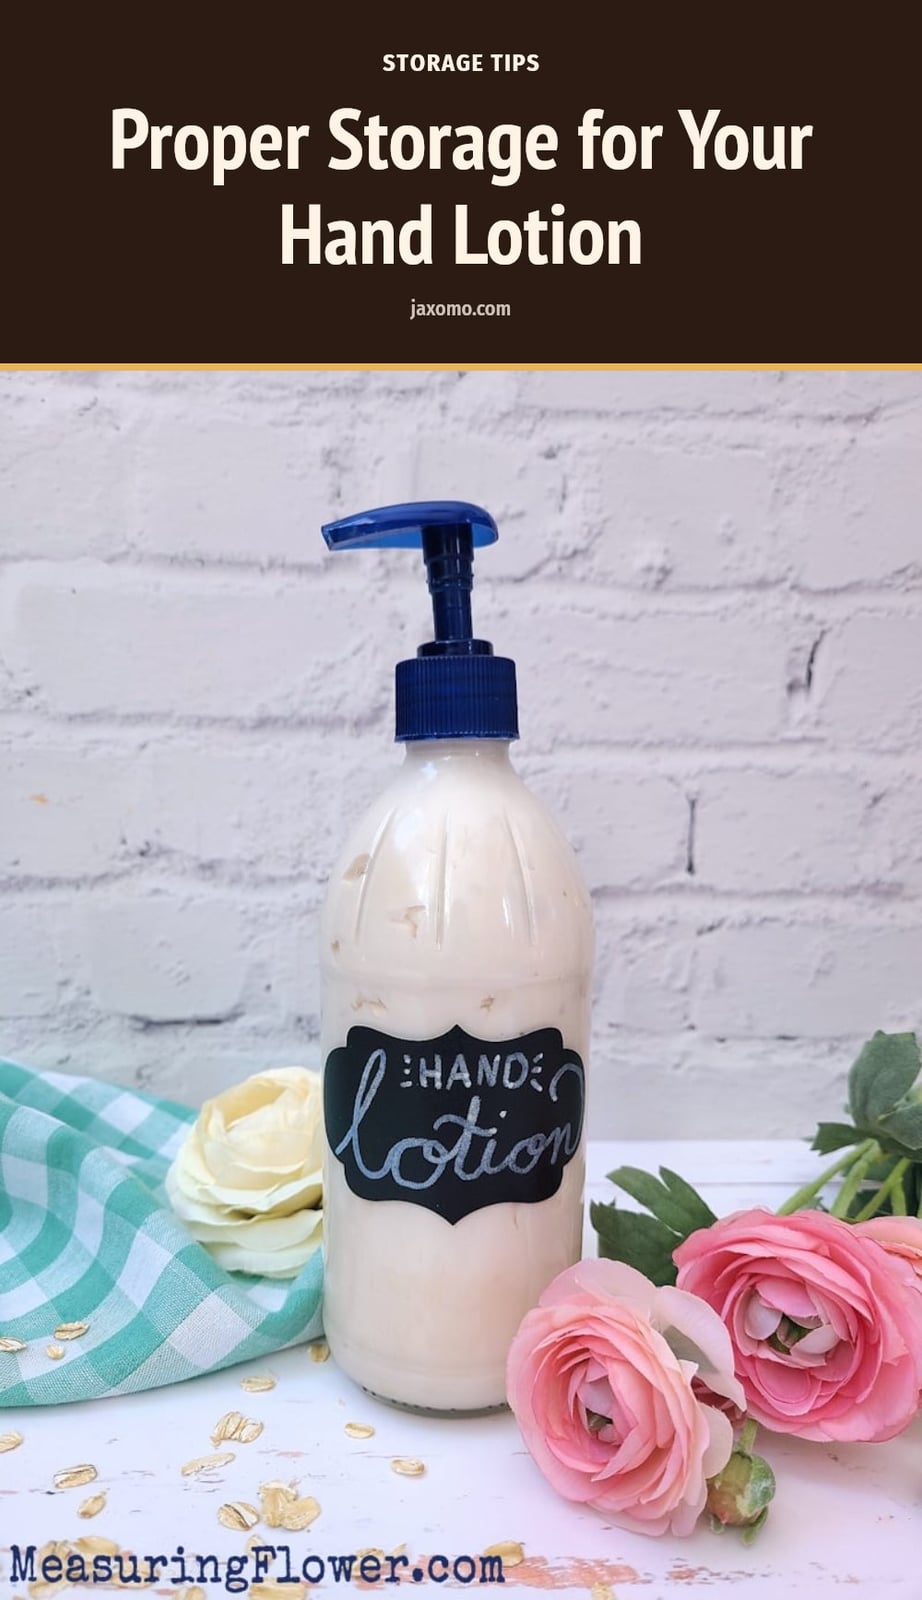
Transfer your lotion into clean, airtight jars or pump bottles. Pump containers reduce the chance of contamination from fingers.
Store the containers in a cool, dark cabinet away from direct sunlight and heat. Light and warmth break down oils and preservatives over time.
With proper preservation and storage, your lotion should stay good for 3-6 months. Discard it immediately if the smell, color, or texture changes, or if you see any mold.
Frequently Asked Questions
Can I make lotion without a preservative?
No, you should not skip the preservative if your lotion contains water. Water creates an environment where mold and bacteria can grow quickly, and a broad-spectrum preservative is essential to keep the lotion safe to use for more than a few days.
How long does homemade shea butter lotion last?
With proper preservation and storage in a cool, dark place, your homemade lotion can last 3 to 6 months. Without a preservative, it may spoil in days, so always check for changes in smell or texture.
What can I use instead of emulsifying wax?
Emulsifying wax is the most reliable option for blending oil and water into a stable lotion. Alternatives like BTMS-50 or Polawax work similarly, but you will need to adjust the percentage. For a beginner, stick with emulsifying wax to avoid separation issues.
Can I use tap water for my homemade lotion?
Tap water is not recommended because it can contain minerals and microbes that may spoil your lotion or affect its pH. Distilled water or a hydrosol is the better choice for a longer-lasting, stable product.
Why is my homemade lotion separating?
Separation usually happens when the oil and water phases are not heated to similar temperatures before combining, or when the emulsifier amount is off. Make sure both phases are around 160-170°F and blend thoroughly as the mixture cools.
Final Thoughts
For your first batch, stick with the base recipe using distilled water and emulsifying wax to get the technique down. Expect the lotion to take a few hours to fully cool and set, and if preserved correctly, it will last 3 to 6 months. Making your own lotion gives you total control over the ingredients, so you can feel good about what goes on your skin.
This information is for general educational purposes only and does not replace professional medical or dermatological advice. Always perform a patch test before using a new lotion on your skin, and consult a healthcare provider for persistent skin concerns.