Why You Need Heat Protectant for Healthy, Protected Hair
Discover why heat protectant is essential for healthy hair. Learn how it works, what to look for, and how to use it to prevent damage from styling tools.

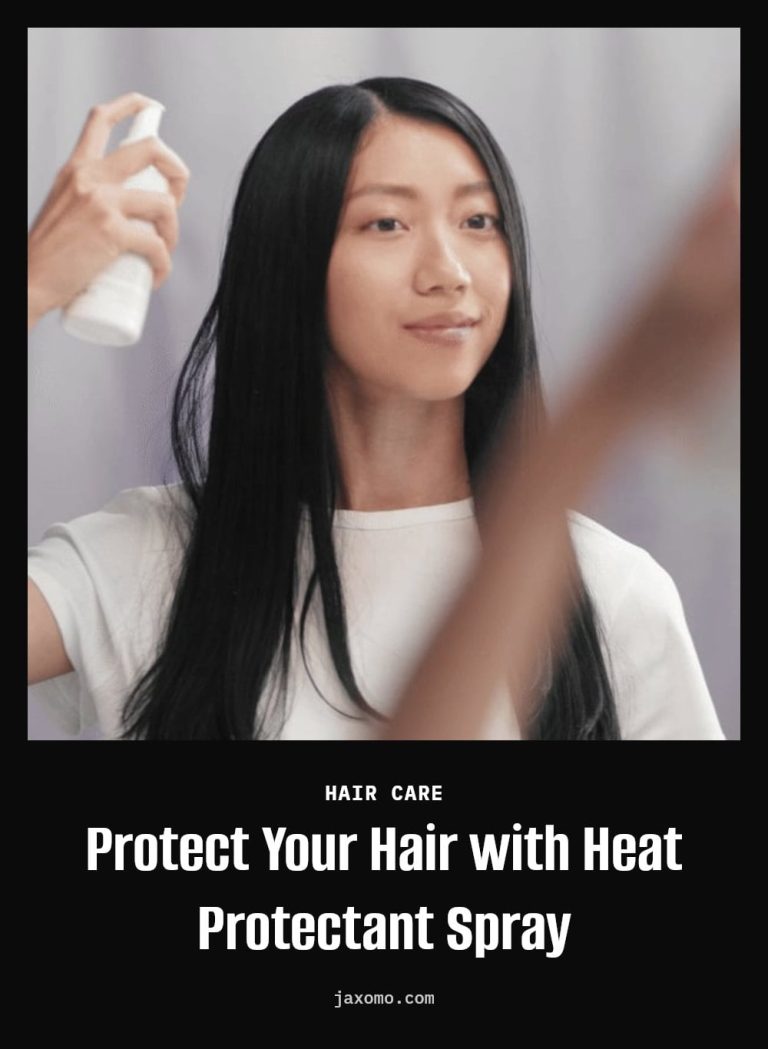
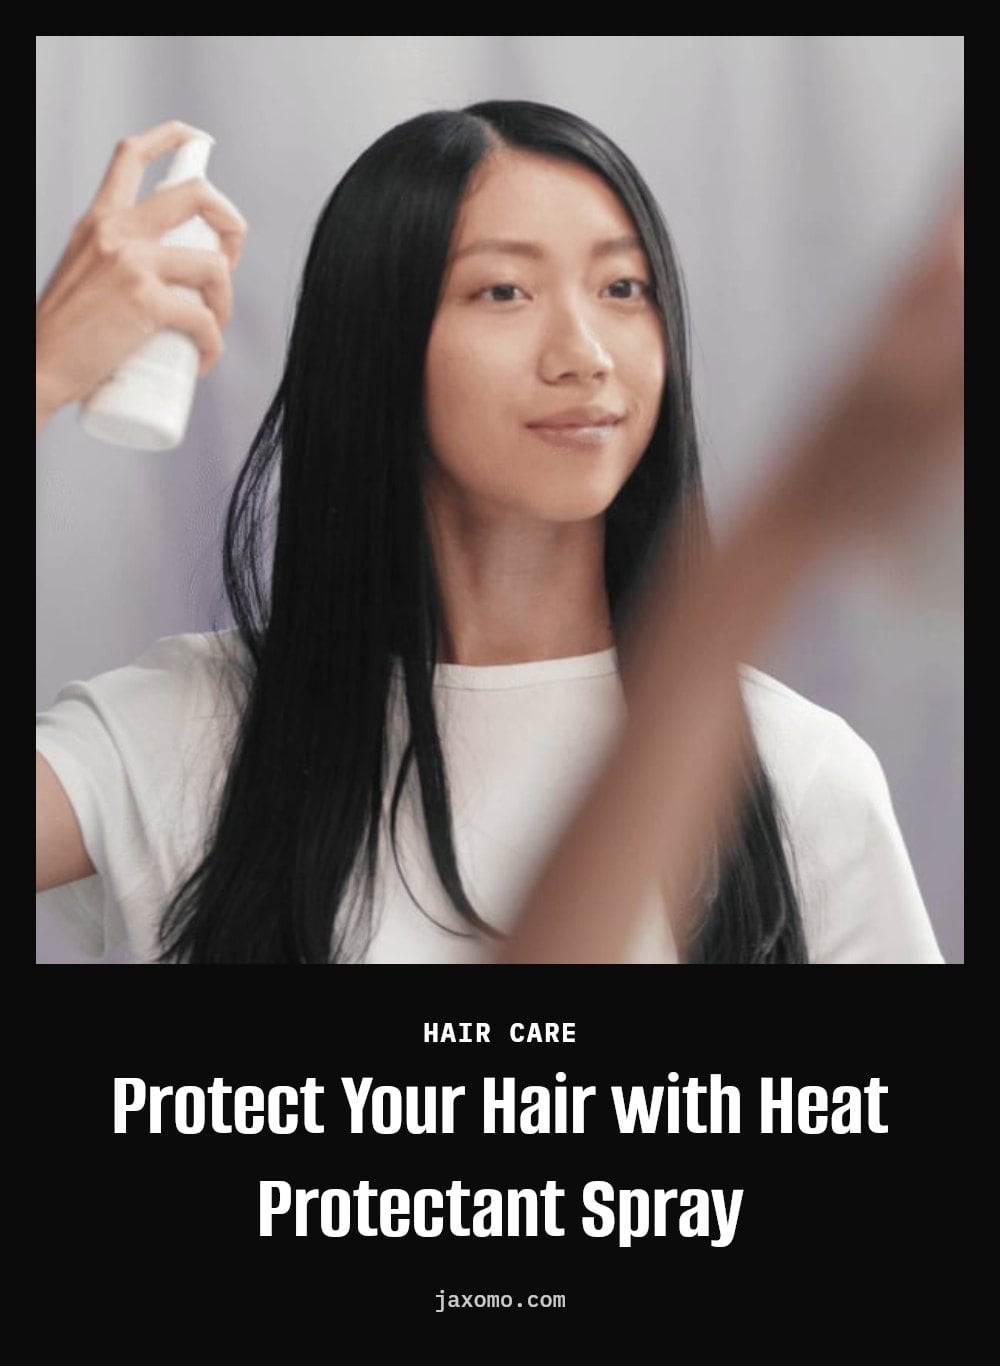
You already know heat styling can damage your hair, but you might be wondering exactly why heat protectant is the one product you shouldn’t skip. This article explains how heat protectant works to shield your strands, how to choose the right formula for your hair type, and the simple steps to apply it correctly so you can keep your hair healthy and strong.
Key Takeaways
- Heat protectant forms a barrier that slows heat conduction and prevents moisture loss.
- Always apply protectant from roots to ends before any heat styling, even quick touch-ups.
- Choose a spray for fine hair, a cream for dry or thick hair, or a serum for extra smoothness.
- Use the lowest effective heat setting on your tools to minimize cumulative damage.
- Consistent use over weeks or months leads to less breakage, more shine, and fewer split ends.
Why Heat Protectant Is Your Hair’s Best Friend
I never skip heat protectant before I style, and here’s why: it creates a thin barrier that shields each strand from those high temperatures. That barrier stops damage like breakage, frizz, and dullness before it starts. Use it every time, and your hair stays healthier, shinier, and keeps its color longer.
How Heat Styling Damages Your Hair (And How Protectant Helps)
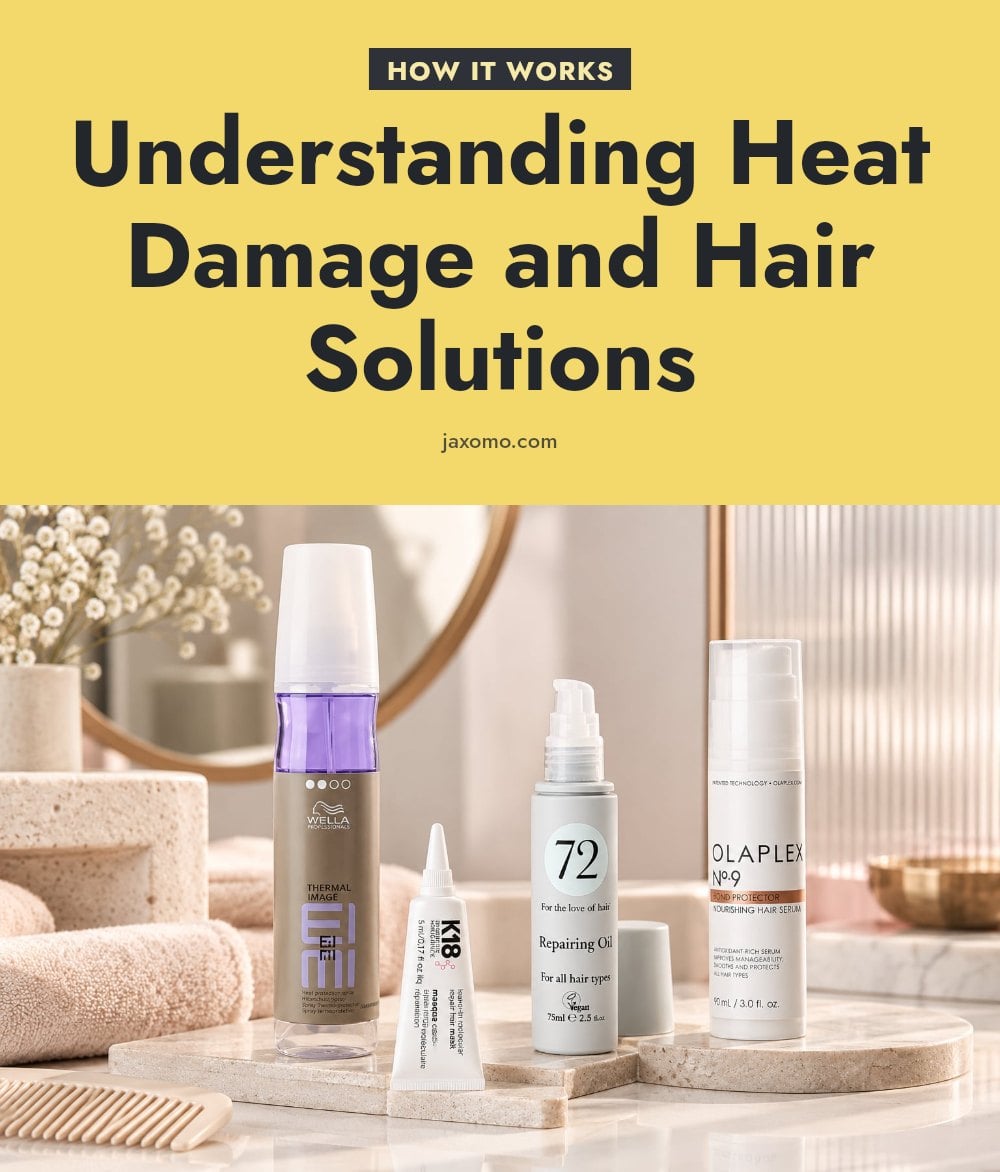
When you apply high heat without protection, the hair’s cuticle layer lifts and cracks. That’s what causes frizz and that dull, lifeless look. Worse, the heat can boil the moisture inside the hair, leading to structural damage that weakens the strand.
The keratin proteins in your hair can also denature under high heat, making it brittle and prone to breakage. That’s where heat protectant comes in.
How heat protectant helps
- Slows heat conduction: Ingredients like silicones and polymers slow down how fast heat transfers into the hair, giving it time to warm up evenly.
- Reduces hot spots: By distributing heat more evenly across the strand, it prevents localized damage that would otherwise weaken the hair.
The result is less moisture loss, fewer broken bonds, and hair that stays stronger through every styling session.
Picking the Right Heat Protectant for Your Hair
The right formula depends on your hair type and the tool you’re using. Here’s a quick breakdown:
- Sprays: Best for light hold and even coverage. Great for fine hair or quick touch-ups with a blow dryer.
- Creams: Add moisture and control frizz. Ideal for dry or curly hair that needs extra hydration before heat styling.
- Serums: Deliver intense shine and smoothing, especially for thicker or coarser hair. They often contain more silicones for a sleek finish.
Most formulas include conditioning agents and antioxidants to nourish while they protect, so pick the texture that feels right for your routine.
How to Properly Apply Heat Protectant for Maximum Protection
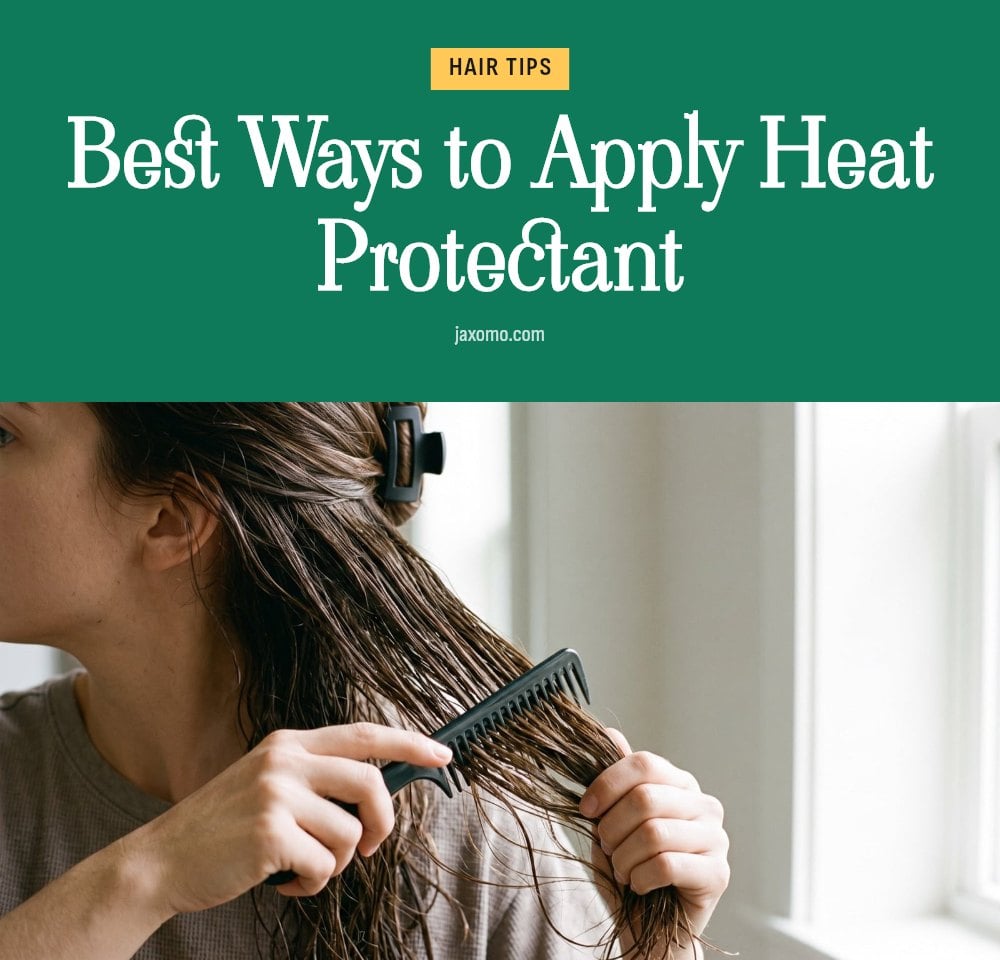
- Start with towel-dried, damp hair for blow-drying: Apply the protectant evenly from roots to ends before you pick up the dryer. This is non-negotiable for preventing heat damage during the first pass.
- Apply to dry hair for flat irons or curling irons: Spray or smooth the product onto completely dry sections. My tip: work in small sections so every strand gets covered.
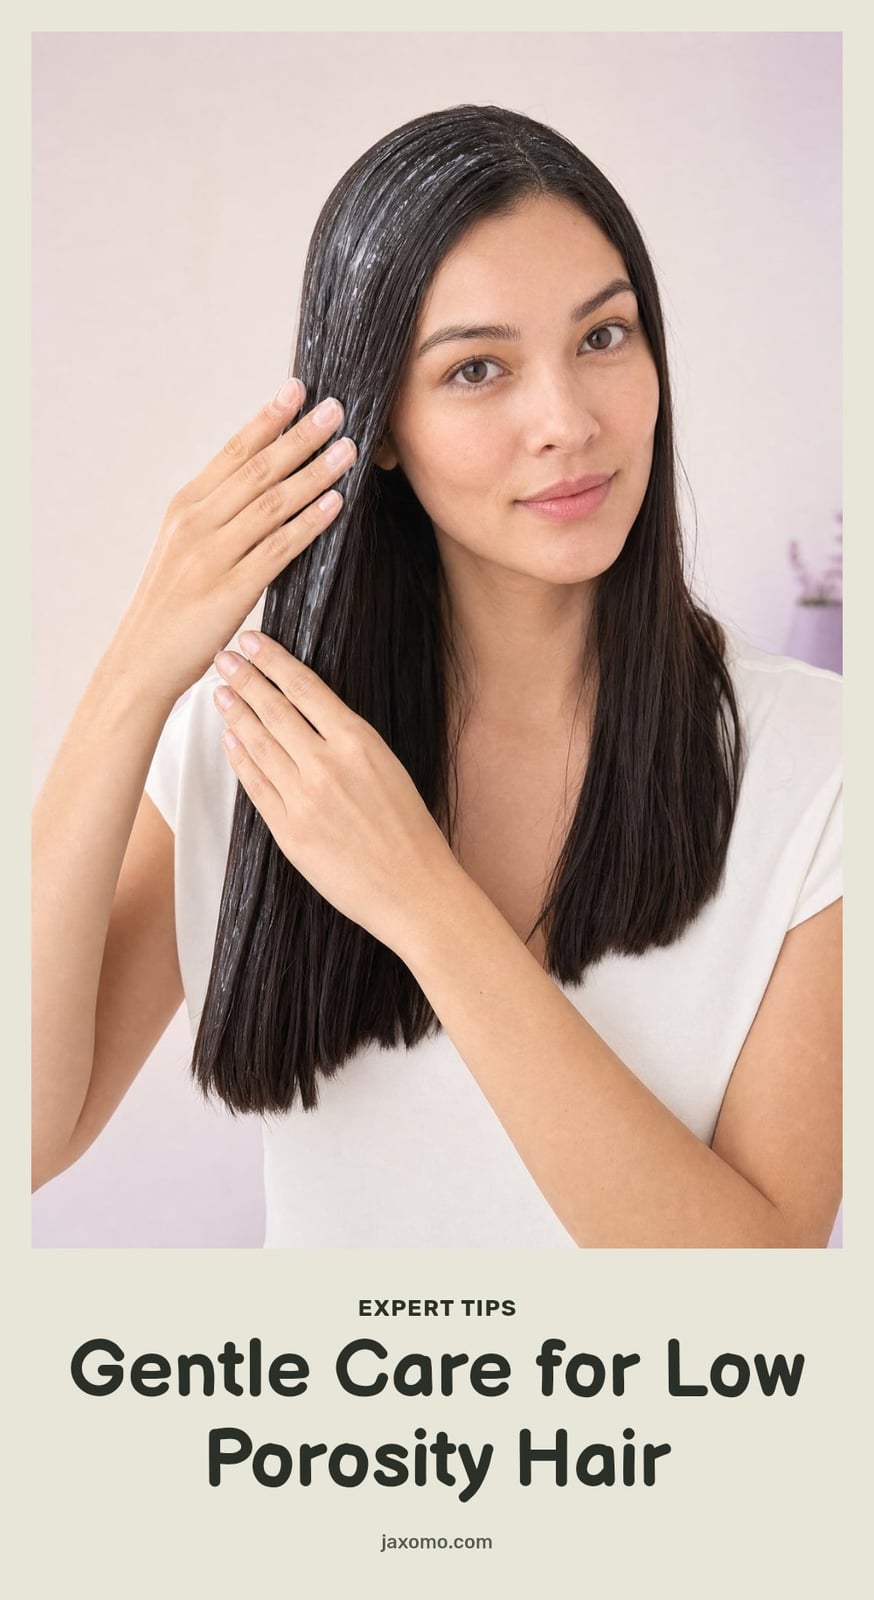
- Comb through for even distribution: Use a wide-tooth comb or your fingers to spread the product from root to tip. Uneven coverage leaves weak spots that can still burn.
- Let it absorb before applying heat: Wait 30 seconds to a minute so the formula sets. This gives the protective layer time to form and prevents it from evaporating too quickly.
Once it’s dry to the touch, you’re ready to style with confidence.
Common Heat Protectant Mistakes to Avoid
Mistake: applying only to the ends. The roots and mid-lengths face the same heat. Spray or distribute protectant from roots to tips for full coverage.
Mistake: using the wrong type for your tool. While sprays are generally suitable for blow-drying, they may not provide enough protection against a flat iron’s direct contact. For high-heat tools, choose a cream or serum that forms a thicker barrier.
Mistake: not letting it dry or absorb. Heat protectant needs a moment to form that barrier. Wait 30 seconds before styling.
Mistake: thinking it makes hair immune. No product makes hair invincible. Always use the lowest effective heat setting.
Mistake: using too much. Excess product weighs hair down and leaves it greasy. A few pumps or sprays are enough.
Expert Tips for Protecting Your Hair from Heat
My tip: always use the lowest effective heat setting on your tools. High heat isn’t necessary for most hair types and causes more damage over time.
Never skip heat protectant, even for quick touch-ups. Those few seconds still expose hair to damaging temperatures.
Combine heat protectant with other healthy practices. Use a weekly deep conditioner and avoid washing hair daily to preserve natural oils.
Choose a protectant formulated for your specific hair type. Fine hair needs a lightweight spray; thick or curly hair benefits from a cream with extra moisture.
Avoid heat styling on soaking wet hair. Blot or air-dry until damp first to prevent steam damage inside the shaft.
The Long-Term Benefits of Consistent Heat Protection
Healthier, Shinier Hair Over Time
Consistent heat protection pays off. Regular use reduces breakage and split ends, so your hair grows longer and looks fuller.
Color That Lasts Longer
Heat accelerates color fading. A protectant layer slows that process, helping your dye job stay vibrant between salon visits.
Preserved Hair Integrity
Even with daily styling, a heat protectant preserves the hair’s internal structure. You get the style you want without the long-term weakness.
When to Use Heat Protectant and What to Expect
Apply heat protectant every single time you use a heat styling tool. No exceptions, even for quick touch-ups.
You won’t see results overnight. Consistent use over weeks or months leads to noticeably less breakage, more shine, and fewer split ends.
Cost tiers vary widely. Drugstore options work well, and high-end formulas offer extra conditioning. There’s a protectant for every budget.
Frequently Asked Questions
Can I use heat protectant on dry hair?
Yes, you should apply heat protectant to dry hair before using flat irons or curling irons. Sprays and serums work well on dry strands. For blow-drying, it is best to apply the product to damp hair first.
How often should I use heat protectant?
Use heat protectant every single time you use a heat styling tool, including for quick touch-ups. There are no exceptions, because even low heat causes cumulative damage over time.
Does heat protectant really work?
Yes, heat protectant works by creating a protective layer on the hair that slows heat conduction and prevents internal moisture from boiling. It also helps distribute heat more evenly, reducing hot spots that cause localized damage.
What happens if I don’t use heat protectant?
Without heat protectant, the hair cuticle can lift and crack, leading to frizz and dullness. The heat can also boil moisture inside the strand and denature keratin proteins, weakening the hair and making it more prone to breakage and split ends.
Is heat protectant necessary for blow-drying?
Yes, heat protectant is necessary for blow-drying. Even though blow dryers use lower heat than flat irons, the repeated exposure can still cause cumulative damage. Apply the product to damp hair before you start drying.
Final Thoughts
My tip: make heat protectant a non-negotiable step every time you reach for a blow dryer, flat iron, or curling iron. It is the simplest way to reduce breakage, frizz, and dullness over the long term. You won’t see a difference after one use, but stick with it for a few weeks and you will notice your hair looking healthier and feeling stronger.