How to Braid Hair: Easy Three-Strand Braid for Beginners
Learn how to braid hair with our easy, step-by-step guide to the fundamental three-strand braid. Get a neat, secure braid every time.

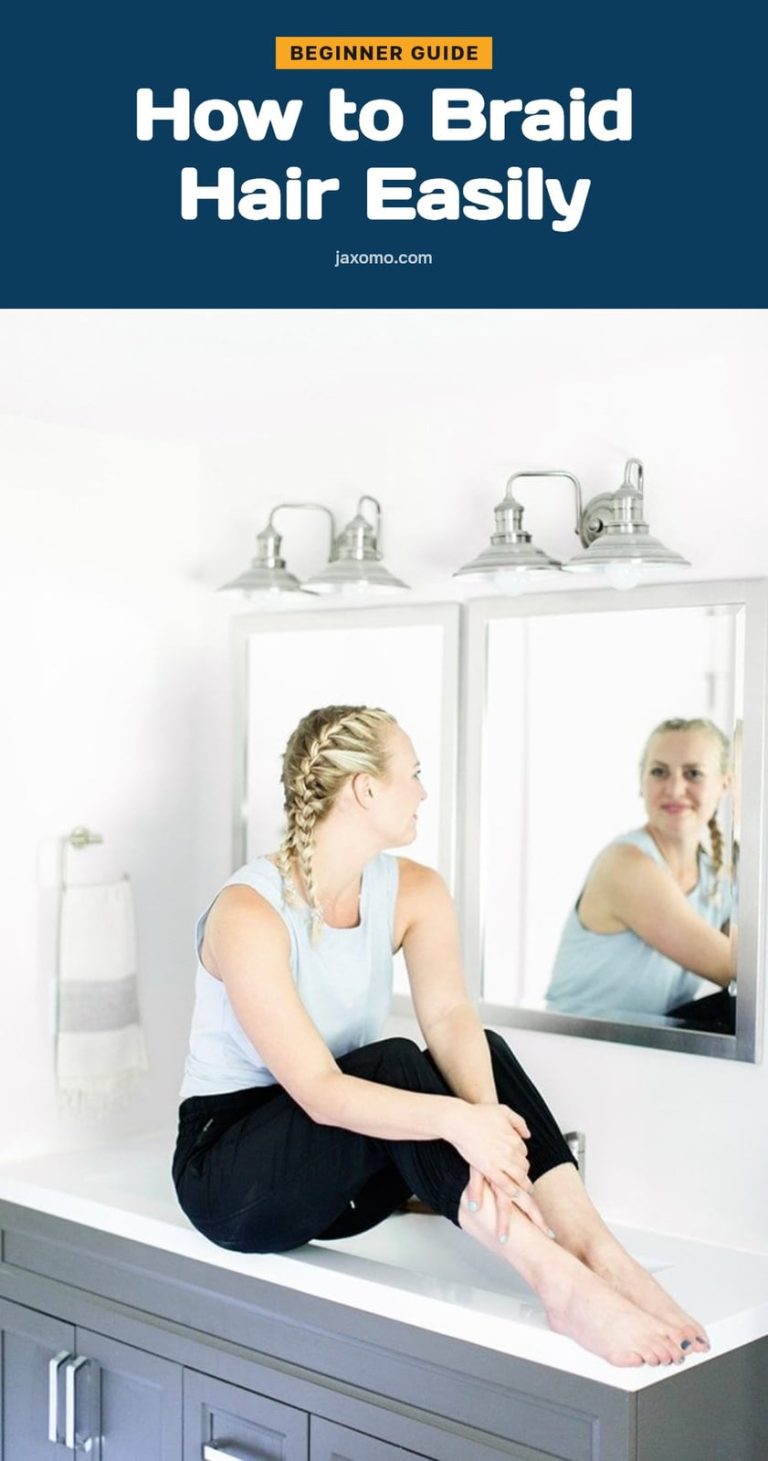
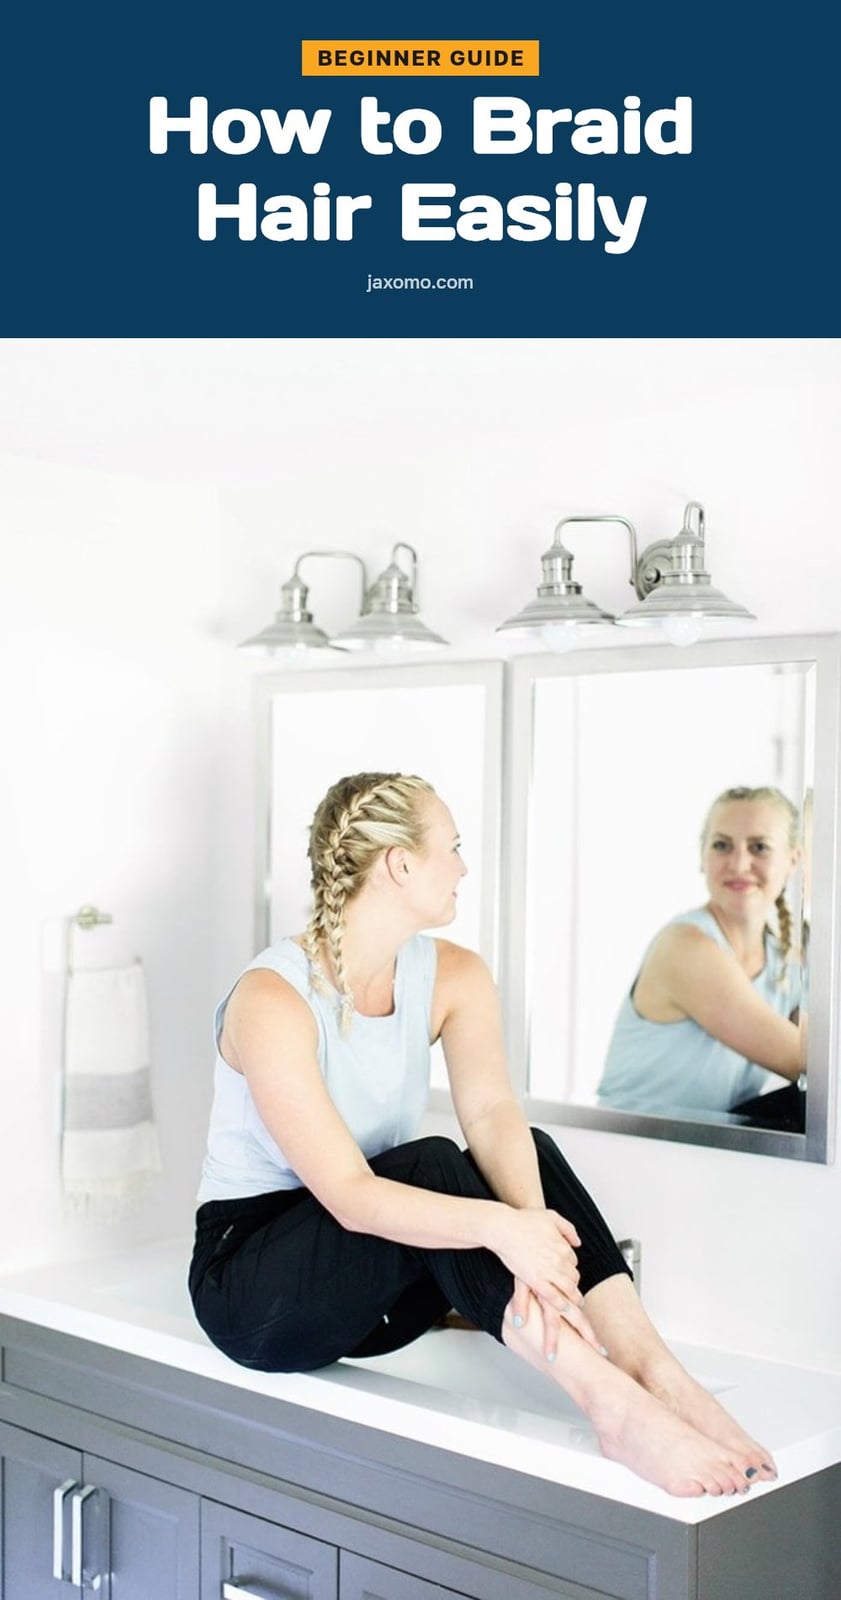
You want to learn how to braid your own hair, and the best place to start is the classic three-strand braid. This simple technique is the foundation for so many styles, from French braids to fishtails. In this article, I’ll walk you through the steps, share tips for avoiding common mistakes, and explain how to get a neat, secure braid every time.
Key Takeaways
- Detangle your hair thoroughly before braiding to prevent knots and ensure a smooth finish.
- Divide your hair into three equal sections for a balanced braid.
- Cross the outer strand over the middle strand, alternating sides as you go.
- Maintain consistent tension to keep the braid neat and secure.
- Secure the end with a snug hair elastic to prevent unraveling.
Mastering the Basic Three-Strand Braid
The three-strand braid is the most fundamental braiding technique and the starting point for countless hairstyles. To create it, you divide your hair into three equal sections. Then you consistently cross the outer strand over the middle strand, alternating sides as you go. That simple over-under motion weaves the hair into a classic braid.
Gather Your Braiding Essentials
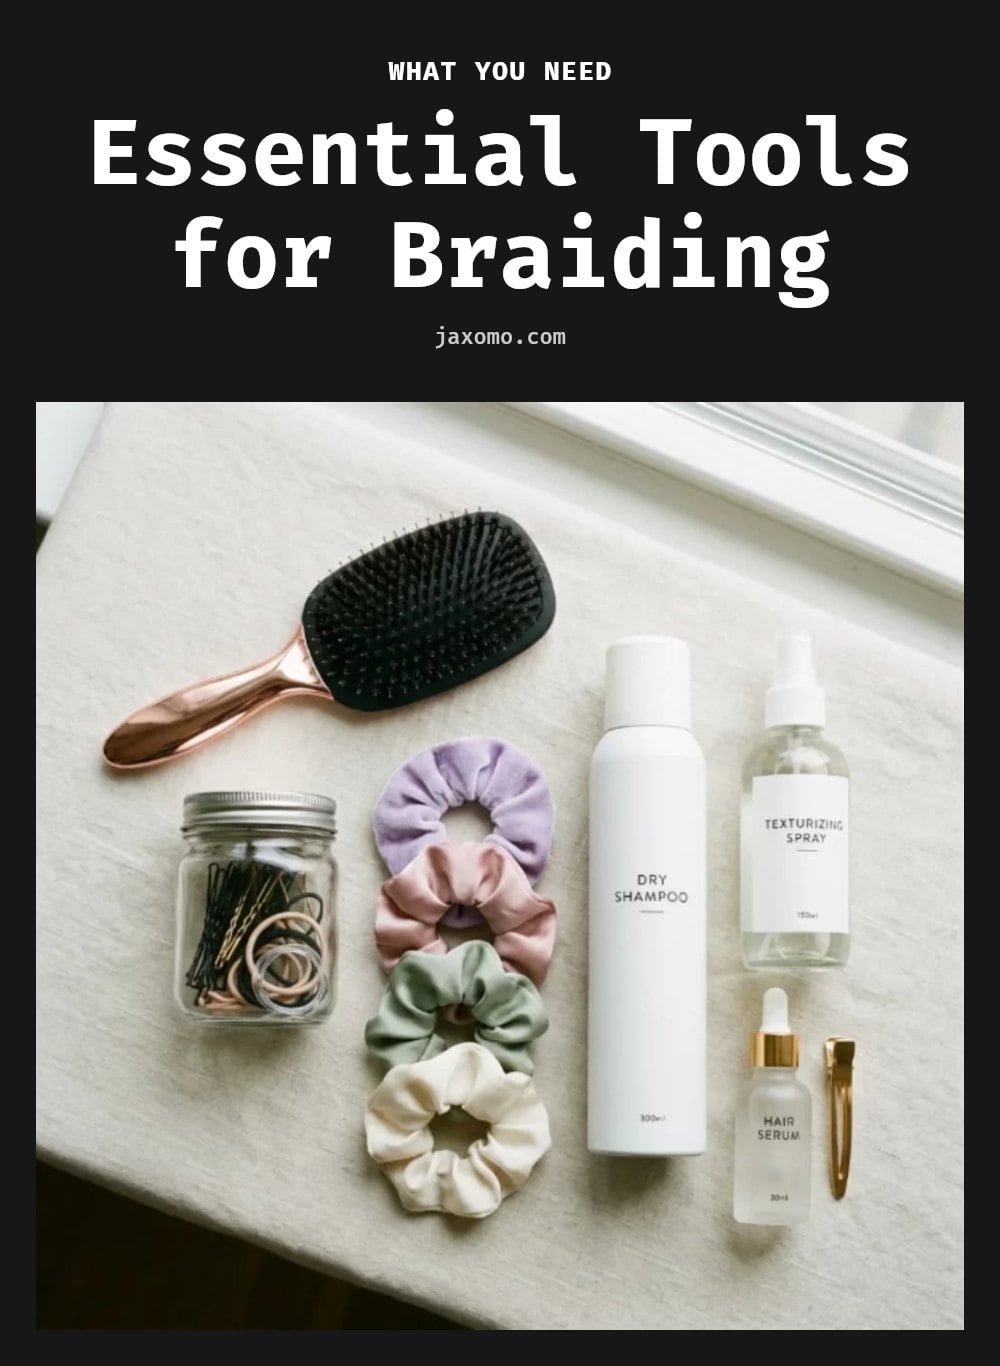
You need just a few basics to get started.
- Hairbrush or comb: Detangling is essential to avoid snags and uneven sections.
- Hair elastics or ties: A snug elastic keeps the braid from unraveling.
- Mirror: A mirror helps you see the back of your head when braiding your own hair.
- Optional styling product: A light mousse or serum adds grip and reduces frizz, especially on dry or slippery hair.
Step-by-Step: How to Create a Three-Strand Braid
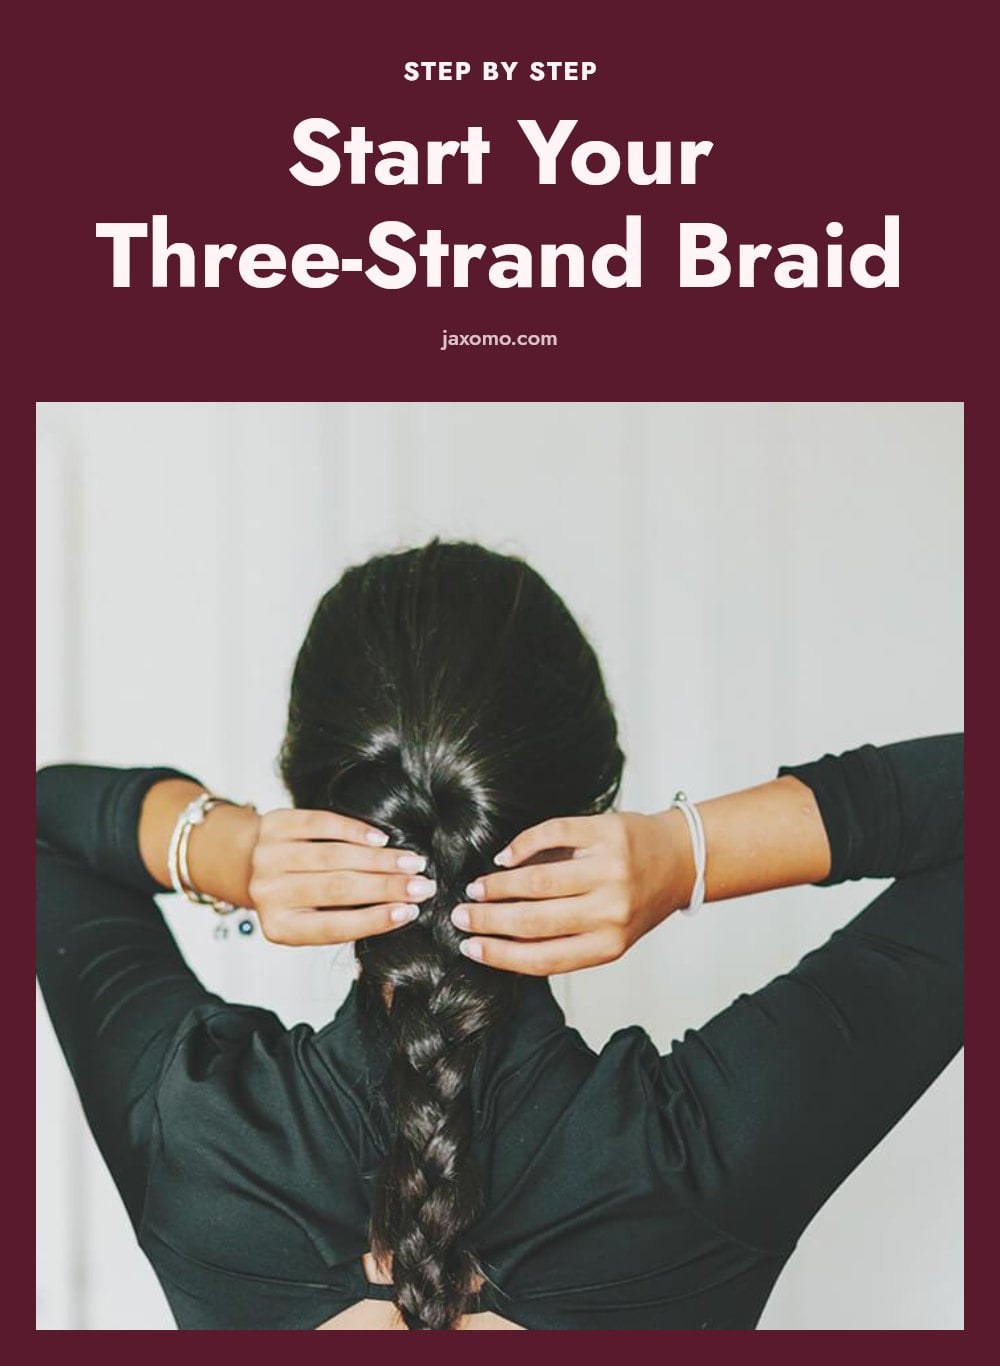
Follow these steps to create a neat three-strand braid.
- Detangle your hair: Brush or comb thoroughly from ends to roots. Tangles will cause uneven tension and a messy braid.
- Divide into three equal sections: Use a comb to part the hair cleanly. Hold one section in each hand and let the third hang between your thumbs.
- Cross the right outer strand over the middle: Take the right section and bring it over the center section. That right strand becomes the new middle.
- Cross the left outer strand over the new middle: Bring the left section over the center strand. It now becomes the middle.
- Repeat alternating sides: Keep crossing the right outer strand over the middle, then the left outer strand over the middle. Maintain consistent tension so the braid is even.
- Braid all the way down: Continue until you have about an inch or two of hair left.
- Secure the end: Wrap a hair elastic tightly around the tail. Give it a small tug to check it is snug.
Continuing the Braid and Securing Your Style
Once you have the rhythm, keep going with these tips for a polished finish.
- Keep the over-under motion consistent: Each time you cross a strand, make sure it goes over the middle section. Do not switch to under or the pattern will break.
- Hold your hands close to the head: Keeping the braid tight against the scalp gives a neater, more secure result. If you let the sections drift away, the braid becomes loose.
- Braid until only a short tail remains: Stop when you have about an inch or two of hair left. A longer tail can slip out of the elastic.
- Secure tightly with a hair elastic: Wrap the elastic around the tail two or three times. It should feel firm but not painful. A loose tie will let the braid unravel.
Common Braiding Mistakes and How to Fix Them
Not detangling hair sufficiently: Always brush or comb from ends to roots before you start. Tangles cause snags and uneven tension that ruin the braid.
Dividing hair into unequal sections: Use a comb to part your hair into three equal sections. A lopsided braid comes from uneven starting sections.
Losing track of the middle strand: Mentally label your sections as left, middle, and right. Each time you cross an outer strand over the middle, that outer strand becomes the new middle.
Applying inconsistent tension: Keep your hands close to your head and pull each strand with the same gentle pressure. Practice on a doll head or a friend to build muscle memory.
Not braiding all the way down: Continue the over-under motion until only a small tail remains (about one to two inches). If you stop too early, the braid will unravel.
Using a loose hair tie: Choose a snug elastic that holds the braid firmly without slipping. A loose tie lets the braid fall apart quickly.
Expert Tips for a Perfect Braid Every Time
Practice makes perfect: Your first few braids may be uneven, but each attempt improves your coordination. Don’t get discouraged, and try practicing on a friend or a doll head if you want extra reps.
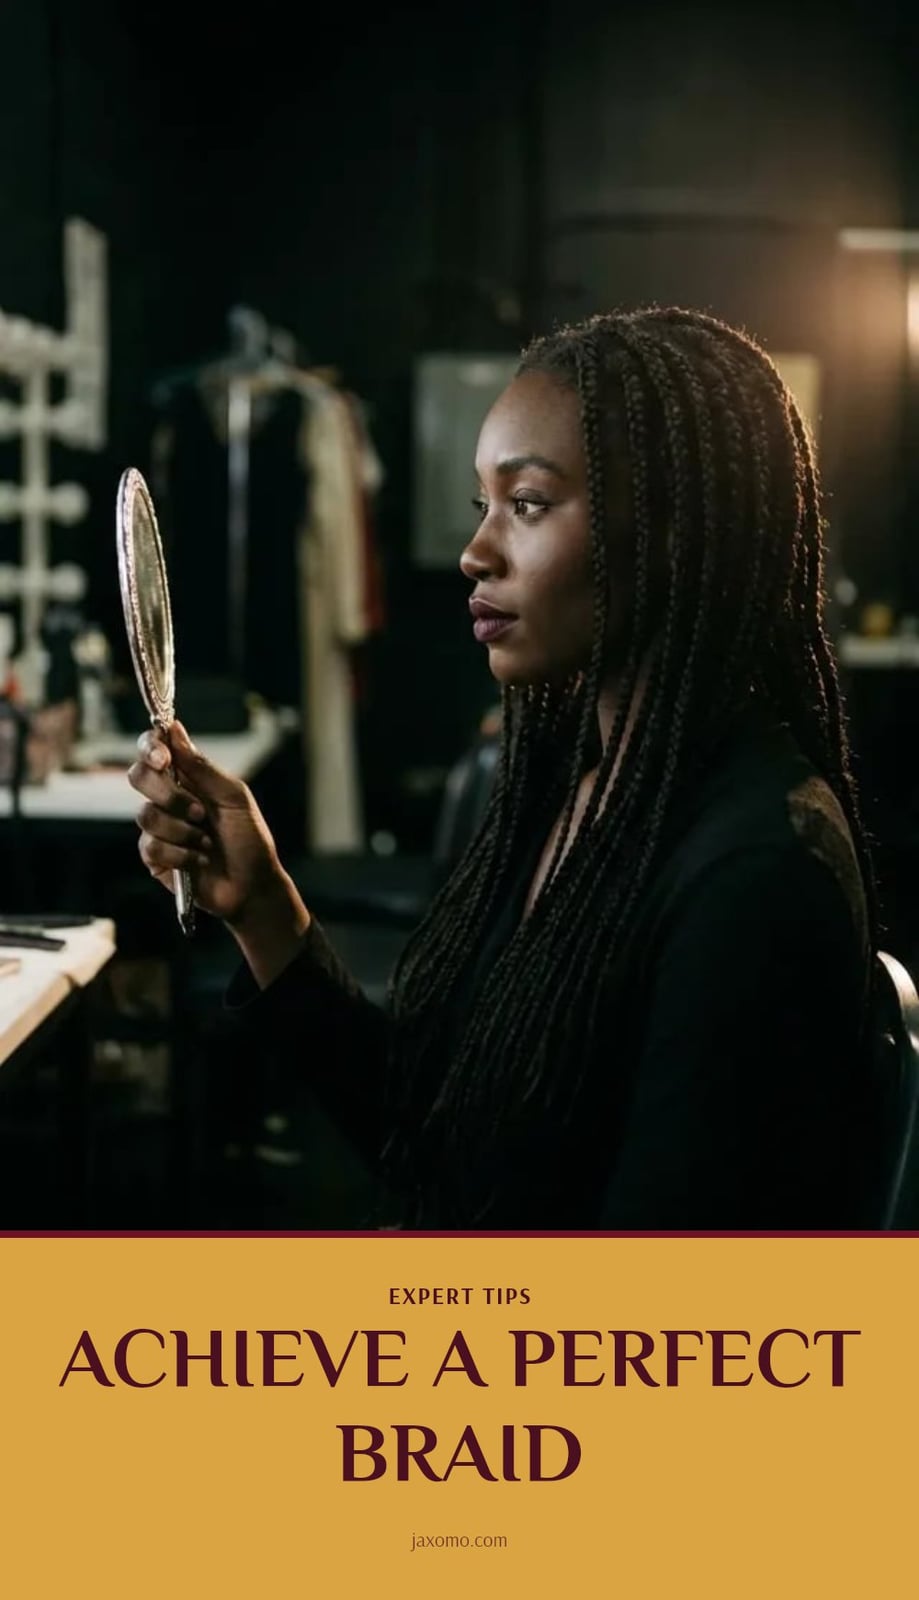
Use a mirror: When braiding your own hair, a mirror helps you see the back and keep sections even. It also lets you check tension as you go.
Slightly damp hair: Slightly damp hair (not soaking wet) offers more grip and reduces frizz. Mist it lightly with water, but avoid braiding hair that is dripping wet, as that can lead to damage and mildew over time.
Styling products: A light mousse or smoothing serum adds control and smoothness. Apply a pea-sized amount before braiding.
Avoid braiding too tightly: Prioritize comfort and hair health over extreme tightness. A snug but not painful braid stays secure without damaging follicles.
Understanding Hair Tension and Scalp Health
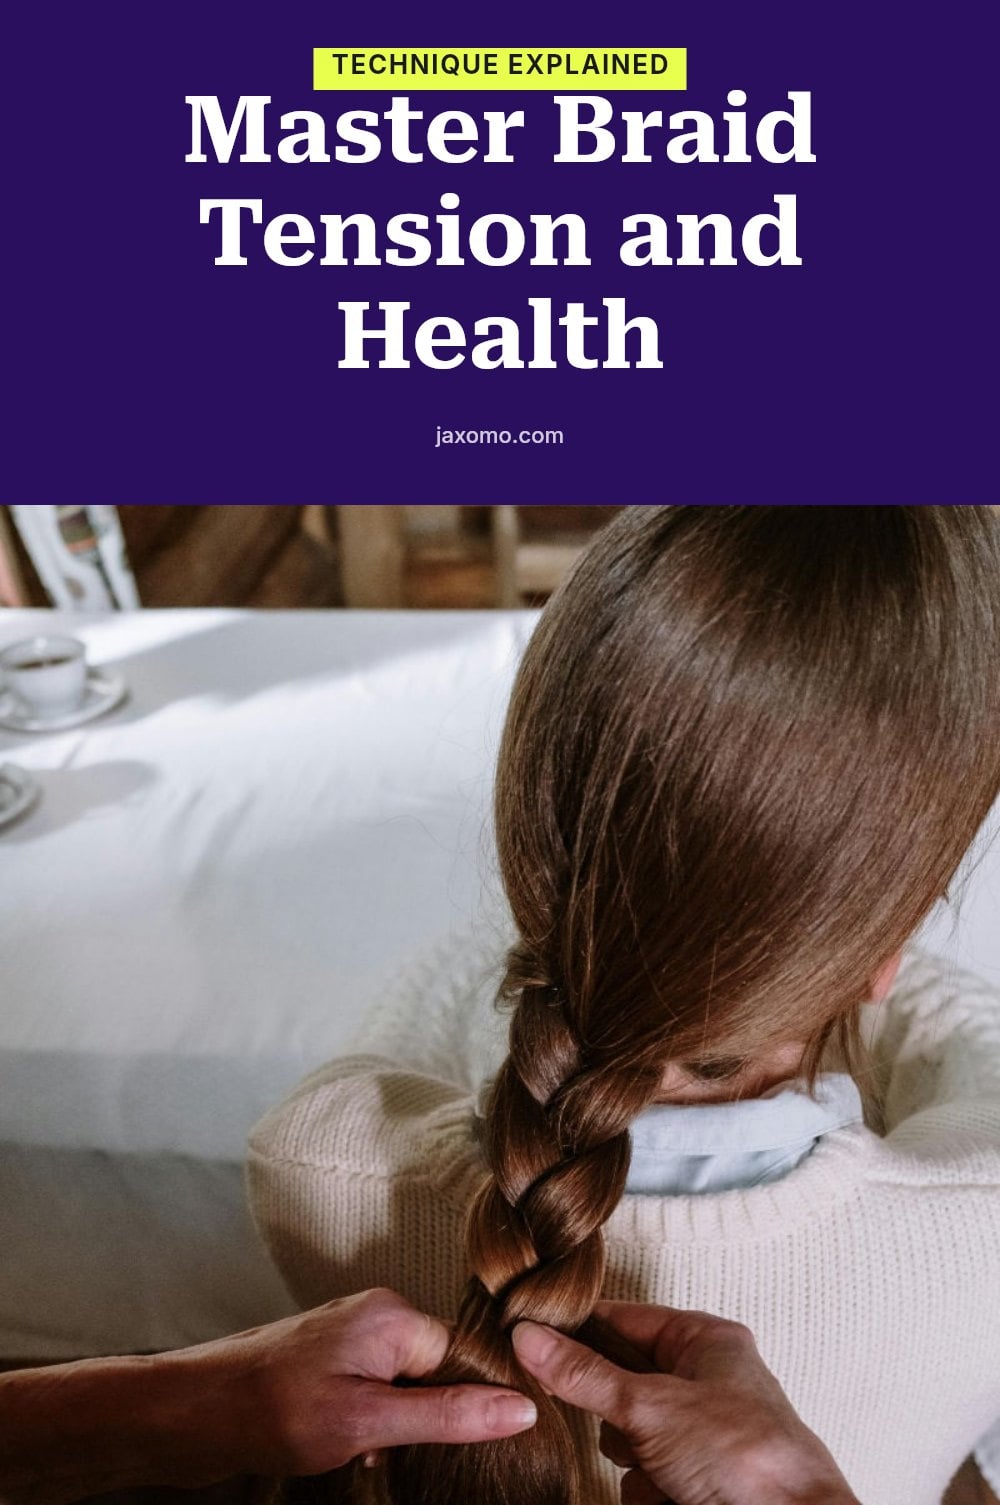
Why Tension Matters
Braiding too tightly can cause discomfort, tension headaches, and damage to hair follicles. Over time, tight braids can lead to breakage or even traction alopecia.
Consistent, gentle tension creates a neat braid without harming your hair. Pull each strand snugly enough to keep the weave even, but never so firmly that it pulls at your scalp.
If you feel pain or a pulling sensation while braiding, loosen the tension immediately. A comfortable braid should feel secure, not tight.
How Long Does It Take to Learn and Braid?
Mastering the basic three-strand braid typically takes a few attempts. With regular practice, most people can produce a neat braid within a few minutes.
No significant cost is involved beyond basic hair tools: a brush or comb and a few hair elastics. You already have everything you need to start learning today.
Frequently Asked Questions
Can I braid my hair when it’s wet?
You can braid slightly damp hair, which can make it easier to manage and reduce frizz. Avoid braiding soaking wet hair, as it can be heavy and take too long to dry, potentially leading to mildew or damage. If you do braid damp hair, be gentle to avoid breakage.
How can I make my braid last longer?
To help your braid hold all day, start with clean, dry hair and use a light styling product like a mousse or hairspray for grip. Braid with consistent tension and secure the end with a tight elastic. Sleeping on a silk or satin pillowcase can also reduce frizz and keep the braid intact overnight.
What if my hair is layered?
Layered hair can still be braided, though shorter layers may slip out. Try using a light gel or pomade to help hold those pieces in place. You can also do a looser braid to accommodate the varying lengths, or practice a French braid that incorporates the layers as you go.
Is braiding good for hair growth?
Braiding itself does not directly make hair grow faster, but it can protect hair from breakage and split ends by keeping it contained. This can help you retain length over time. Just avoid braiding too tightly, as that can cause tension and damage to the hair follicles.
Final Thoughts
My tip: Start with slightly damp hair if you have frizz or slippery strands, as it gives you more control. Expect your first few braids to be uneven, but with a little practice each day, you will be able to create a neat braid in just a few minutes. Once you master this basic technique, you can build on it for more complex styles.