How to Do a Plank Correctly for a Strong Core
Learn how to do a plank correctly with our step-by-step guide. Strengthen your core, improve posture, and avoid common mistakes for maximum benefits.

Getting a strong core doesn’t require a gym full of equipment. The plank is one of the most effective moves you can do at home, but only if your form is right. This article walks you through the proper technique, common mistakes to avoid, and how to build up your hold time safely so you can get the most out of every second.
Key Takeaways
- Keep your body in a straight line from head to heels to engage the core properly.
- Start with 20-30 second holds and repeat 2-3 times before increasing duration.
- Engage your glutes and quads to maintain stability and prevent hip sag.
- Avoid holding your breath; breathe deeply and steadily throughout the hold.
- Stop immediately if you feel sharp pain in your back, neck, or shoulders.
What is a Plank and Why is it So Effective?
A plank is an isometric exercise where you hold a static position to strengthen your core. It engages multiple muscle groups at once, including your abs, obliques, and lower back. Proper form is essential to prevent injury and get the full benefits, like improved posture and overall stability. My tip: focus on keeping your body in one straight line from head to heels.
What You Need to Start Planking
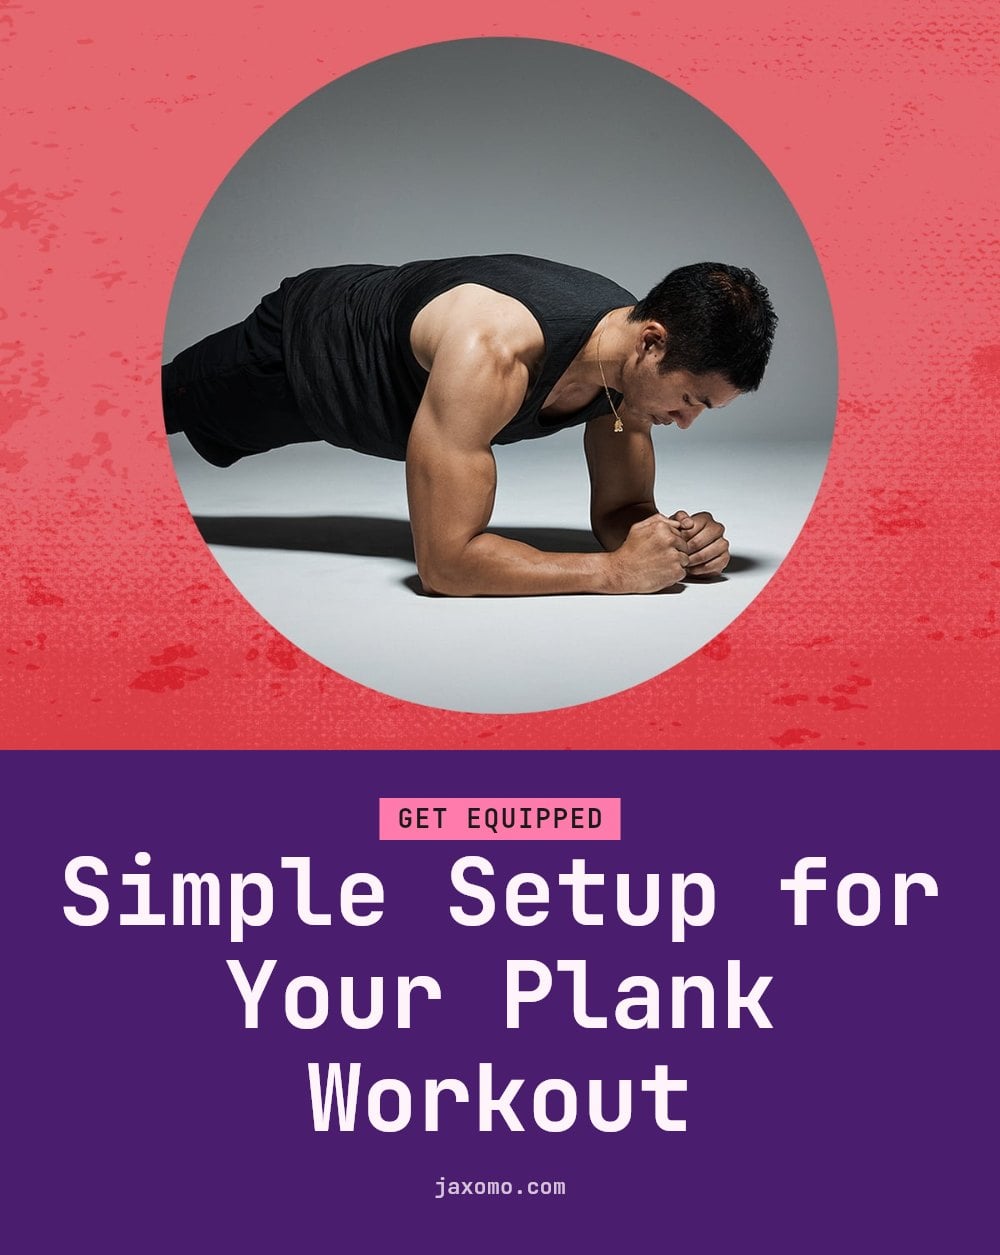
You don’t need much to start planking. Here’s what I recommend having on hand:
- Exercise mat: Provides cushioning, especially on hard floors.
- Timer or stopwatch: Helps you track your hold duration and progress.
- Mirror or a friend: Use them to check your form from the side.
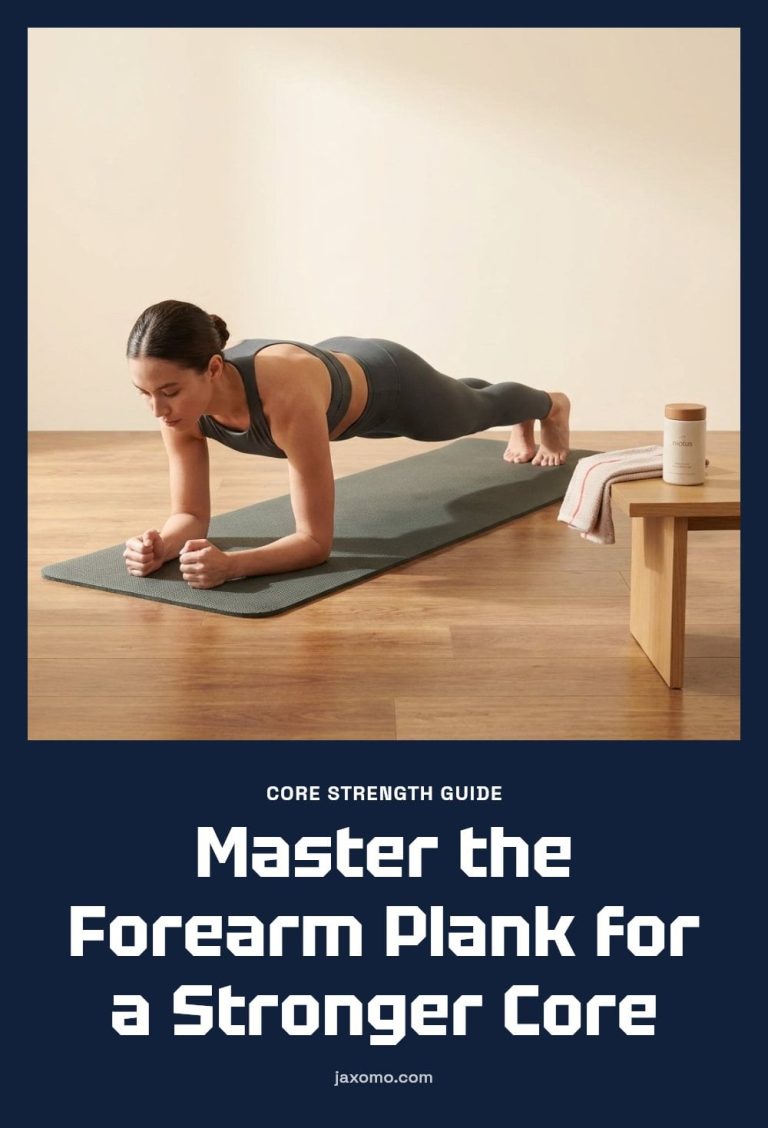
Step-by-Step: How to Do a Perfect Forearm Plank

Follow these steps for a solid forearm plank:
- Set up on all fours: Start on your hands and knees, then lower down onto your forearms. Keep your elbows directly under your shoulders.
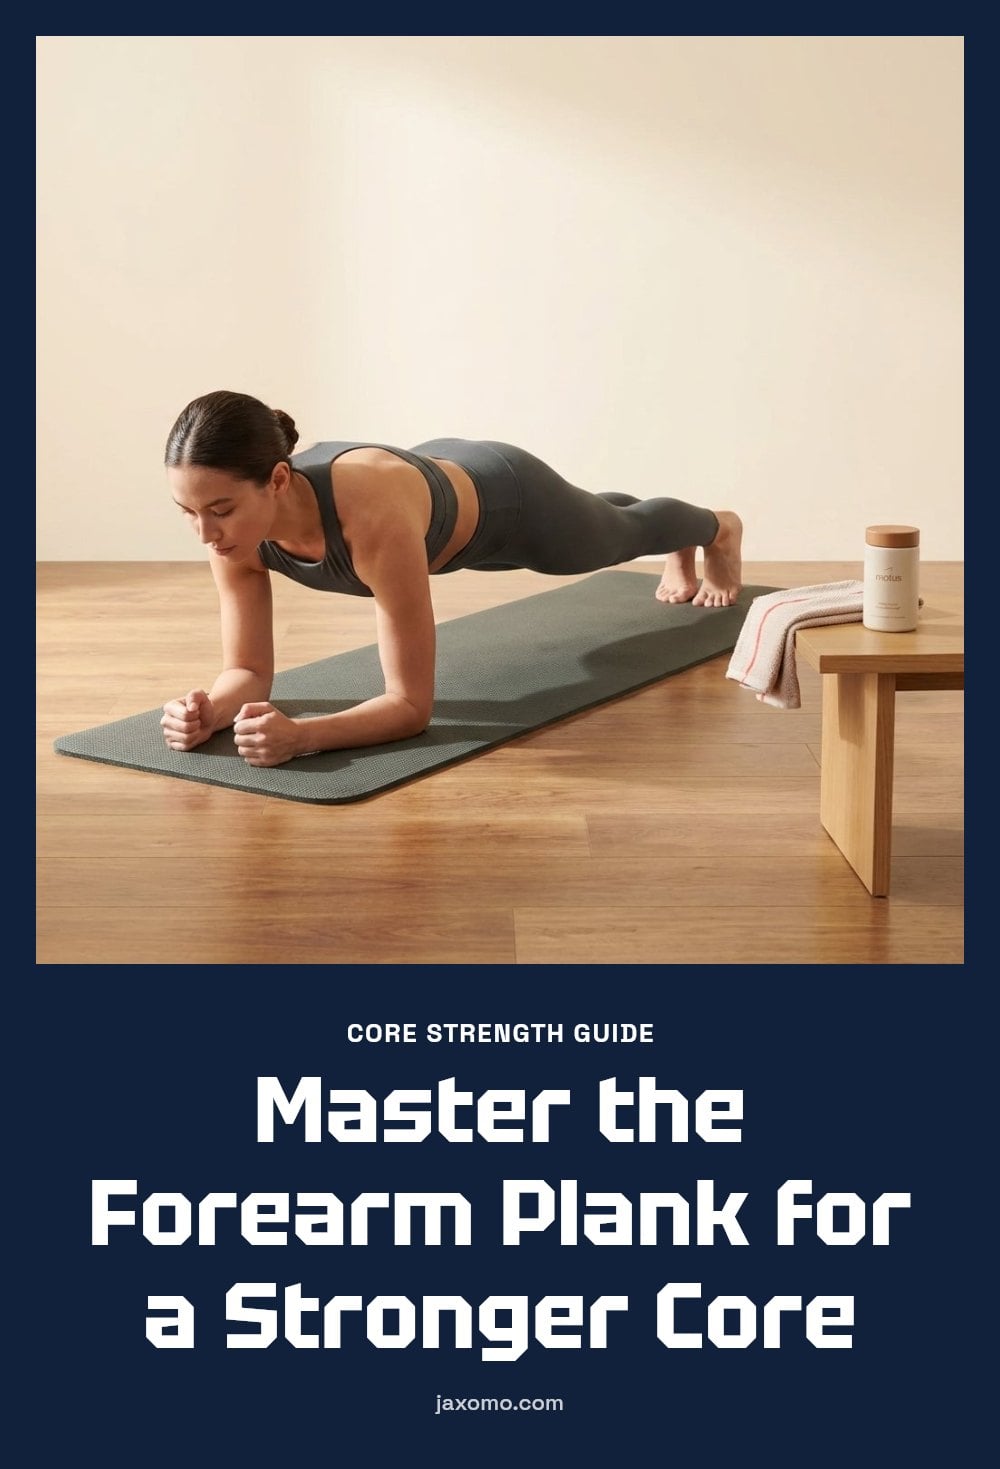
- Extend your legs: Step one foot back at a time, straightening your legs behind you. Your body should form a straight line from your head to your heels.
- Engage your core: Pull your belly button toward your spine. This activates your deep abdominal muscles and protects your lower back.
- Check your neck: Gaze down at the floor to keep your neck in a neutral position. Avoid looking up or dropping your head.
- Squeeze your glutes and quads: Tighten your buttocks and thighs. This creates full-body tension and helps keep your hips from sagging.
- Breathe steadily: Inhale and exhale deeply throughout the hold. Do not hold your breath.
Common Plank Mistakes and How to Fix Them
Even small form errors can reduce effectiveness or cause strain. Here are common mistakes and how to fix them:
- Sagging hips: Engage your glutes and core more to lift your hips back into a straight line.
- Hips too high: Lower your hips until your body is straight from head to heels.
- Arching lower back: Pull your belly button toward your spine to flatten your back.
- Craning neck: Look down at the floor to keep your neck neutral.
- Holding breath: Practice deep, steady breathing throughout the hold.
- Not engaging glutes/quads: Squeeze them to create full-body tension and stability.
Best Tips for Mastering Your Plank
Start with shorter holds: Aim for 20-30 seconds, then rest for 30 seconds and repeat 2-3 times. This builds endurance without sacrificing form.
Progress gradually: Add 5-10 seconds to your hold each week as you get stronger. Jumping to longer holds too soon can cause your hips to sag.
Try modifications: If a full plank is too challenging, drop to your knees. Keep your body in a straight line from knees to shoulders.
Incorporate daily: Planks can be done every day as part of your routine. Consistency matters more than one long hold.
Use a mirror: Check your form from the side to ensure a straight line from head to heels. A friend can also watch for sagging or piking.
Why Planks Are a Game-Changer for Your Core and Posture
Why Planks Are a Game-Changer for Your Core and Posture
Planks target deep core muscles like the transverse abdominis, not just the surface abs you see in the mirror. Strengthening these muscles improves overall body stability, making everyday movements like lifting and bending safer.
A strong core directly contributes to better posture. When your deep abdominal and lower back muscles are engaged, they support your spine and keep you upright without slouching.
Correctly performed planks can help alleviate lower back pain by stabilizing the spine. The erector spinae and obliques work together to protect your back, reducing strain during prolonged sitting or standing.
When to Consult a Professional About Planks
Stop planking immediately if you feel sharp pain in your back, neck, or shoulders during or after the exercise. If you have pre-existing wrist or shoulder injuries, consult a doctor or physical therapist before trying high planks.
If you are pregnant, check with your doctor before continuing or starting plank exercises. For severe lower back pain, seek guidance from a professional to determine safe modifications.
How Long to Plank and When to Expect Results
Starting duration: Begin with 20-30 second holds, repeating 2-3 times. Progression: Gradually increase hold time to 60 seconds or more as your strength improves.
Frequency: Aim for consistent practice 3-5 times a week. Results timeline: Expect improvements in core strength and stability within a few weeks of consistent practice.
Cost: Planks are a free exercise. You only need an optional mat for comfort and a timer to track your holds.
Frequently Asked Questions
How long should a beginner hold a plank?
If you are new to planking, start with holds of 20-30 seconds. Repeat that hold 2-3 times with rest in between. As your core strength improves, gradually add 5-10 seconds to each hold week by week.
Can I do planks every day?
Yes, planks can be performed daily as part of a core strengthening routine. However, listen to your body. If you feel muscle fatigue or soreness, taking a rest day can help prevent form breakdown and reduce the risk of injury.
Why do my hips sag during a plank?
Hip sag usually means your core and glutes aren’t engaged enough. To fix it, squeeze your glutes and pull your belly button toward your spine. This will help lift your hips back into a straight line with your shoulders and heels.
Are planks good for lower back pain?
When performed correctly, planks can help reduce lower back pain by strengthening the muscles that support your spine. However, if you have severe lower back pain, approach planks cautiously and consider consulting a professional before starting.
What is the correct way to do a plank?
Start on your forearms with elbows directly under your shoulders. Extend your legs back and keep your body in a straight line from head to heels. Engage your core, squeeze your glutes, and breathe steadily. Look down at the floor to keep your neck neutral.
Final Thoughts
Mastering the plank is about quality over quantity. My tip: focus on holding perfect form for 20-30 seconds rather than pushing for a longer, sloppy hold. With consistent practice 3-5 times a week, you can expect noticeable improvements in core strength and stability within a few weeks. Stick with it, and your posture and balance will thank you.
This article is for general informational purposes only and does not constitute medical or professional advice. Always consult a doctor, physical therapist, or qualified fitness professional before starting any new exercise routine, especially if you have pre-existing injuries or health conditions.