Blow Dry Like a Salon: Easy Steps for Beginners at Home
Learn how to achieve a salon-quality blow dry at home with our easy step-by-step guide. Master techniques for volume, smoothness, and lasting style.

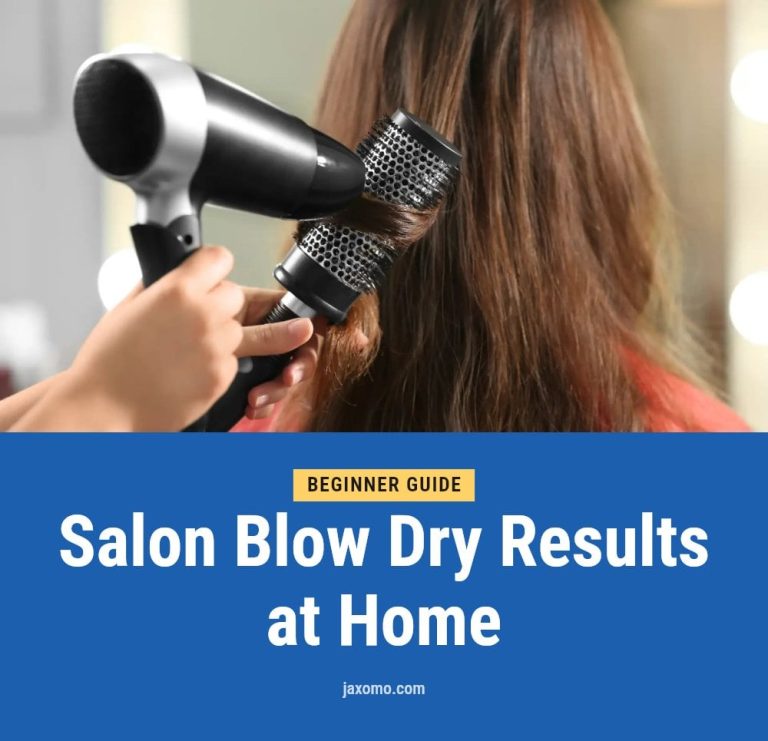
Getting that salon-smooth blowout at home is totally doable once you know the right sequence. It is not about owning expensive tools; it is about prepping your hair correctly, working in small sections, and using the right brush for your goal. This article walks you through a professional method for a voluminous, long-lasting blow dry, from partial air drying to setting each curl with rollers.
Key Takeaways
- Air dry your hair for about an hour until damp before blow drying to reduce heat exposure and drying time.
- Always apply a heat protectant and use a concentrator nozzle to direct airflow down the hair shaft.
- Work in 1-inch sections with a large round brush, blowing downwards to smooth the cuticle.
- Finish each section with a cool shot to close the cuticle and set the style for added shine.
- Roll dried sections onto hair rollers, elevating them high at the roots for maximum volume.
Achieve a Salon-Quality Blow Dry at Home
Getting a salon-quality blow dry at home comes down to three things: proper prep, the right tools, and a method that works in small sections. I start by letting my hair air dry for about an hour until it is damp but not soaking wet, which cuts down on heat exposure and drying time. Then I apply a heat protectant and use a blow dryer with a concentrator nozzle paired with a round brush to shape each section. The real trick is directing airflow downward to smooth the cuticle and immediately rolling each dried section onto rollers to lock in volume and hold the style.
Your Essential Blow Dry Toolkit
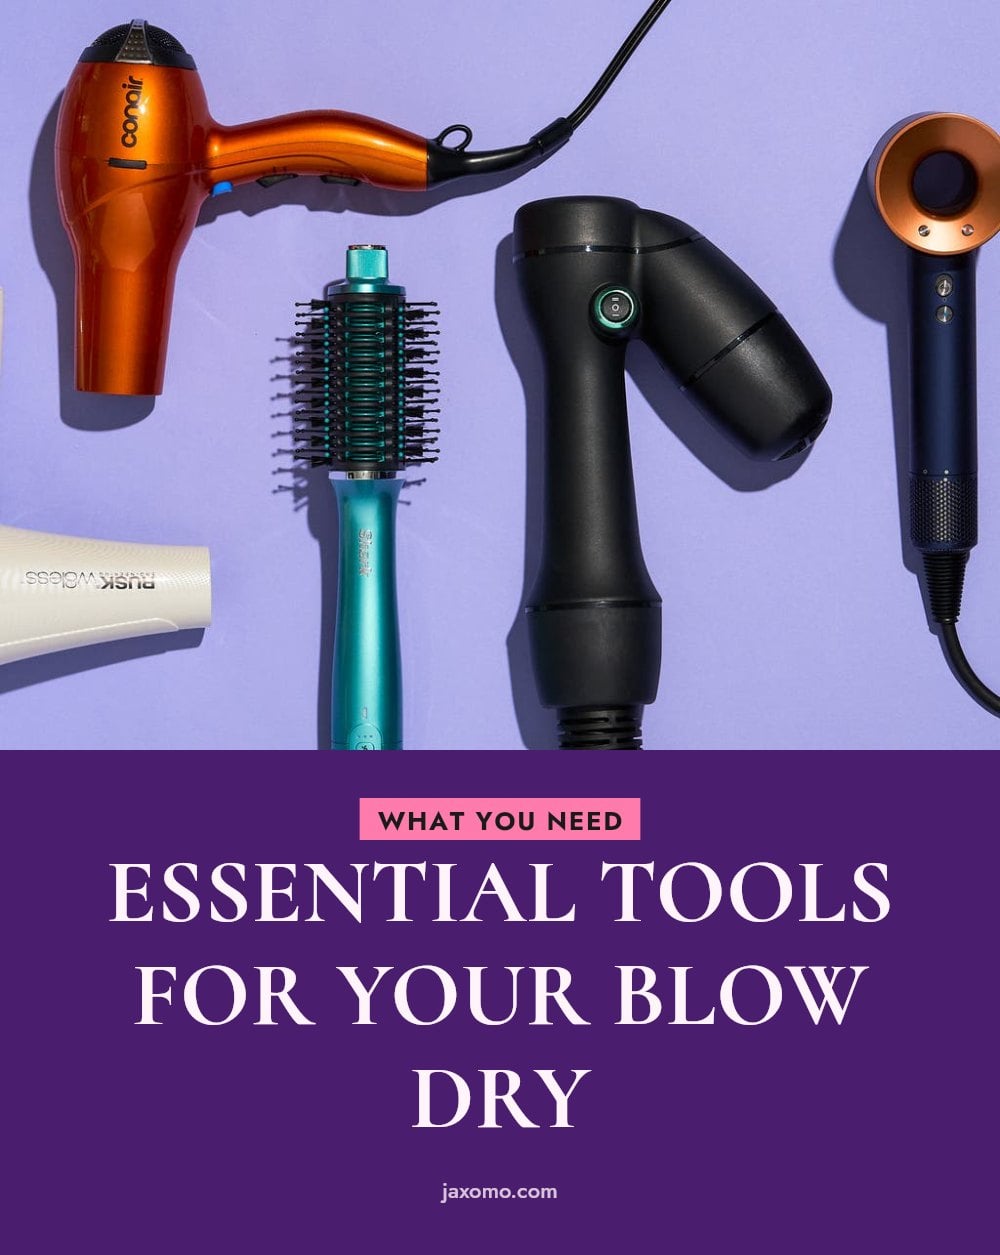
You do not need a salon arsenal to get a great blowout at home, but a few specific tools make all the difference.
- Blow dryer with concentrator nozzle: The nozzle directs airflow exactly where you want it, which cuts down on frizz and speeds up drying.
- Heat protectant spray: A non-negotiable layer between your hair and the heat, preventing thermal damage.
- Hair clips or ties: Necessary for keeping sections separate and organized as you work your way up the head.
- Round brush (1.5 inches): The ideal size for adding volume and creating that smooth bevel at the ends.
- Hair rollers (1-inch and larger): These set the curls and maximize root volume, especially when you elevate the hair high while rolling.
- Styling products: A serum or mousse applied to damp hair enhances hold and shine.
Step-by-Step: The Perfect ’90s Blowout
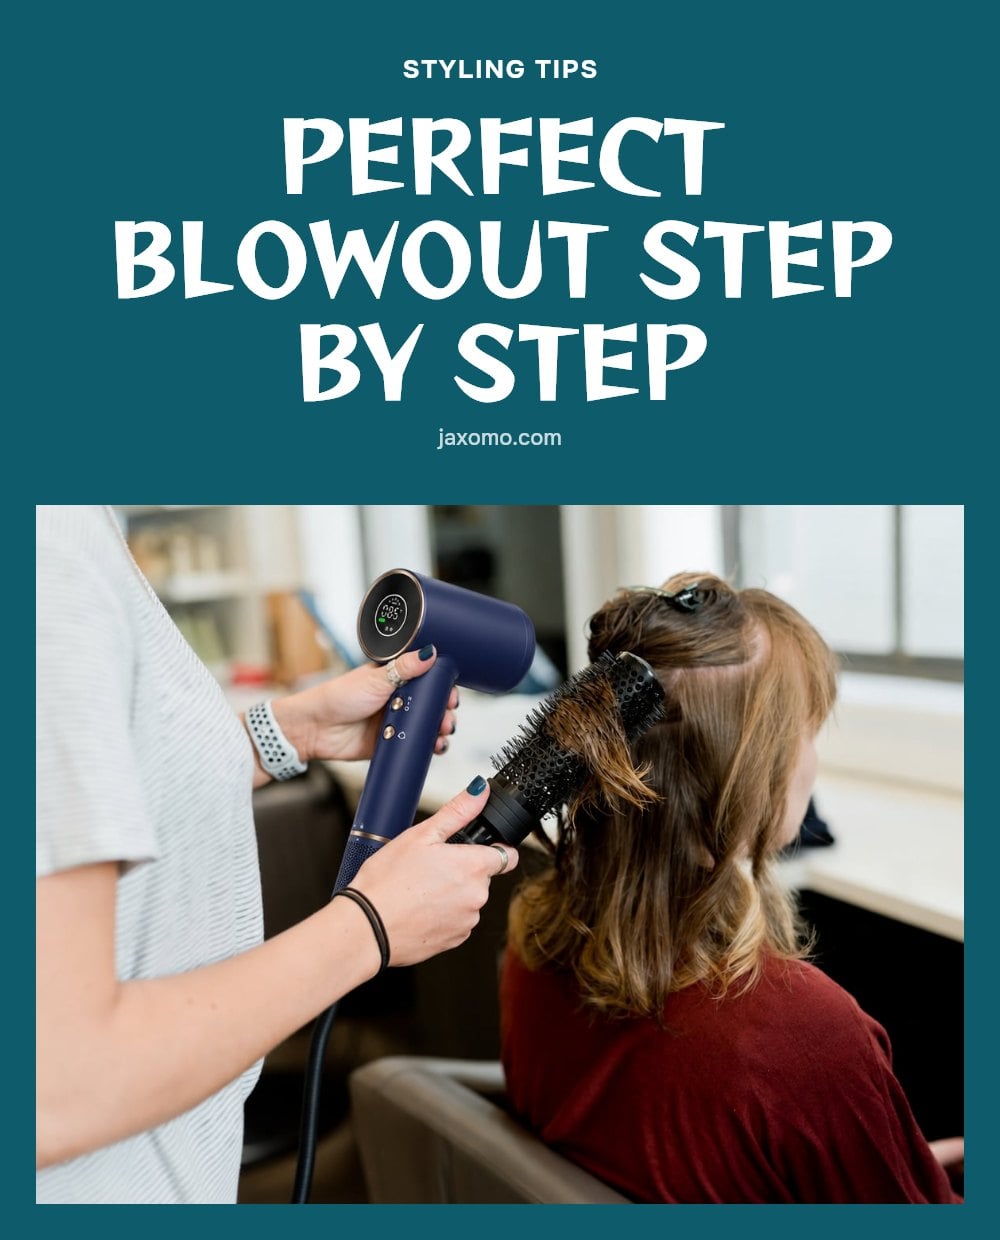
This method follows the same sequence professionals use for a voluminous, long-lasting blowout.
- Air dry partially: Let your hair air dry for about an hour until it is damp but not soaking wet. This reduces heat exposure and overall drying time.
- Section your hair: Clip up the top part from the top of your ears straight back, leaving the bottom layer loose.
- Apply products: Work a generous amount of Color Wow Dream Coat through each section, then spray a heat protectant like Maria Nilla into your hands and brush it through.
- Dry the bottom layer: Take a 1-inch section from the bottom. Place a 1.5-inch round brush under the section near the roots. With the nozzle pointing downward, move the brush and dryer together down the strand, creating a bevel at the ends.
- Set the curl: Once the section is dry, roll it up onto the round brush and hold for 5 to 10 seconds. Use the cool shot on the section while it is on the brush to set the curl. Carefully unroll, then immediately roll the curled section onto a hair roller (1-inch or larger), elevating the hair high for root volume, and secure it.
- Work upward: Repeat for all sections in that bottom layer. Then part from your temples straight back and clip up the next section. For the middle section, use a smaller round brush (about 1 inch) at the roots for targeted volume before rolling the rest onto rollers.
- Finish the top: For the final mohawk section, use the smaller round brush at the roots, twisting away from your face, then roll onto rollers.
- Cool and release: Allow all rollers to cool completely before gently removing them. Do not brush immediately; use a wide-tooth comb or just shake out the roots.
If you learn better by watching, this 15-minute video from kayli boyle shows every step. The how-to part starts at 3:20.
Pro Tips for a Flawless Finish
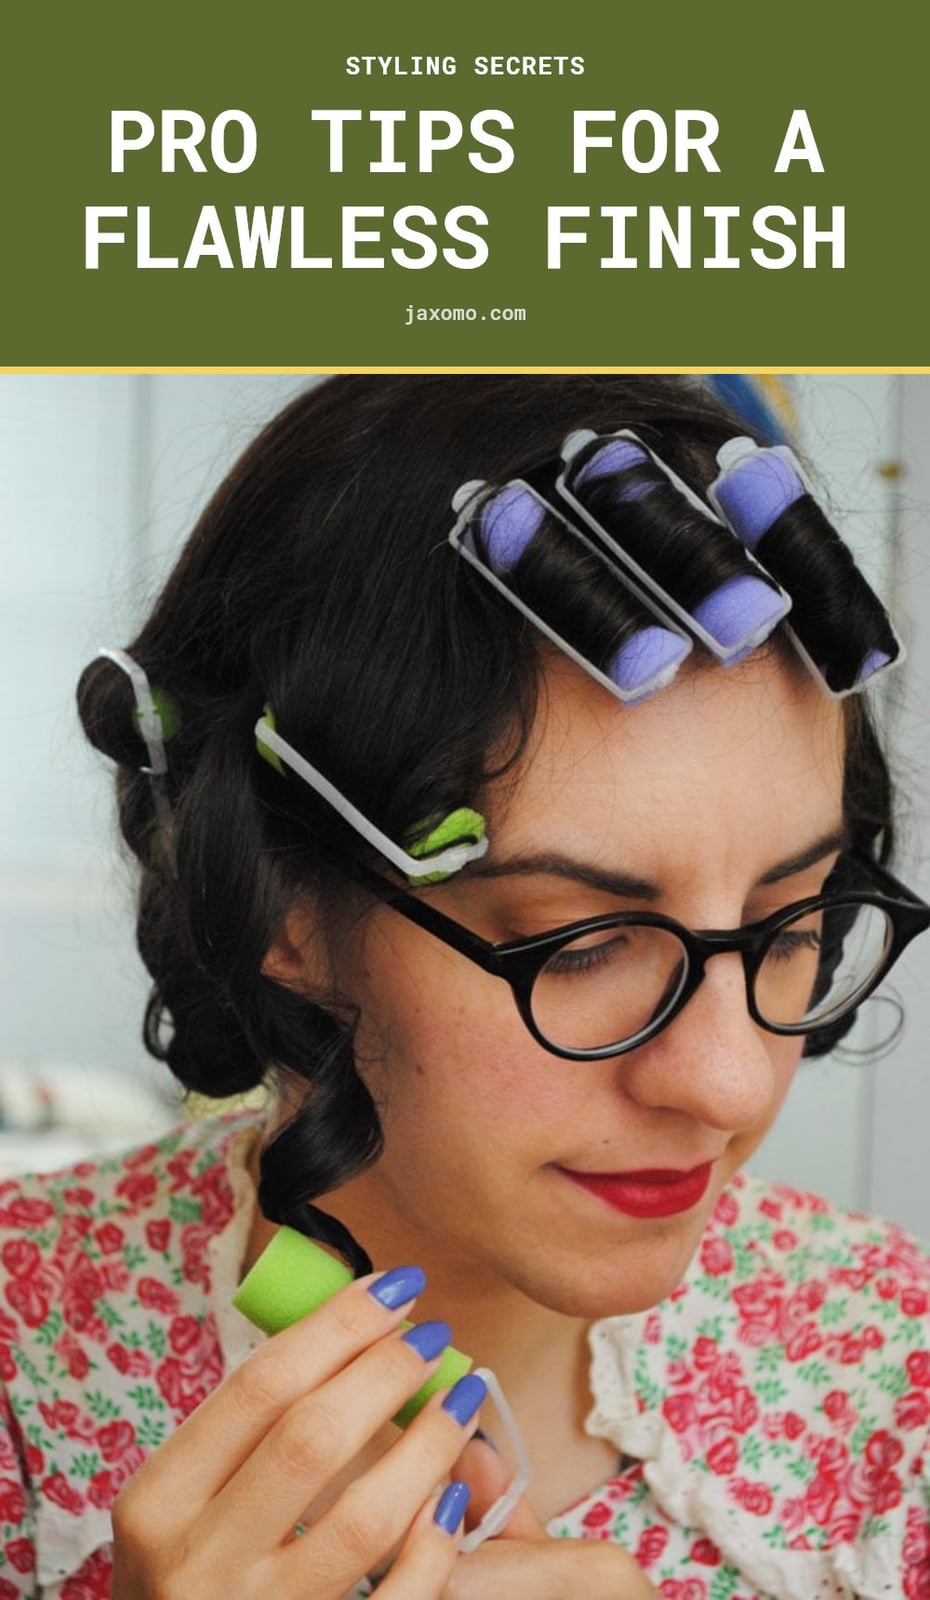
These small adjustments take a good blowout to a great one.
- Practice Makes Perfect: Get comfortable with the brush and blow dryer movement without heat first. It feels awkward at the start but clicks quickly.
- Cool Shot for Set: Use the cool shot button at the end of each section to set the style and add shine by closing the hair cuticle.
- Keep Moving: Always move the blow dryer continuously to prevent concentrating heat on one section, which can cause damage.
- Unsticking Hair: If hair gets stuck in a round brush, use the pointed end of a rat tail comb to gently lift it from underneath.
- Overnight Preservation: To preserve your blowout, apply hair oil to mids and ends, then wear a long silk cap or loosely wrap hair in a bun with a large scrunchie.
Common Blow Drying Mistakes to Avoid
Even small habits can sabotage your blowout before it starts. Here are the most common mistakes I see and how to fix them.
- Starting Too Wet: Blow drying soaking wet hair prolongs drying time and increases heat exposure, which leads to damage. Always rough dry or air dry to about 70-80% dry first.
- Skipping Heat Protectant: Heat protectant is non-negotiable. It shields your hair from thermal damage and keeps it healthy.
- No Nozzle: The concentrator nozzle directs airflow and reduces frizz. Without it, the scattered air roughens the cuticle and causes damage.
- Drying Upwards: Never blow dry upwards. It roughens the cuticle and creates frizz. Always point the nozzle downwards to smooth the hair shaft.
- Holding Stationary: Holding the dryer too close to one spot for too long causes localized heat damage. Keep the dryer moving continuously.
- Brushing Too Soon: After removing rollers, don’t brush your hair immediately. Use a wide-tooth comb or just shake out the roots to keep the style intact.
How Long Does a Blow Dry Take?
A standard blow dry takes anywhere from 10 to 45 minutes, depending on your hair length, thickness, and the style you want. The ’90s blowout method, which involves careful sectioning and rolling each piece, usually falls on the longer end, around 30 to 45 minutes for a thorough set. That time is an investment: with proper aftercare, the style can last several days.
Maintaining Your Blowout for Lasting Style
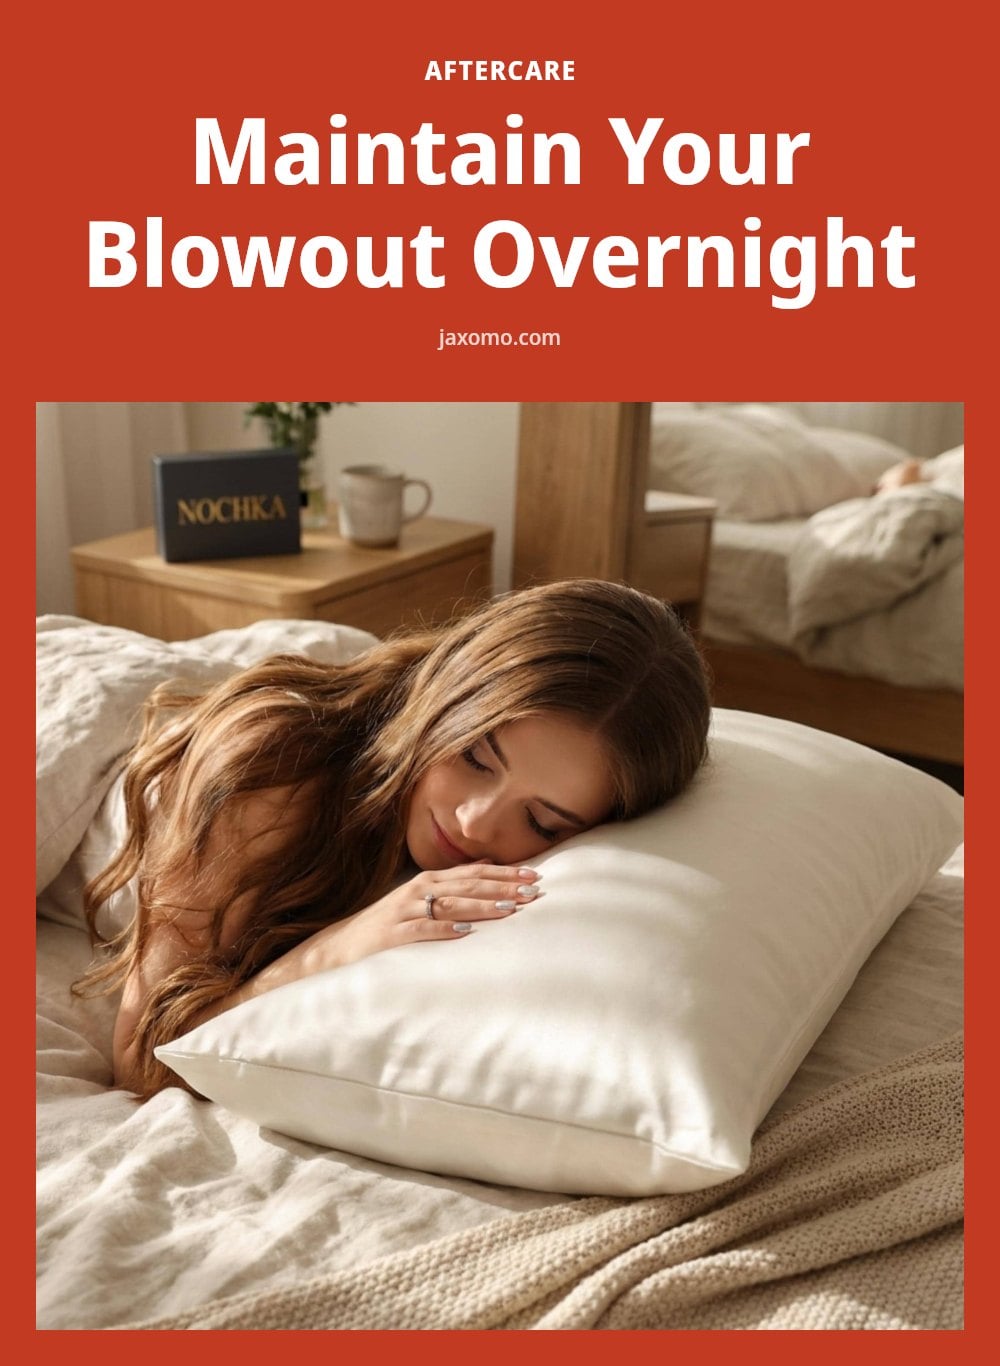
To keep your blowout looking fresh for days, a few simple habits help a lot.
- Minimize Touching: Oils from your hands can weigh down the style, so avoid running your fingers through your hair.
- Dry Shampoo: Apply dry shampoo at the roots on non-wash days to absorb oil and refresh volume.
- Silk Pillowcase: Sleep on a silk pillowcase to reduce friction and prevent frizz and creasing.
- Gentle Brushing: When you do brush, use a soft-bristle brush or wide-tooth comb and be gentle so you don’t disturb the set curls.
- Avoid Humidity: On humid days, an anti-humidity spray can protect your style from frizz.
Frequently Asked Questions
How long does a blow dry last?
A blow dry can last anywhere from one to three days, depending on your hair type, the products you use, and how you protect it at night. Using a silk cap or loosely wrapping your hair in a bun can help preserve the style longer.
Can I blow dry my hair every day?
Blow drying every day is possible if you use a heat protectant and keep the dryer moving continuously. However, daily heat exposure can still cause damage over time, especially on fine or fragile hair. Try to let your hair air dry occasionally to give it a break.
What is the best way to blow dry short hair?
For short hair, use a small round brush to add volume at the roots and a vent brush for quick drying. Focus on directing the airflow downwards to smooth the cuticle, and use the cool shot to set the shape. Sectioning is still important, but you may need fewer sections than for longer hair.
How do I prevent frizz when blow drying?
To prevent frizz, always apply a heat protectant and use the concentrator nozzle pointing downwards along the hair shaft. Avoid blow drying upwards, which roughens the cuticle. Finish each section with the cool shot to seal the cuticle, and consider a lightweight serum or oil on the mids and ends.
Final Thoughts
For the best results, stick to the full sectioning and rolling method described here, especially if you want volume that lasts. Expect the process to take 30 to 45 minutes for a full ’90s blowout. With a little practice, you will be able to recreate that bouncy, frizz-free look without leaving your bathroom.