How to Do the Splits Safely: Step by Step
Learn how to do the splits safely and effectively with our step-by-step guide. Discover essential stretches, warm-up routines, and common mistakes to avoid.

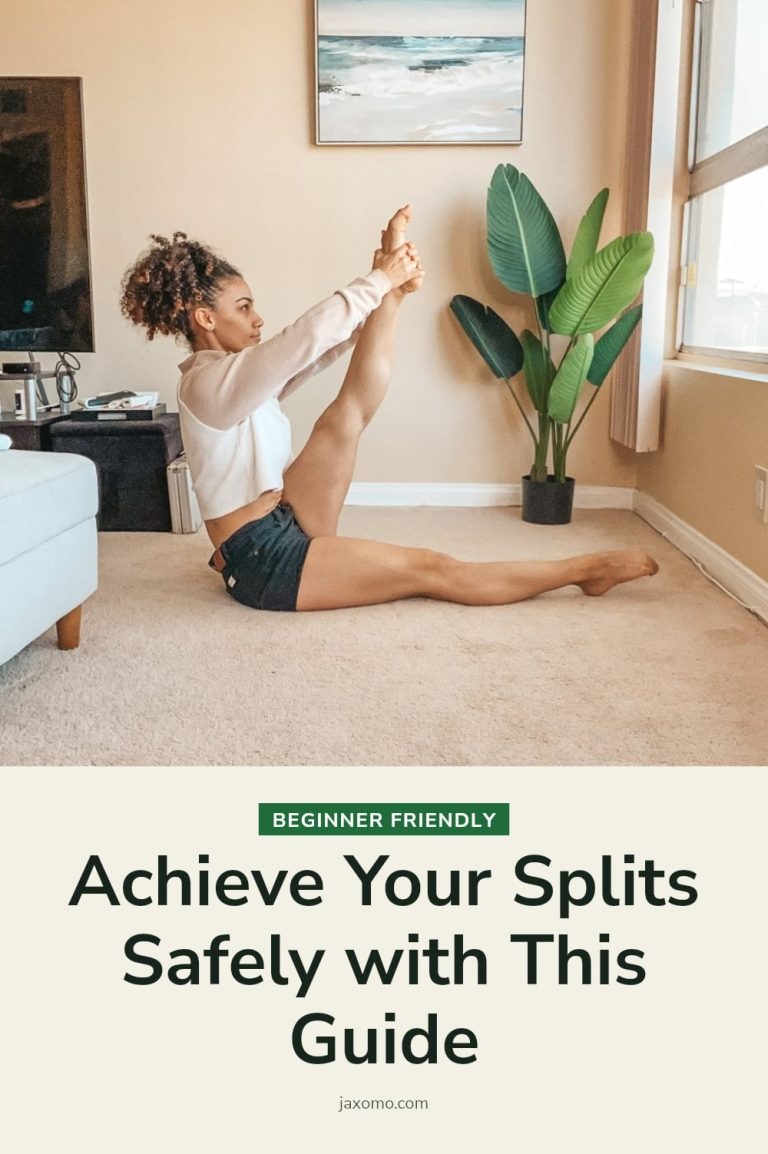
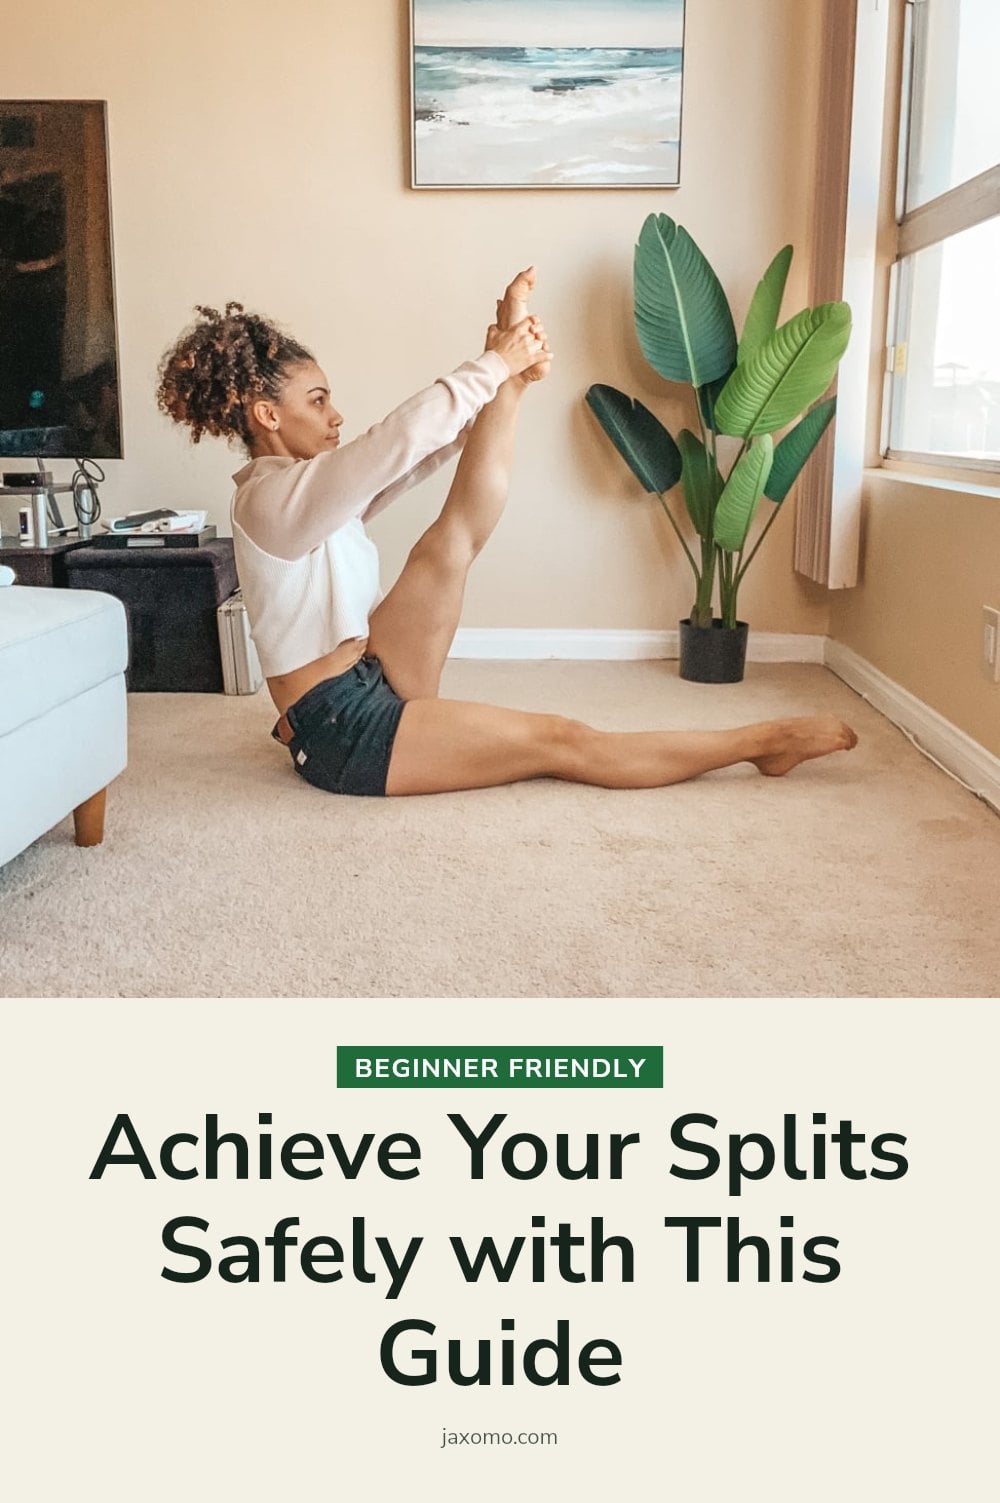
Whether you’re working toward a dance goal or just want to improve your flexibility, learning how to do the splits safely is all about patience and consistency. You don’t need to be naturally bendy to get there, but you do need a smart approach that respects your body’s limits. This article walks you through the essential steps, common mistakes to avoid, and how to track your progress without risking injury.
Key Takeaways
- Always warm up with 5-10 minutes of light cardio before static stretching to reduce injury risk.
- Hold each static stretch for 20-30 seconds without bouncing to safely lengthen muscles.
- Stretch 3-5 times a week for consistent progress rather than infrequent intense sessions.
- Use props like yoga blocks or cushions to support your body and gradually deepen stretches.
- Stop immediately if you feel sharp pain, as it may indicate a muscle tear or strain.
Achieving the Splits: What You Need to Know
Achieving the splits comes down to consistent, gentle stretching of your hamstrings, hip flexors, and inner thighs. Always warm up properly before you start. A few minutes of light cardio gets blood flowing and reduces injury risk. Progress is gradual, so never force a stretch. Pushing too hard can cause muscle strains or tears, which will set you back weeks.
Essential Tools for Your Splits Journey
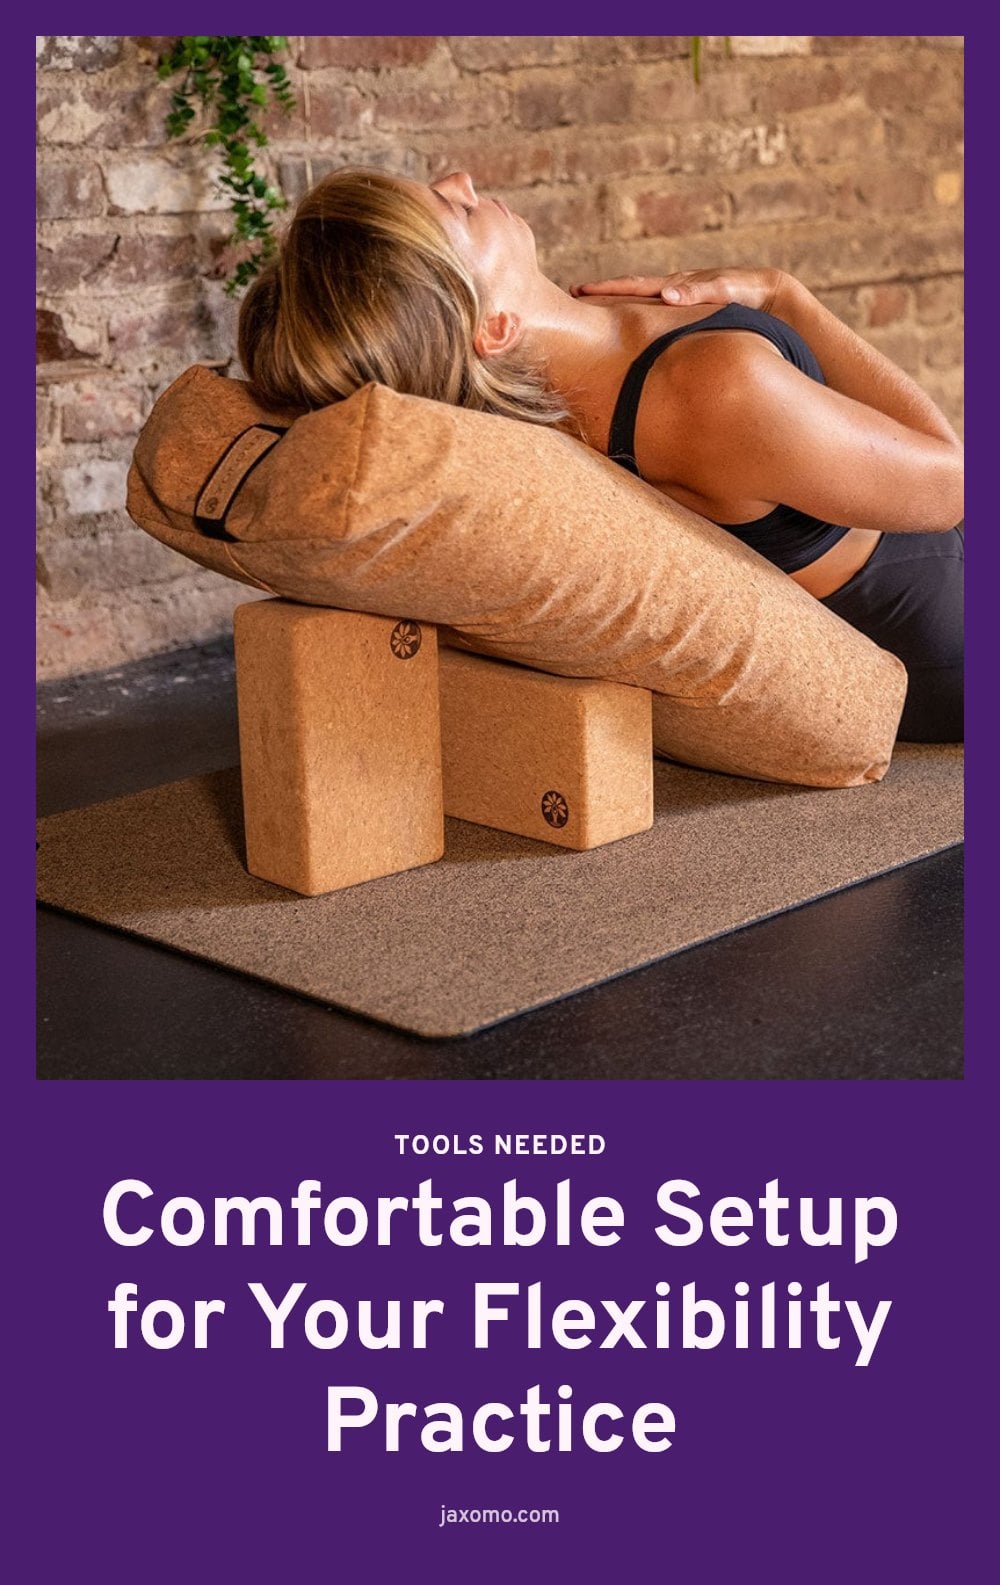
You don’t need much to start, but a few basics make a real difference in comfort and safety.
- Yoga mat: Provides cushioning and grip so you don’t slip as you stretch.
- Yoga blocks or cushions: Offer support under your hips or hands, helping you hold positions longer and deepen stretches safely.
- Comfortable athletic clothing: Allows full range of motion without bunching or restricting your legs.
That’s it. No expensive gear required, just items that help you stay stable and focused.
Your Step-by-Step Guide to Achieving the Splits
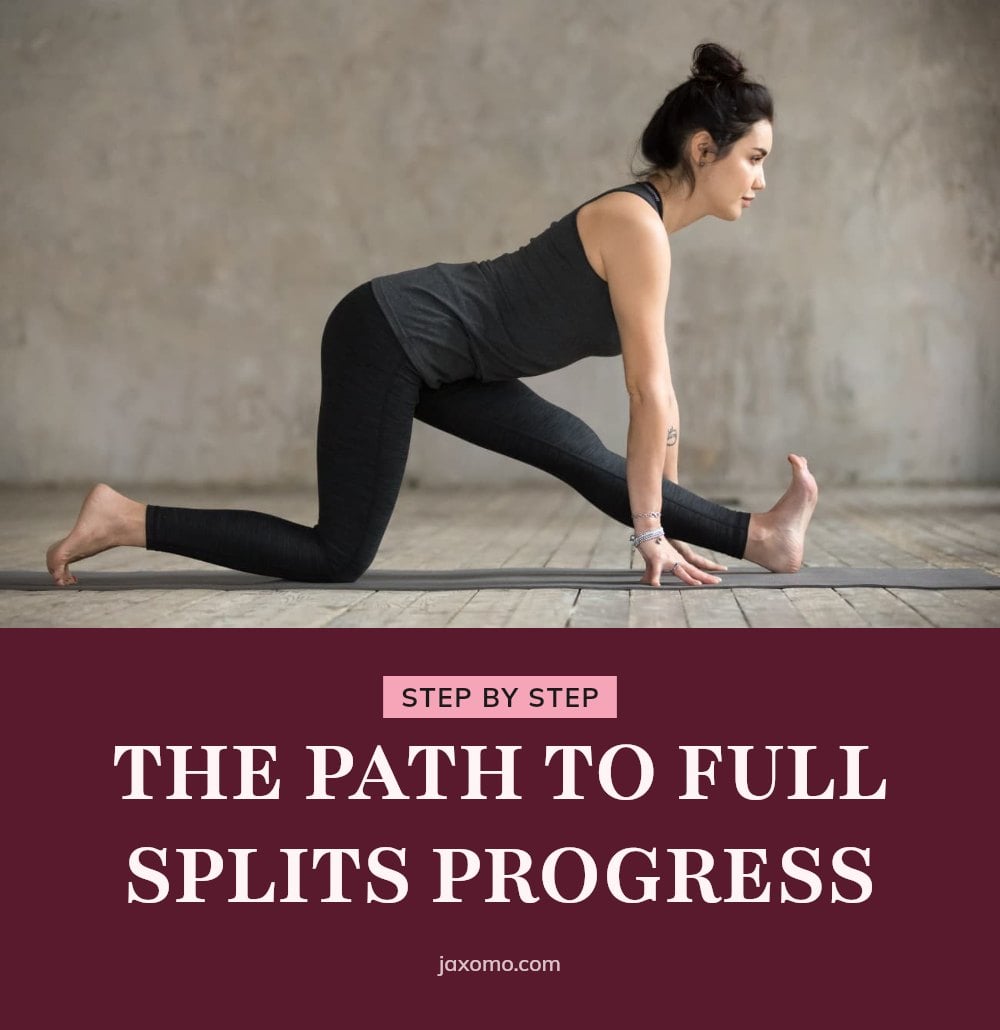
Follow this sequence each session, and you’ll build flexibility safely over time.
- Warm up: Start with 5-10 minutes of light cardio, jogging in place, jumping jacks, or brisk walking. This raises your core temperature and preps muscles for deeper work.
- Dynamic stretches: Do leg swings forward and side to side, hip circles, and walking lunges. These moves wake up the muscles you’ll target without forcing them.
- Static stretches for front splits: Hold a low lunge to open the back leg’s hip flexors, then a seated hamstring stretch for the front leg. Breathe deeply and hold each for 20-30 seconds.
- Static stretches for middle splits: Sit with your legs wide in a straddle, hinge forward from your hips to stretch your inner thighs (adductors). Keep your spine long and hold for 20-30 seconds.
- Use props: Place a yoga block or cushion under your front thigh or hips to support your body as you lower into the split. Over time, reduce the height as flexibility improves.
- Listen to your body: You should feel a gentle pull, never sharp pain. If it hurts, ease off immediately. Forcing a stretch is the fastest way to an injury.
Repeat this routine 3-5 times per week for steady progress.
Understanding Front Splits vs. Middle Splits
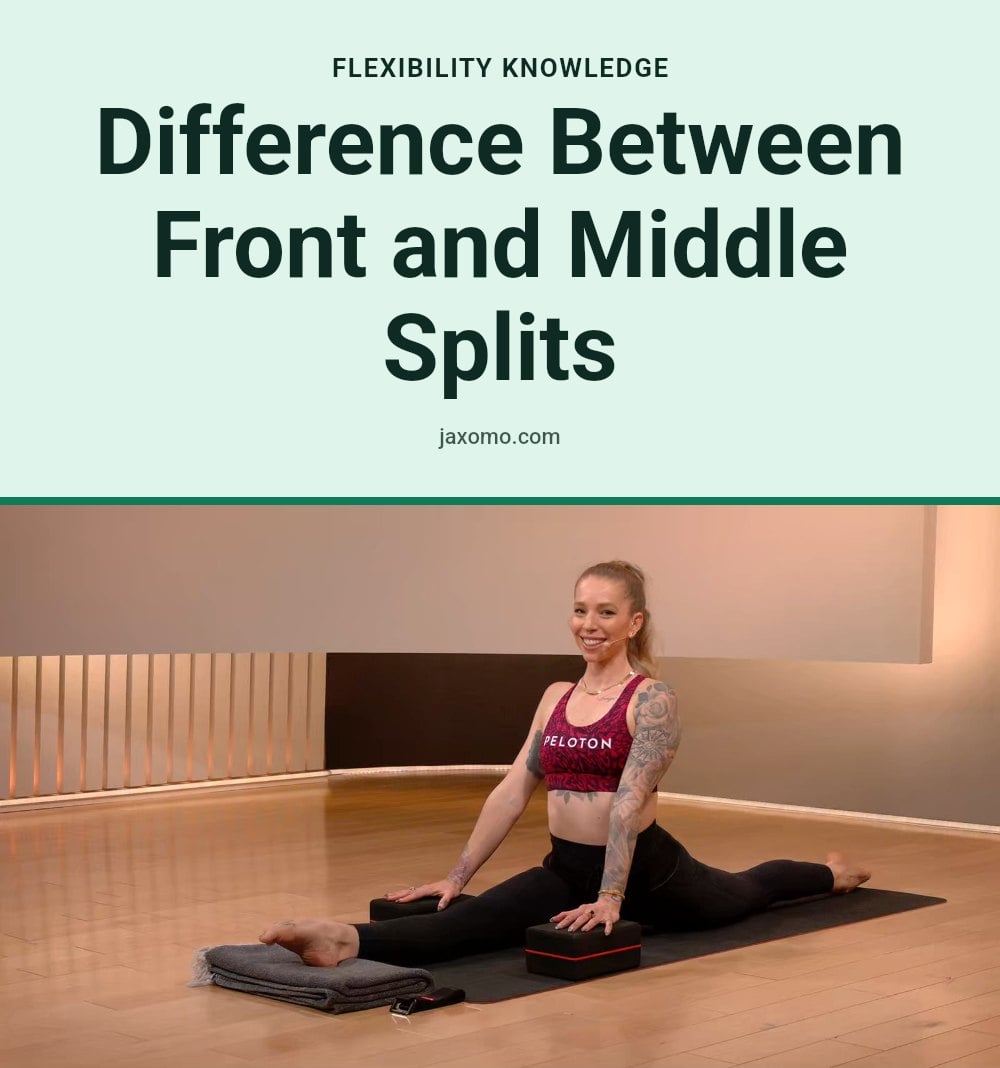
There are two main types of splits, and each targets different muscle groups. Knowing the difference helps you choose the right stretches for your goal.
Front Splits
In a front split, one leg extends forward and the other stretches back behind you. This position primarily works the hamstrings of the front leg and the hip flexors of the back leg. It’s the split most people picture when they think of gymnastics or dance.
Middle Splits
In a middle split, both legs extend out to the sides, forming a straight line. This split focuses on the inner thigh muscles (adductors) and the hamstrings. It requires a different range of motion and often takes a separate training approach.
Most people find one type easier than the other based on their natural flexibility and body structure. Focus on the one that aligns with your goals, but training both can improve overall hip mobility.
Common Mistakes to Avoid When Stretching for Splits
A few common mistakes can stall your progress or cause injuries. Avoid these to keep your stretching safe and effective.
- Stretching cold muscles: Always warm up first with 5-10 minutes of light cardio to increase blood flow and reduce injury risk.
- Bouncing into stretches: This can cause micro-tears in muscles. Use slow, controlled movements and hold the stretch steadily.
- Not holding stretches long enough: Aim for 20-30 seconds per stretch so muscles have time to lengthen effectively.
- Ignoring pain signals: Sharp pain means stop or ease off. Stretching should feel like a gentle pull, not pain.
- Inconsistent stretching: Regularity matters more than intensity. Stretch 3-5 times a week for steady progress.
Top Tips for Improving Flexibility and Reaching Your Splits Goal

These tips will help you stay on track and make the most of each session.
- Consistency is key: Stretch 3-5 times a week. Short, regular sessions beat occasional intense ones.
- Breathe deeply: Steady breathing relaxes your muscles and lets you sink a little deeper into each stretch.
- Stay hydrated: Water supports muscle health and recovery, which can help with flexibility over time.
- Use props wisely: Yoga blocks or cushions provide support and let you gradually increase depth without forcing.
- Listen to your body: Distinguish between a gentle pull and sharp pain. Back off if it hurts.
How Long Does It Take to Achieve the Splits?
Getting your splits can take anywhere from a few weeks to over a year. Your starting flexibility, consistency, and effort matter more than how flexible you are today. Sticking to a regular routine is the biggest factor in how quickly you improve.
There is no direct cost for stretching itself. A yoga mat and a pair of blocks are a small one-time investment that makes sessions more comfortable and effective.
When to Consult a Professional
Listen to your body and know when to get professional help.
- Sharp, sudden pain: Stop stretching and seek medical advice if you feel a sudden sharp pain, as it could indicate a muscle tear.
- Pre-existing conditions: If you have joint or muscle issues, consult a physical therapist before starting a splits routine.
- Pregnancy: Talk to your doctor before doing deep hip stretches if you are pregnant.
- Numbness or tingling: Stop immediately and seek professional guidance if you experience numbness or tingling during stretching.
Frequently Asked Questions
Can I get the splits if I’m not naturally flexible?
Yes, absolutely. Flexibility is something you can build over time with consistent stretching, regardless of your starting point. The most important factors are regular practice, proper warm-up, and patience. Everyone’s timeline is different, but with effort, most people can make meaningful progress.
Should I stretch every day to achieve the splits?
Stretching every day is not necessary and can actually increase your risk of overuse injuries. A better approach is to stretch 3-5 times a week, giving your muscles time to recover and adapt between sessions. Rest days are important for muscle repair and long-term flexibility gains.
What stretches help you get the splits?
For front splits, focus on stretches that target the hamstrings of the front leg and the hip flexors of the back leg, such as lunges and seated forward folds. For middle splits, work on inner thigh stretches like butterfly and wide-legged forward folds. A balanced routine that includes these foundational moves will support your goal.
Is it bad to force yourself into the splits?
Yes, forcing yourself into the splits can lead to muscle strains, tears, or joint instability. Stretching should feel like a gentle pull, never sharp pain. If you feel pain, ease off or stop. Progress comes from consistent, gentle stretching over time, not from pushing past your limits.
Final Thoughts
My tip: Focus on the process, not the end result. Stick with a regular routine of warming up, holding gentle stretches, and using props when needed, and you’ll see steady improvement. Realistically, it can take a few weeks to over a year to achieve full splits, depending on your starting point and consistency. The key is to stay patient and listen to your body every step of the way.
The information in this article is for general informational purposes only and is not a substitute for professional medical advice. Always consult a doctor, physical therapist, or qualified fitness instructor before starting a new stretching or exercise routine, especially if you have pre-existing joint or muscle conditions or are pregnant.