Gua Sha Benefits and Tips for Radiant Skin
Discover the benefits of gua sha for your skin and learn expert tips for a glowing, sculpted complexion. Reduce puffiness and relieve tension naturally.

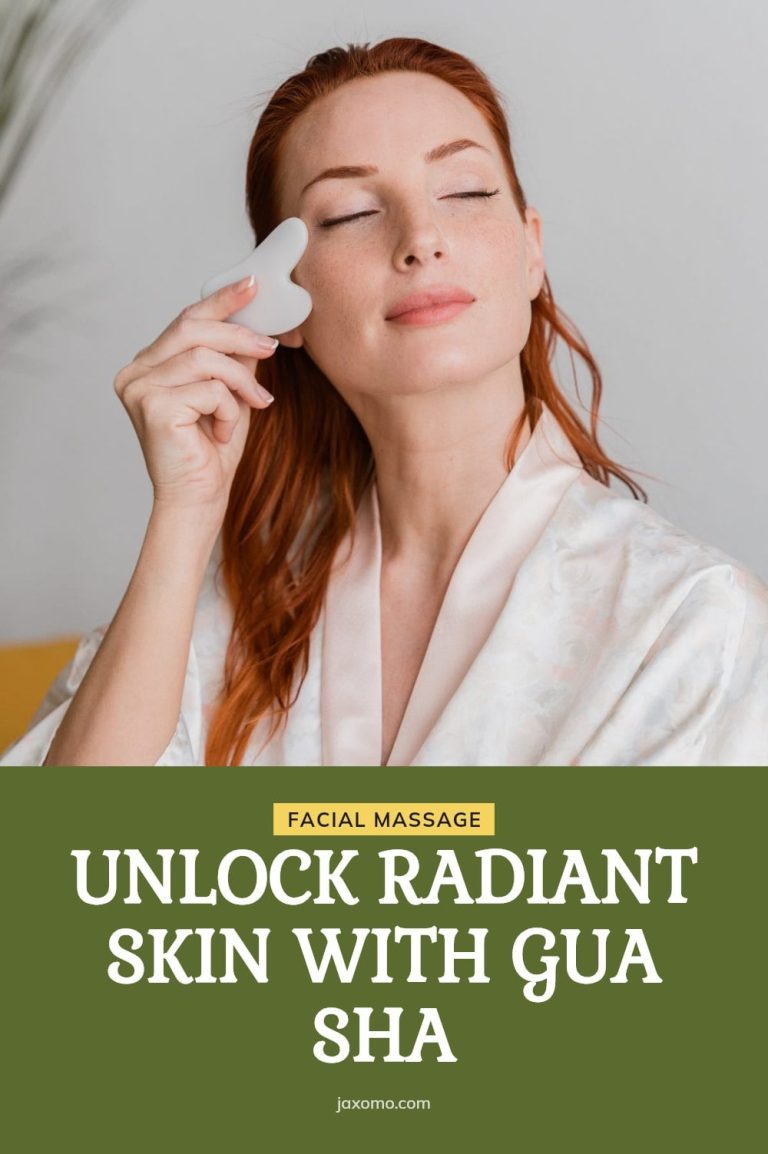
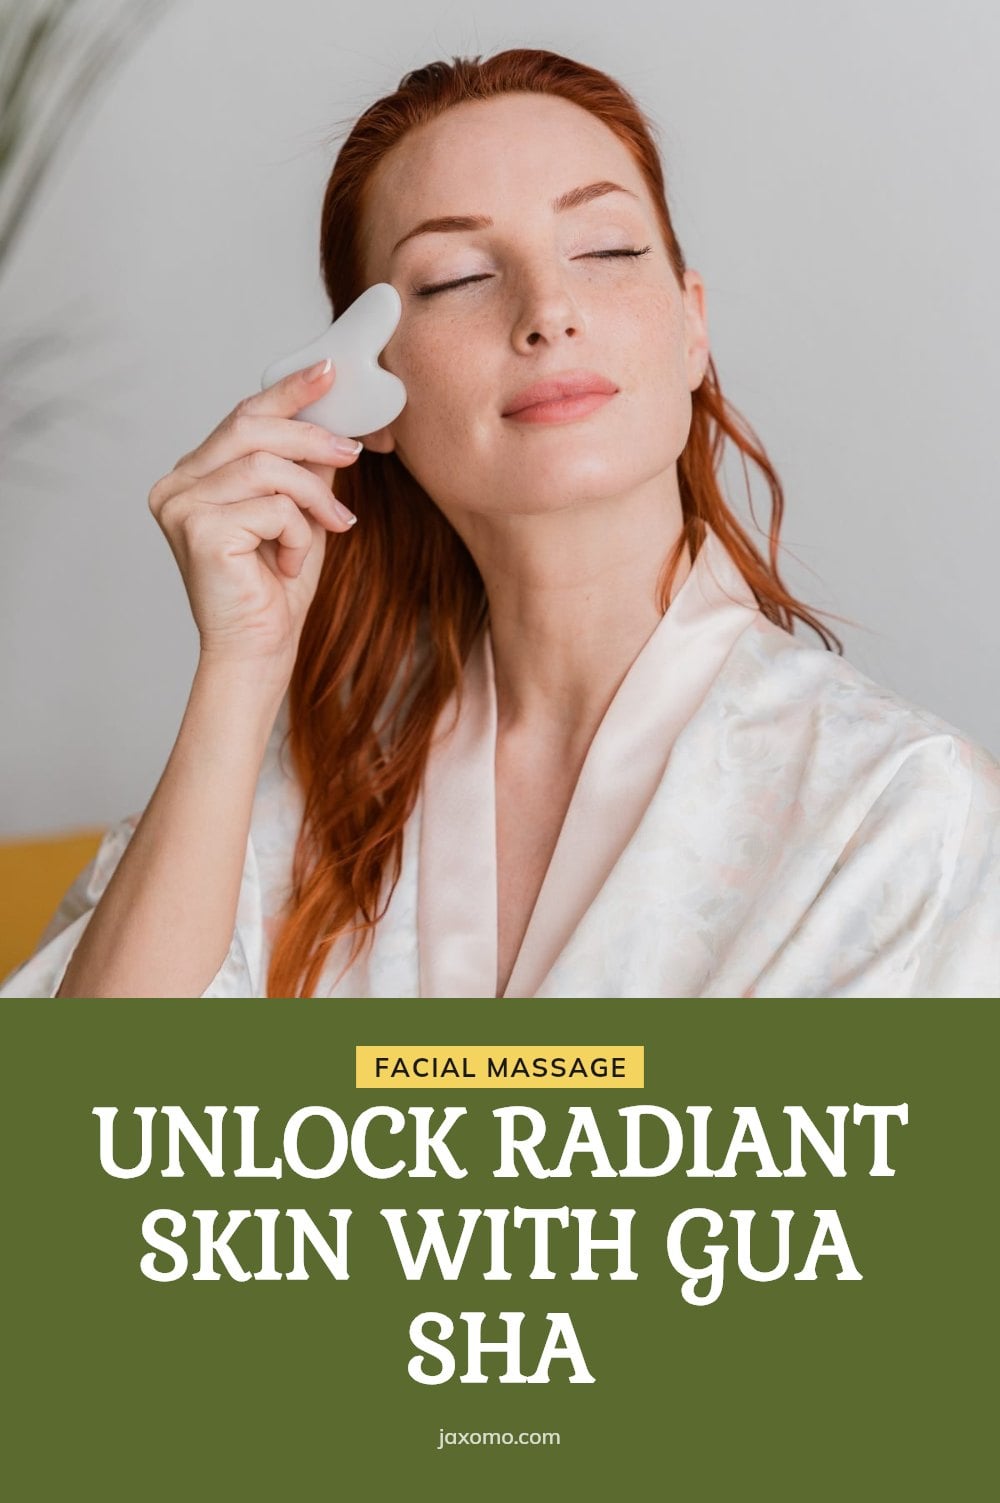
If you’ve been scrolling through skincare routines and wondering what all the fuss is about with those smooth stone tools, you’re not alone. Gua sha is a traditional East Asian technique that’s become a go-to for anyone wanting to boost circulation, ease facial tension, and wake up with less puffiness. This article covers what gua sha is, the key benefits, and how to add it to your routine without the common missteps.
Key Takeaways
- Always apply a facial oil or serum before using gua sha to prevent pulling or irritation.
- Use light to medium pressure and hold the tool at a 15-45 degree angle.
- Stroke upward and outward, repeating each stroke 3-5 times per area.
- Include your neck and décolletage for better lymphatic drainage.
- Clean your gua sha tool before and after each use to avoid breakouts.
What is Gua Sha and How Does It Benefit Your Skin?
Gua sha is a traditional East Asian healing technique, adapted for beauty, that uses a smooth-edged tool to stroke the skin. In a facial routine, it focuses on promoting circulation, reducing puffiness through lymphatic drainage, and relieving facial tension. With regular practice, it can contribute to a more radiant and sculpted appearance over time, making it a favorite addition to natural skincare routines.
1. Always Prep Your Skin with Oil
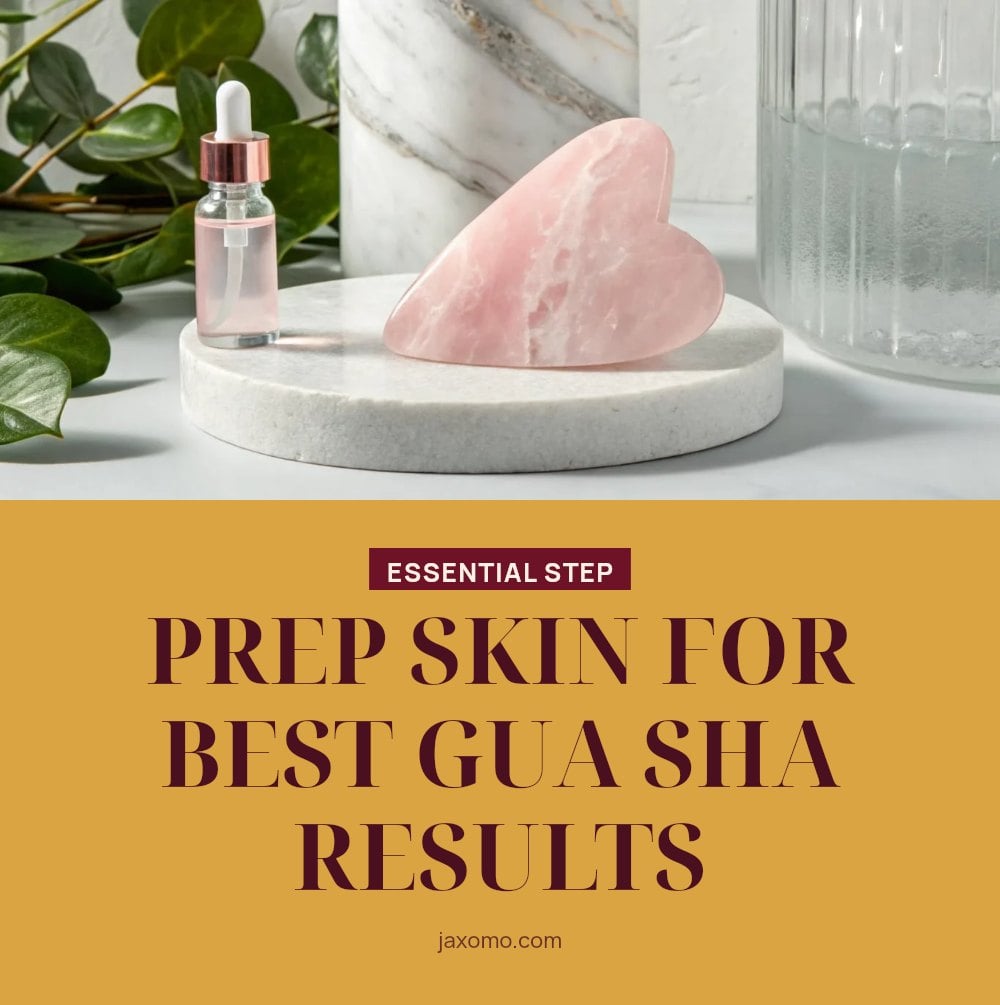
Always apply a generous layer of facial oil or serum before you start. This is crucial because it lets the tool glide smoothly over your skin, preventing pulling and irritation. On dry skin, the tool can drag and cause redness or micro-tears.
My tip: Choose an oil that suits your skin type. A good slip makes all the difference. You want a slick surface, not a tacky one, so test a few textures to find what feels comfortable on your skin.
2. Choose the Right Tool Material
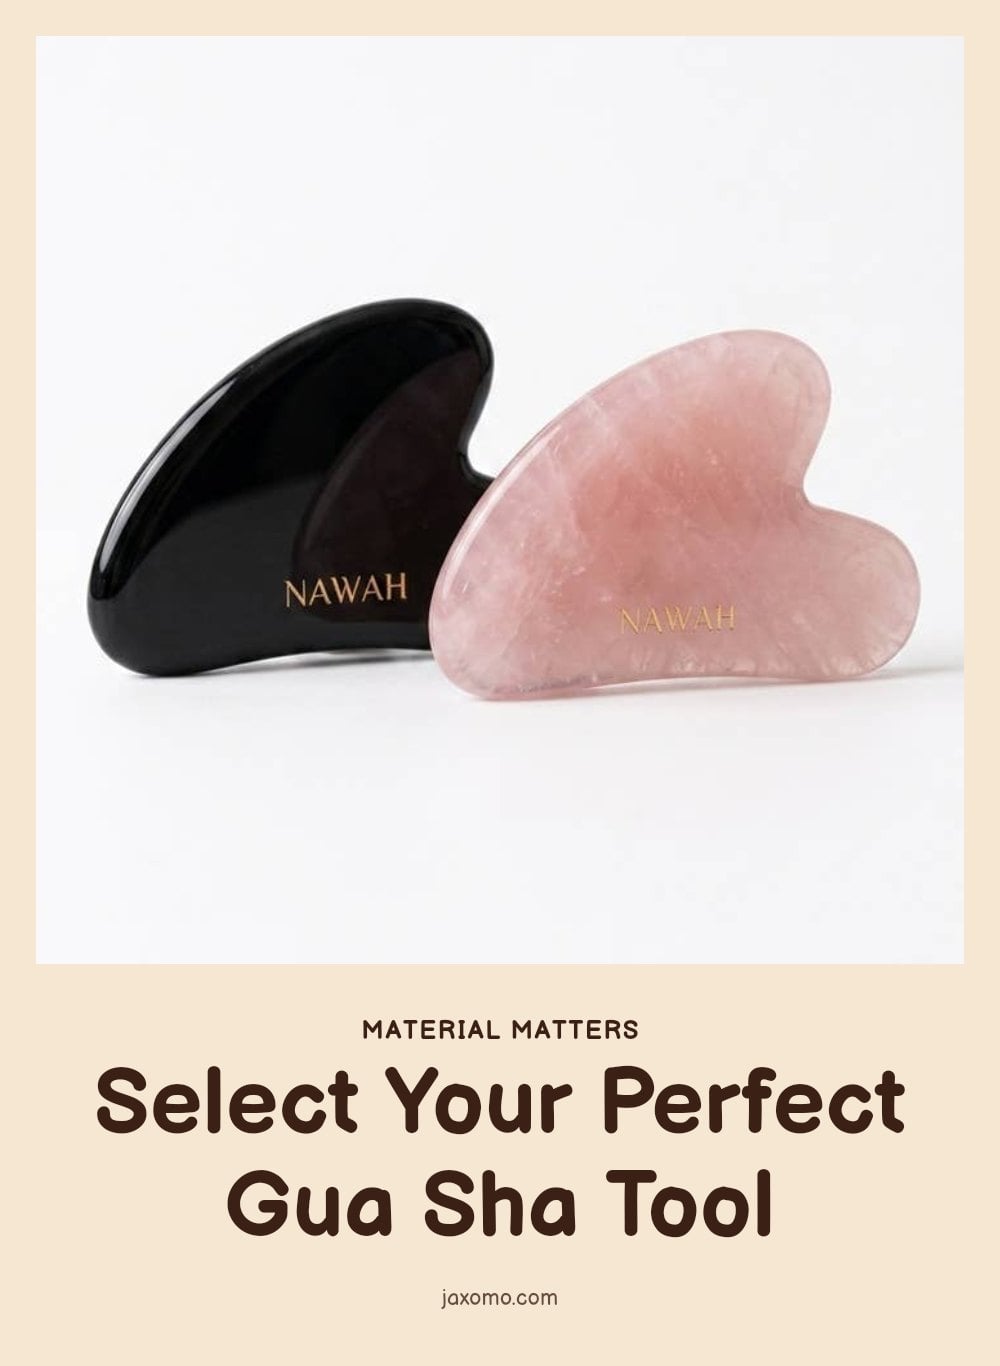
Gua sha tools come in jade, rose quartz, amethyst, or stainless steel. Each material has unique properties: jade is traditionally cooling, rose quartz is believed to promote self-love, and amethyst is said to have calming energy. Stainless steel is durable and non-porous, making it easy to clean.
My tip: Pick one that feels good in your hand and on your skin. The material matters less than your comfort with it.
3. Master the Angle and Pressure
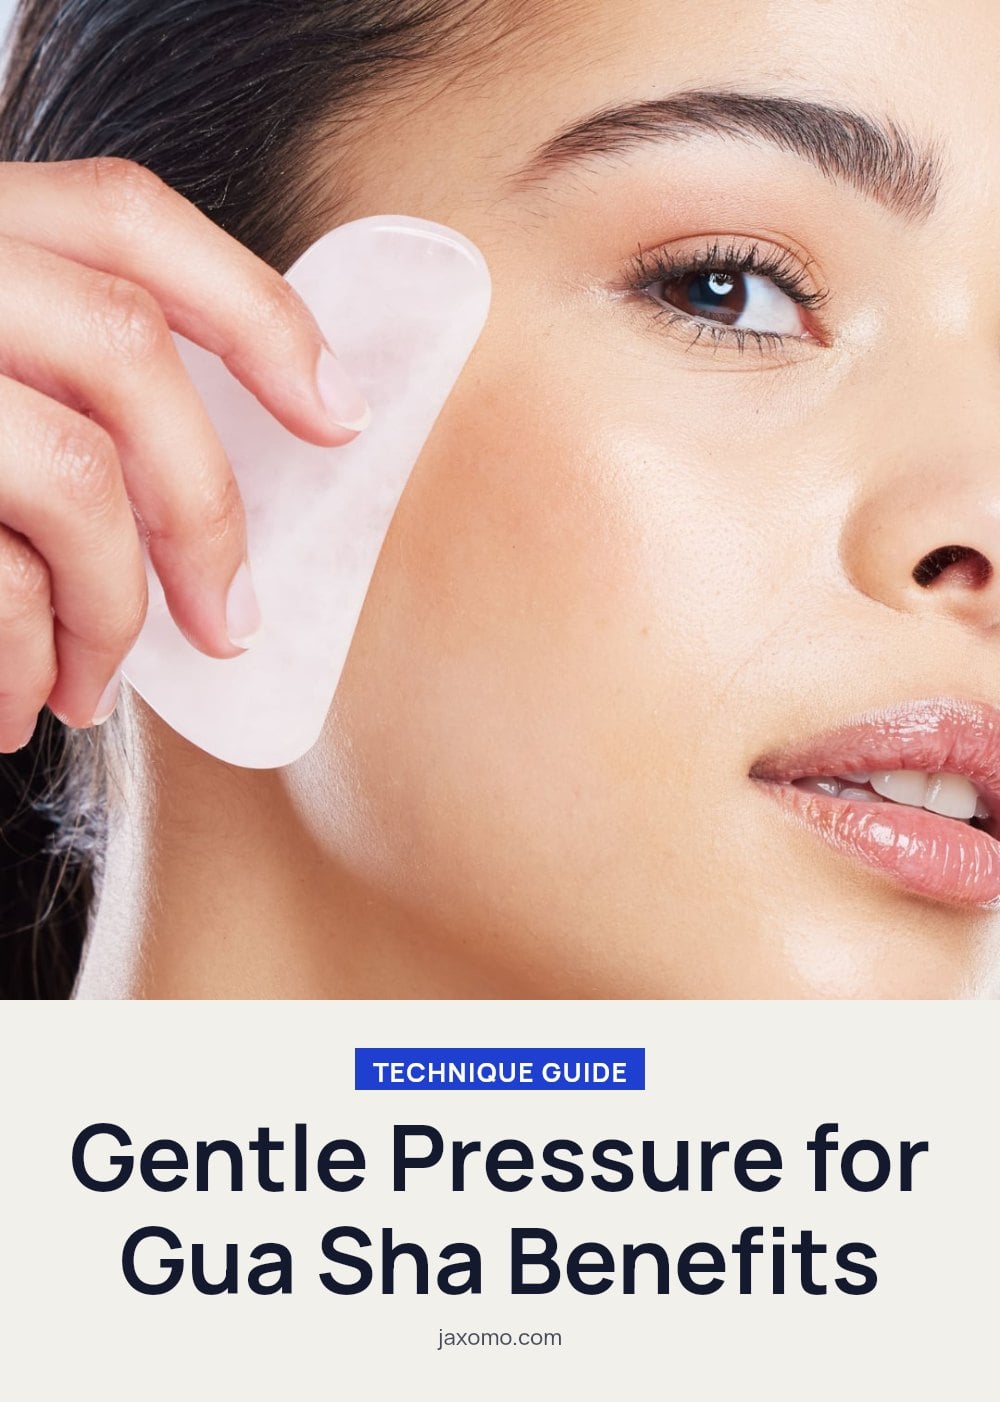
Hold your gua sha tool at a 15-45 degree angle to your skin, almost flat. Use light to medium pressure, especially on your face, to avoid bruising or irritation. Pressing too hard can cause broken capillaries or soreness.
Tip: Facial gua sha is about gentle lymphatic drainage and muscle relaxation, not deep tissue work like traditional body gua sha. If it hurts, you’re pressing too hard.
4. Follow Upward and Outward Strokes
Always move your gua sha tool in upward and outward strokes, following the natural contours of your face and neck. This direction encourages lymphatic drainage and helps lift the skin rather than dragging it down.
Good to know: Think of guiding fluids toward your lymph nodes, which are located near your ears and collarbones. Start at the center of your face and stroke outward, then move from your jawline down your neck.
5. Repeat Each Stroke Consistently
For each area of your face or neck, repeat each stroke 3 to 5 times before moving on. Consistency in repetition is what effectively moves lymphatic fluid and relaxes the underlying muscles.
Pro move: Don’t rush. Take your time with each section for the best results. A full routine should last about 5 to 10 minutes.
6. Don’t Forget Your Neck and Décolletage
Extend your gua sha routine to your neck and décolletage. These areas are crucial for lymphatic drainage and also benefit from tension relief and improved circulation.
Quick tip: Start at your collarbone and work your way up your neck toward your jawline. Use the same upward, outward strokes you use on your face.
7. Clean Your Tool Regularly
Clean your gua sha tool before and after each use with a gentle cleanser and warm water. This prevents bacteria from transferring to your skin, which can lead to breakouts.
Tip: A quick wash with your facial cleanser works perfectly. Dry it with a clean cloth afterward.
8. Use Different Edges for Different Areas
Gua sha tools are shaped with different edges and curves for a reason. The longer, curved edge is designed to sweep across larger areas like your cheeks and along your jawline. Smaller points and notches can target delicate areas like under your eyes or press into acupressure points around your brows.
Good to know: Spend a few sessions just exploring the tool on your face. You will naturally discover which curve fits your cheekbone and which point feels best for releasing a tense spot near your temple.
9. Relieve Facial and Jaw Tension
Facial gua sha is one of the best tools I have found for releasing a tight jaw and tired temples. If you clench your teeth or carry stress in your face, this part of the routine is for you. Focus the tool on the masseter muscle along your jawline and the area just above your temples.
Pro move: If you clench your jaw, a few minutes of gua sha here can feel incredibly relaxing. Use small, slow strokes and let the tool sink into the muscle without rushing.
10. Reduce Puffiness with Lymphatic Drainage
Reducing morning puffiness is one of the most noticeable benefits of gua sha. By encouraging lymphatic drainage, the strokes help move stagnant fluid away from your face and toward your lymph nodes.
Quick tip: I notice a difference in morning puffiness almost instantly when I do this. Focus on the area under your eyes and along your jawline, using those upward and outward motions to guide the fluid out.
11. Boost Microcirculation for Radiance
That post-gua sha glow is not just in your head. Regular practice is believed to increase microcirculation in the skin, which brings oxygen and nutrients to the surface. Improved blood flow supports a healthier, more even complexion over time.
Tip: This is why your skin looks so glowy after a session. It is getting a fresh burst of circulation. A consistent routine, even just twice a week, keeps that radiance building.
Common Gua Sha Mistakes to Avoid
Using on dry skin: This is the most common mistake. Without a generous layer of facial oil or serum, the tool will pull and drag, causing irritation instead of relaxation. Always apply your slip layer first.
Applying too much pressure: Facial gua sha is not deep tissue work. Excessive pressure can cause redness or bruising. Use light to medium pressure, especially on delicate areas like under your eyes.
Using incorrect angles: Holding the tool too perpendicular to your skin makes it ineffective and can feel scratchy. Keep it at a 15-45 degree angle, almost flat against your face.
Not cleaning the tool: A dirty tool transfers bacteria straight back to your skin, which can lead to breakouts. Clean it before and after each use with a gentle cleanser and warm water.
Expecting immediate dramatic results: Gua sha works subtly over time. Consistency is key. You might notice less puffiness after one session, but visible changes in skin radiance and muscle tension usually take a few weeks of regular practice.
Frequently Asked Questions
How often should I do facial gua sha?
Most people practice facial gua sha 2-3 times per week, with each session lasting about 5-10 minutes. Consistency is more important than frequency, so stick with a routine that feels manageable for you.
Can gua sha help with acne?
Gua sha is not recommended for active acne, broken skin, or open wounds, as it can spread bacteria and cause further irritation. However, once breakouts have healed, gentle gua sha may help reduce inflammation and support circulation in the surrounding area.
What’s the difference between jade and rose quartz gua sha tools?
Jade is traditionally known for its cooling properties, while rose quartz is believed to promote self-love and calmness. Both materials work similarly for gua sha, so the choice often comes down to personal preference or the energy you want to invite into your routine.
How long does it take to see results from gua sha?
Some people notice a reduction in puffiness after a single session, but more lasting changes like improved skin tone or reduced tension typically take a few weeks of consistent use. Managing expectations is key, as gua sha is a gentle, cumulative practice.
Is gua sha painful?
Facial gua sha should not be painful. If you feel pain, you are likely using too much pressure or working on an area that is inflamed or sensitive. Stop immediately and adjust your technique, using only light to medium pressure.
Final Thoughts
For the best results, aim for 2-3 sessions per week, each lasting 5-10 minutes. While you might notice a difference in puffiness after just one use, subtle changes in skin tone and tension relief typically appear after a few weeks of consistent practice. Whether you’re looking to sculpt your jawline or simply unwind, gua sha is a calming ritual worth trying.
This article is for informational purposes only and does not constitute medical or professional skincare advice. If you have a persistent skin concern, medical condition, or are unsure about using gua sha, consult a dermatologist or healthcare provider before starting.