How to Get a Sparkling Clean Shower: A Showering Guide
Learn how to clean your shower effectively, from glass to grout. Prevent soap scum, hard water stains, and mildew for a consistently clean showering space.

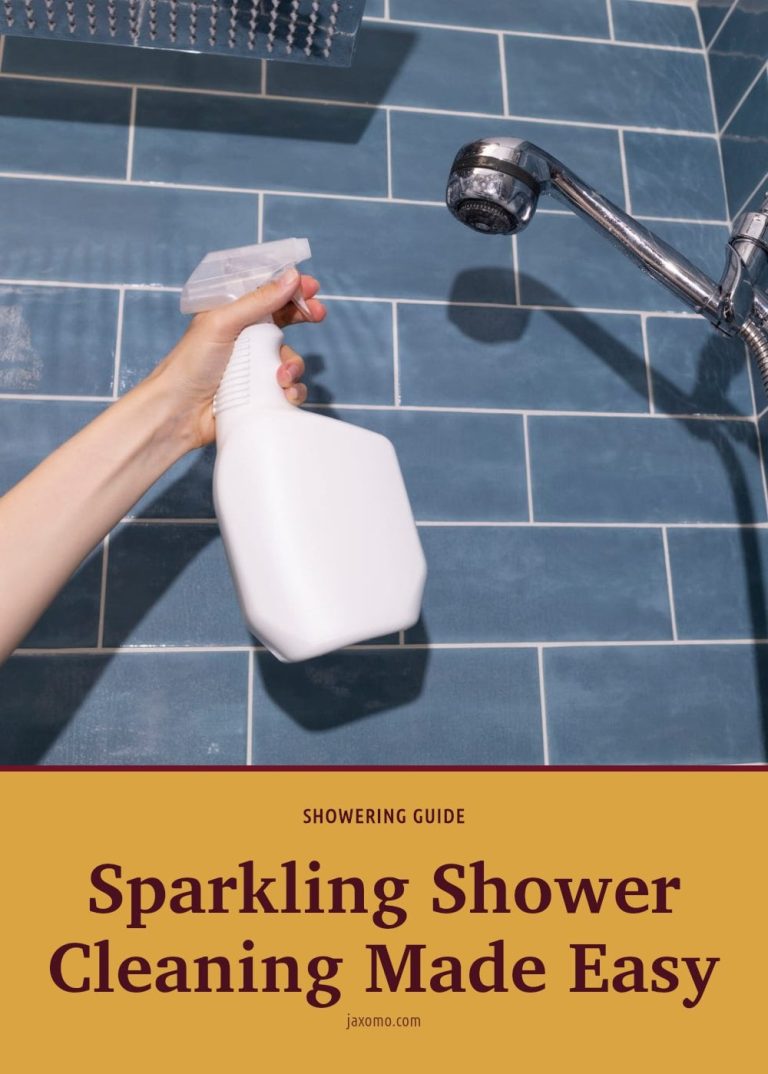
Cleaning a shower doesn’t have to be a dreaded chore. The secret is pairing regular, small habits with the right technique for each surface, whether it’s glass, tile, or grout. Soap scum, hard water spots, and mildew each need a different approach, but once you know the basics, you can keep your shower looking fresh without hours of scrubbing.
This article walks you through a simple, step-by-step deep clean, plus the daily habits that keep buildup away. You’ll also learn how to tackle specific grime, avoid common mistakes, and set a realistic cleaning schedule that works for your home.
Key Takeaways
- Squeegee glass and tiles after every shower to prevent hard water spots.
- Use a weekly DIY vinegar spray (1 cup water, 1 cup vinegar, 1 tsp dish soap) to stop soap scum.
- Deep clean the entire shower weekly or bi-weekly, depending on usage.
- Never mix bleach with ammonia or acidic cleaners like vinegar, toxic fumes can form.
- Seal grout after cleaning to protect it from stains and moisture.
Cleaning Your Shower: The Easy Way
Cleaning your shower effectively comes down to two habits: regular maintenance and using the right approach for each surface. Glass, tiles, and grout all need different care, so matching your tools and cleaners to the material prevents soap scum, hard water stains, and mildew from taking hold. With a squeegee, a microfiber cloth, and a simple DIY spray, you can keep buildup at bay. Consistent cleaning, even a quick weekly wipe-down, makes the deep clean faster and far less labor-intensive.
Gather Your Shower Cleaning Essentials
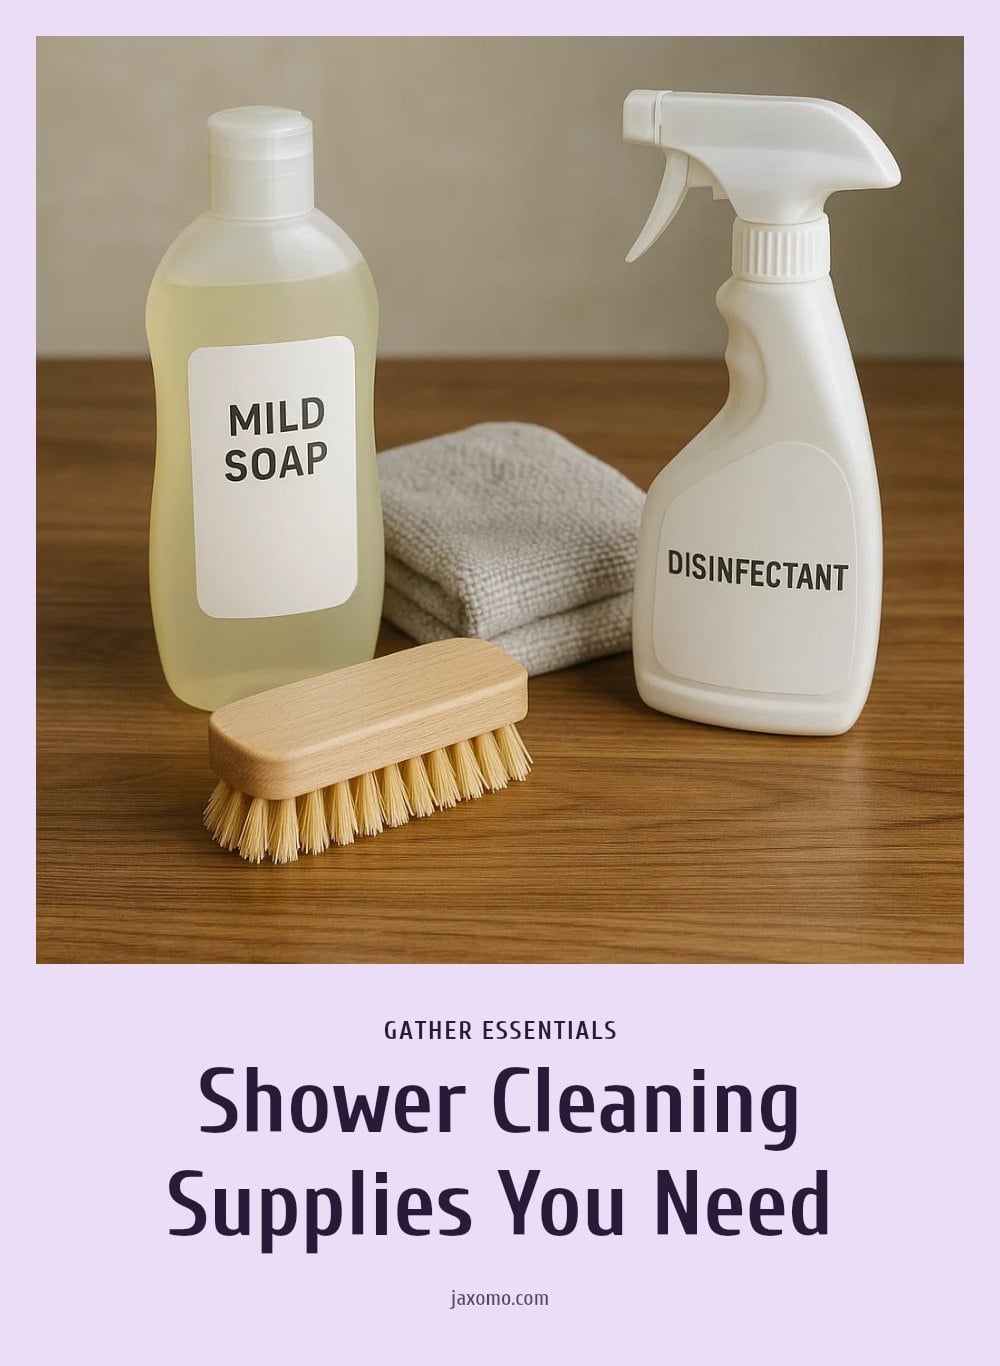
Before you start scrubbing, gather these essentials. Most are probably already in your cabinet.
- Squeegee: For daily glass maintenance, removes water and prevents hard water spots.
- Microfiber cloths: Dry and polish glass and chrome without streaks.
- Stiff-bristled brush or drill brush scrubber: Tackles tough grime on tiles and grout. Soft bristles protect surfaces.
- Spray bottle: For mixing and applying DIY cleaners.
- White vinegar, baking soda, and dish soap: The base for homemade cleaners that dissolve soap scum and mineral deposits.
- Hydrogen peroxide: Kills mildew and whitens grout, but test on colored grout first.
- Optional: Commercial shower cleaner, glass cleaner, or grout sealer for extra protection.
Step-by-Step: Deep Cleaning Your Shower

Follow this method for a thorough clean that handles even stubborn buildup.
- Clear out: Remove all bottles, loofahs, and anything else from the shower and tub. Place them in a bucket or basket.
- Rinse and ventilate: Rinse the tub with a shower head or a larger container of water to wash away loose hair and debris. Open a window or turn on the exhaust fan.
- Apply cleaner: Spray your chosen cleaner evenly from top to bottom. Use a DIY mix of 1 cup water, 1 cup vinegar, and 1 teaspoon dish soap, or a store-bought shower cleaner.
- Let it sit: Allow the cleaner to work for 5 to 10 minutes. Keep the surface wet; if it dries, it can leave streaks or residue.
- Scrub the base: For non-slip tub bases, apply a cream cleanser and scrub with a drill brush or soft-bristled brush.
- Scrub top to bottom: Work in sections, starting at the top and moving down. Use a soft-bristled brush, a scrub sponge, or a drill brush.
- Remove stubborn scum: For soap scum that won’t budge, use a razor blade scraper. Keep the surface wet, use a fresh blade, and scrape slowly with light pressure. Caution: This tool can scratch surfaces if used dry or with too much force; always keep the area wet and apply minimal pressure.
- Rinse thoroughly: Rinse all surfaces with a cup of water, holding it against the surface and lifting the bottom to create an even flow. Continue rinsing until no cleaner remains and the water runs clear.
- Dry and polish: Wipe everything dry with two clean, dry microfiber cloths. This prevents streaks and hard water spots and shines the hardware.
Caution: Never mix bleach with ammonia or acidic cleaners like vinegar, as this creates toxic fumes. Test any new cleaner on a small, inconspicuous area first.
Here is the method in action: Clean That Up demonstrates it in about 8 minutes.
Tackling Specific Shower Grime: Soap Scum, Hard Water, and Mildew
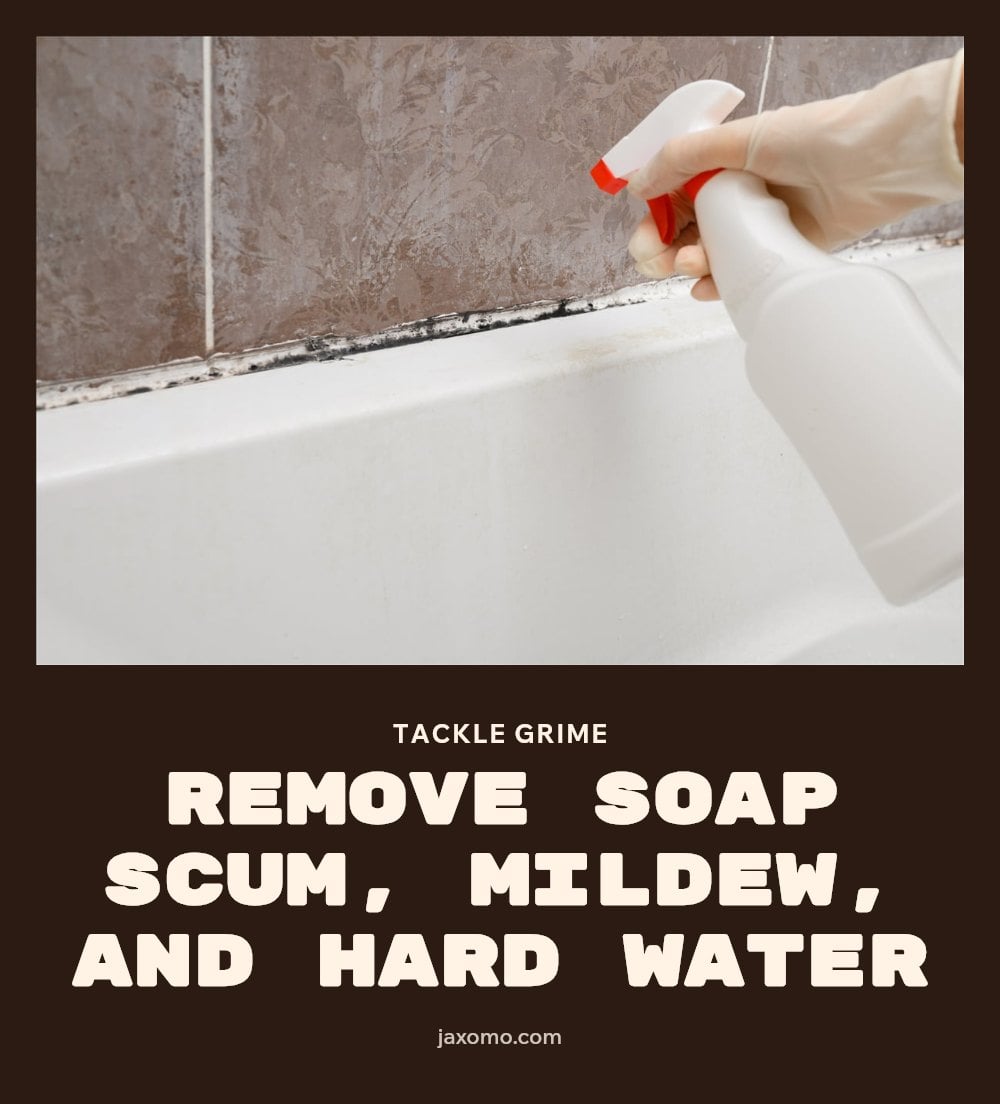
Different types of grime need different treatments. Here’s how to identify and remove them.
Soap Scum
Soap reacts with hard water minerals to form a white, chalky residue. Vinegar dissolves it thanks to its acidity. Spray a 1:1 vinegar and water solution on affected areas, let it sit for a few minutes, then scrub with a soft brush.
Hard Water Stains
These appear as white or cloudy spots left when water evaporates, leaving calcium and magnesium deposits. Vinegar works well here too. For stubborn spots, make a paste of baking soda and vinegar, apply it, let it sit, then scrub gently.
Mildew
This fungus thrives in warm, damp places, especially grout and caulk. Hydrogen peroxide kills mildew and whitens grout. Apply it directly, let it sit for 10 minutes, then scrub with a grout brush. Use caution on colored grout, as it may bleach it.
Pro move: For tough grout stains, mix baking soda and hydrogen peroxide into a paste. Apply, let it sit, then scrub and rinse.
Common Shower Cleaning Mistakes to Avoid
Waiting too long between cleanings: Buildup of soap scum and hard water stains becomes much harder to remove the longer you wait. A quick weekly spray prevents the need for heavy scrubbing later.
Using the wrong cleaning products: Harsh chemicals can etch or streak your tub and tiles. Always test a new cleaner on a small, hidden area first.
Poor ventilation after showering: Moisture left in the air encourages mildew growth. Run the exhaust fan or open a window for at least 15 minutes after every shower.
Neglecting grout lines: Grout is porous and absorbs dirt and moisture, leading to discoloration and mold. Scrub grout with a stiff brush during every deep clean.
Using abrasive tools: Steel wool or hard-bristled brushes scratch glass and tile surfaces. Stick to soft-bristled brushes or a Scrub Daddy/Mommy.
Not rinsing thoroughly: Cleaner residue leaves streaks and can dull surfaces. Rinse until all suds and cleaner are completely gone.
Mixing bleach with ammonia or vinegar: This creates toxic fumes. Never combine cleaning chemicals, and always use them in a well-ventilated space.
Keep Your Shower Cleaner, Longer

Squeegee after every use: Run a squeegee over your glass and tiles right after showering. This removes water droplets that cause hard water spots and soap scum.
Use a daily shower spray: A quick spritz of a DIY vinegar mix (1 cup water, 1 cup vinegar, 1 teaspoon dish soap) after each shower prevents buildup between deep cleans.
Ventilate the bathroom: Turn on the exhaust fan or crack a window after showering. Good airflow reduces the moisture that mildew needs to grow.
Seal your grout: Applying a grout sealer creates a protective barrier that repels stains and moisture. This makes future cleaning much easier and keeps grout looking fresh longer.
Weekly maintenance spray: Once a week, spray down the entire shower with the DIY vinegar mix and wipe it dry with a microfiber cloth. This stops grime from building up in the first place.
How Often to Clean Your Shower
Daily: Squeegee glass and tiles after each shower. Run the exhaust fan or open a window to dry out the space.
Weekly: Spray all surfaces with a daily shower cleaner or DIY vinegar mix. Wipe with a microfiber cloth to prevent soap scum from settling.
Bi-weekly or monthly: Perform a full deep clean. Remove all items, apply cleaner, let it sit for 5-10 minutes, scrub tiles and grout, rinse thoroughly, and dry with clean microfiber cloths. This process takes about 30 minutes from start to finish.
Cost: Most cleaning supplies are inexpensive. DIY solutions using vinegar, baking soda, and dish soap cost very little, making regular maintenance affordable.
Frequently Asked Questions
How often should I deep clean my shower?
Deep clean the entire shower once a week or every two weeks, depending on how much you use it and how quickly buildup appears. Daily habits like squeegeeing and a quick spray will stretch the time between deep cleans. If you notice soap scum or mildew starting to form, it’s time for a thorough scrub.
Can I use bleach to clean my shower?
Bleach can kill mildew and whiten grout, but it’s harsh and can damage certain surfaces, especially colored grout or natural stone. It’s safer to use a vinegar-based cleaner for soap scum and mineral deposits. If you do use bleach, never mix it with ammonia or acids, and always ventilate the room well.
What causes pink slime in the shower?
Pink slime is usually caused by a bacteria called Serratia marcescens, which thrives in damp, soapy environments. It’s common in showers that aren’t dried regularly. To prevent it, squeegee after every use and run the fan to dry the space. A weekly vinegar spray helps keep it from forming.
How do I prevent hard water spots on my shower glass?
The best way to prevent hard water spots is to squeegee the glass after every shower, removing the water before it evaporates and leaves mineral deposits. You can also use a daily spray with a vinegar solution to break down any residue. For stubborn spots, a microfiber cloth with a little vinegar will polish them away.
Is it safe to mix cleaning products?
No, never mix different cleaning chemicals. Bleach with ammonia or acidic cleaners like vinegar can create toxic fumes that are dangerous to inhale. Always use one cleaner at a time, and if you need to switch, rinse the surface thoroughly first. Test any new product on a small area before using it broadly.
Final Thoughts
For a truly clean shower, make the daily squeegee and weekly spray your non-negotiables. They take only a few minutes and save you from heavy scrubbing later. When it’s time for a deep clean, follow the step-by-step method: clear out, rinse, apply cleaner, let it sit, scrub, rinse, and dry with microfiber cloths. Stick to that routine, and you’ll see buildup stay away longer.
Expect a deep clean to take about 30 minutes once a week or every two weeks. The result is a shower that looks and feels fresh, with less effort over time. Start with one deep clean, then build the daily habits from there.