Jump Rope for Beginners: How to Start and a 10-Minute Workout
Learn how to jump rope for beginners with proper technique and a simple 10-minute workout. Improve cardio, coordination, and burn calories effectively.

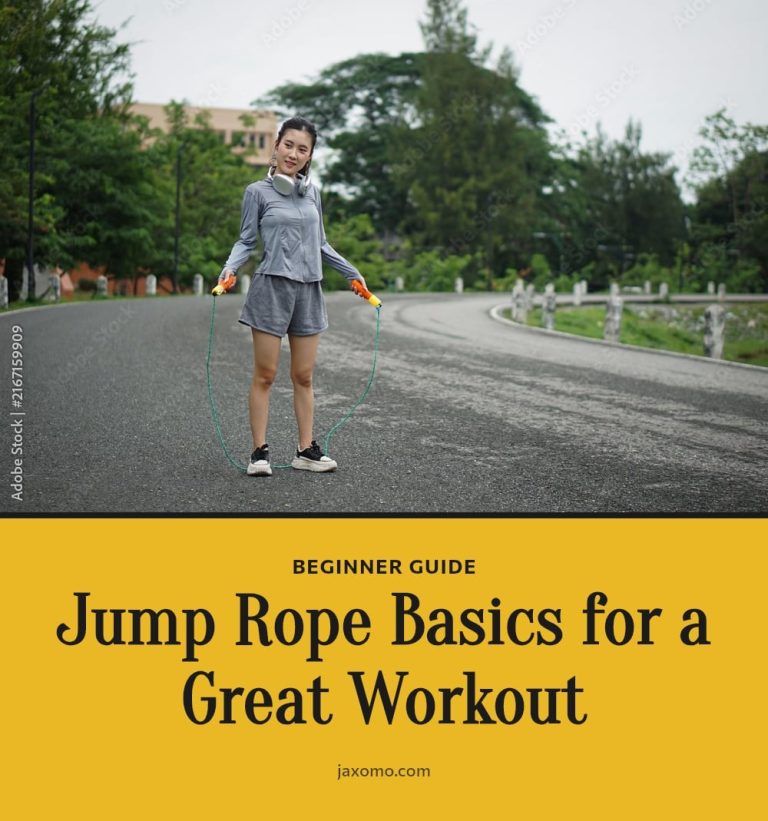
Jump rope is one of the most efficient cardio workouts you can do at home with almost no equipment. Whether you want to burn calories, improve coordination, or just find a fun way to move more, starting with the right technique makes all the difference. This article covers the essential gear, proper form, a beginner-friendly warm-up and cool-down, and a simple weekly plan to get you jumping safely.
Key Takeaways
- Choose a rope where the handles reach your armpits when you stand on the middle.
- Start with 30-second intervals of jumping followed by 30 seconds of rest.
- Keep your elbows close and rotate the rope mainly with your wrists.
- Land softly on the balls of your feet with slightly bent knees.
- Jump on a forgiving surface like a mat or wood floor to reduce impact.
Essential Gear for Your Jump Rope Journey
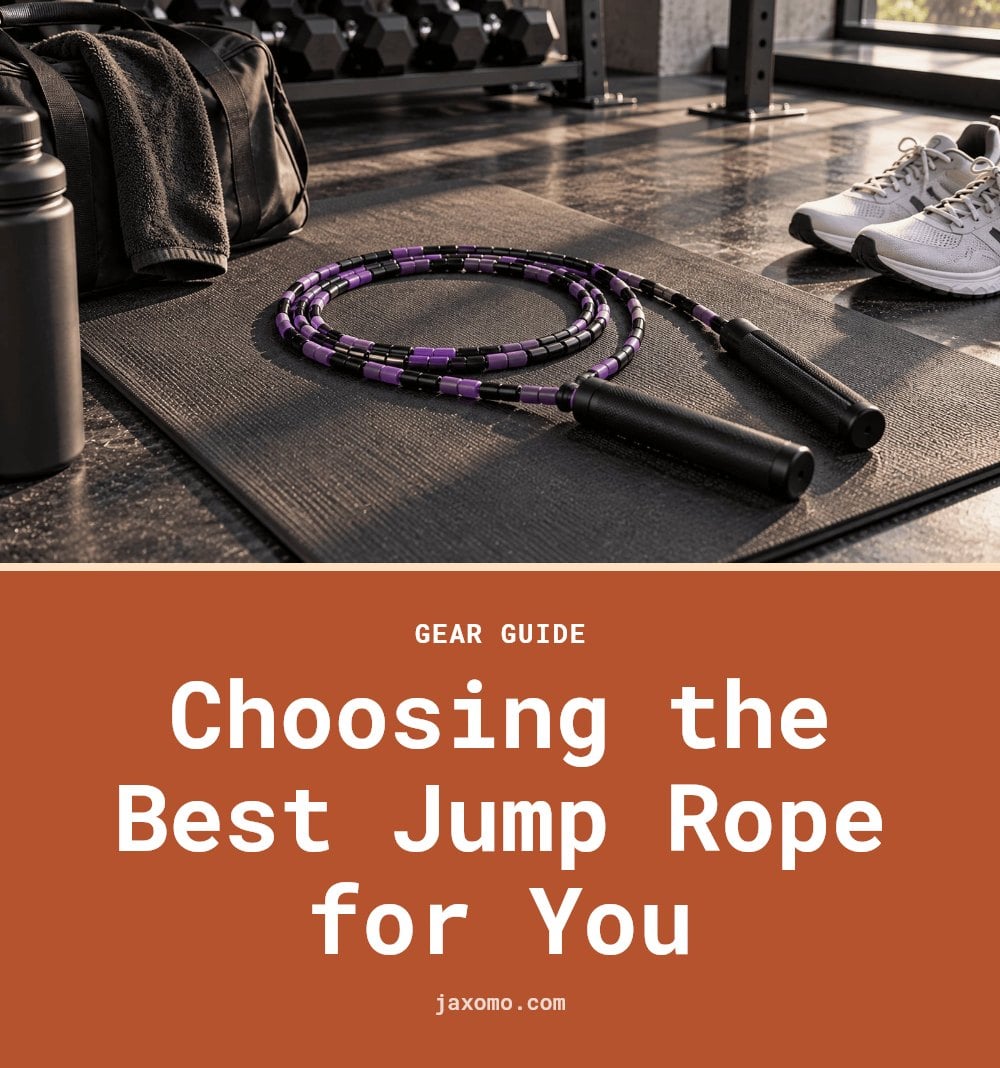
Before you start jumping, you need three things: a rope that fits, good shoes, and a forgiving surface. The most common beginner mistake is using the wrong rope length. To check, stand on the middle of the rope and pull the handles up. They should reach your armpits. A rope that’s too long will trip you; one that’s too short makes you hunch.
Wear supportive athletic shoes with cushioning to protect your feet and joints from repeated impact. A workout mat is optional but helpful if you’re jumping on concrete or tile. It adds a layer of shock absorption that your knees will thank you for.
1. Warm-Up: Arm Circles
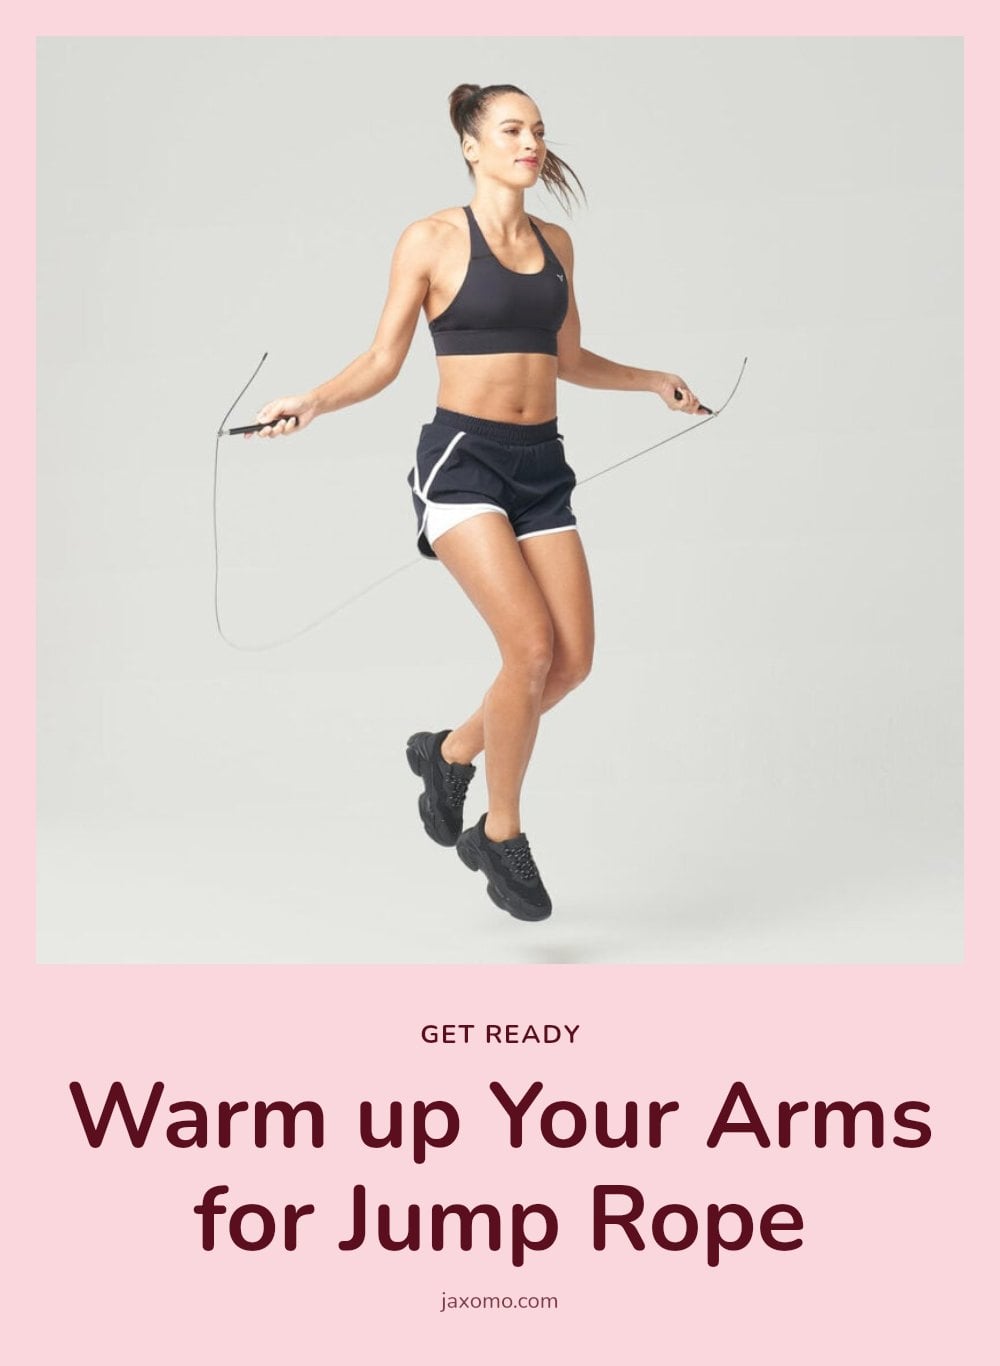
Warming up prepares your shoulders and arms for the repetitive motion of turning the rope. Start with arm circles to increase blood flow and loosen the joints.
- Time: 30 seconds forward, then 30 seconds reverse
- Form cue: Keep your torso still and move only your arms from the shoulders
- Make it easier or harder: Start with larger circles for a gentler warm-up; make them smaller and faster to increase intensity
2. Warm-Up: Leg Swings
Leg swings wake up your hips and hamstrings, which are key for the small hopping motion in jump rope. Hold onto a wall or chair for balance, then swing one leg forward and back in a controlled arc.
- Time: 30 seconds per leg
- Form cue: Keep your core tight and your standing leg slightly bent to maintain stability
- Make it easier or harder: Reduce the range of motion if you feel tight; increase the swing height for a deeper stretch
3. Basic Jump Rope Technique
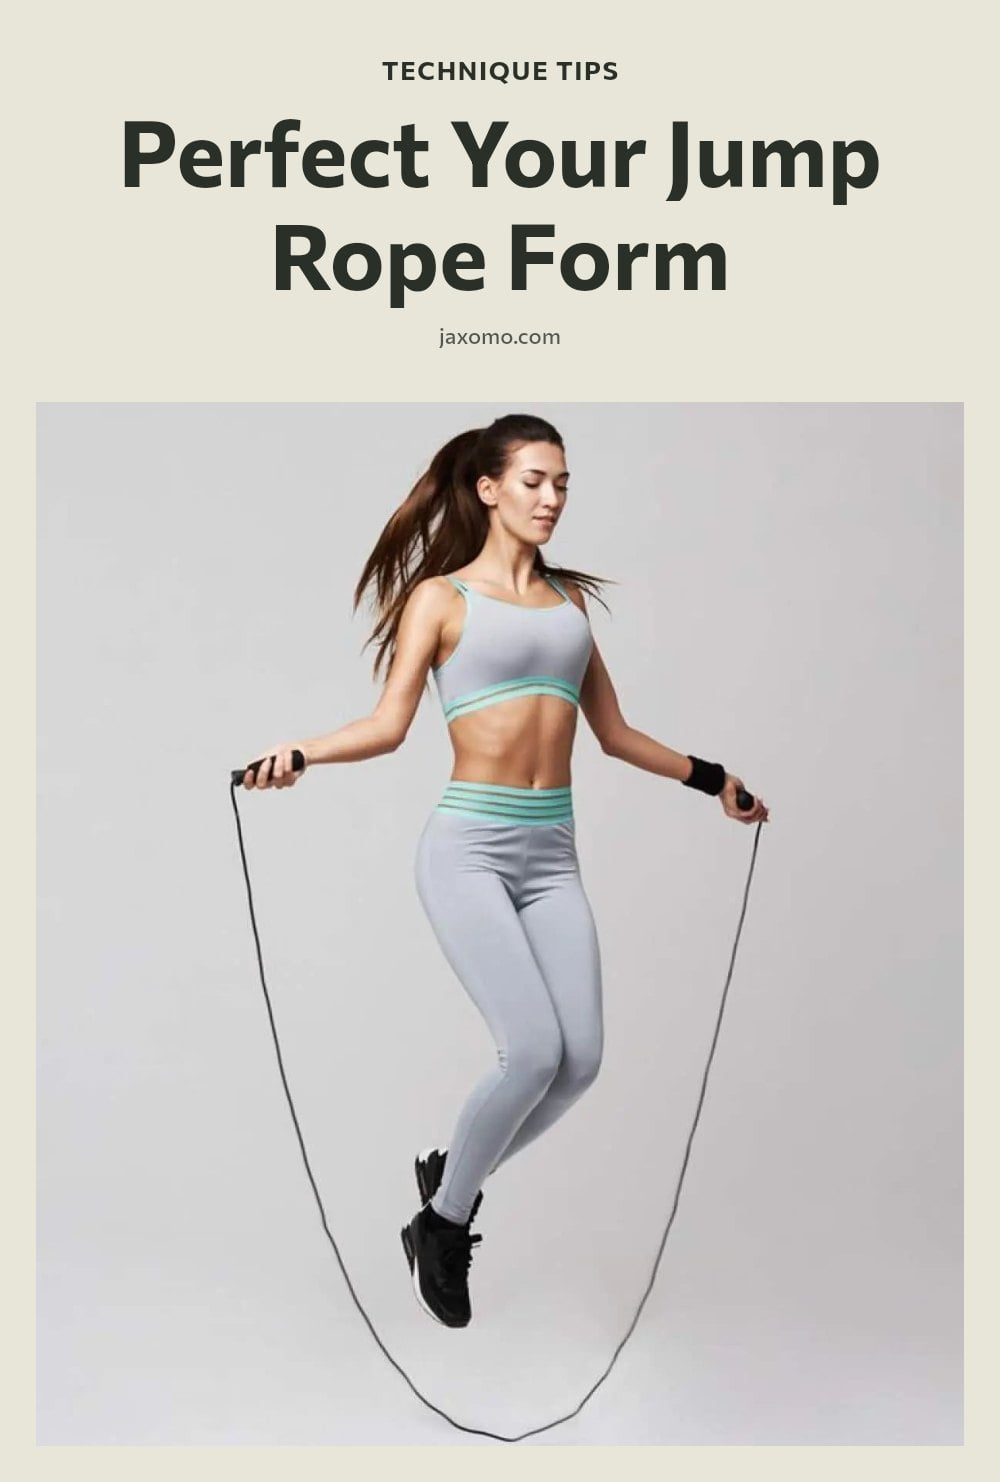
Good technique makes jumping feel lighter and keeps you from getting tangled. Start with the rope behind you, handles at hip height, and your elbows tucked close to your ribs. Rotate the rope using only your wrists. Your shoulders and upper arms should stay almost still. Jump just high enough to clear the rope, landing softly on the balls of your feet with your knees slightly bent to absorb the impact.
- Time: Practice for 30 seconds, then rest 30 seconds
- Form cue: Look straight ahead, not down at your feet, to keep your spine aligned
- Make it easier or harder: Slow the rope rotation to focus on form; once consistent, speed up gradually
4. Two-Foot Basic Jump
Stand with the rope behind you, both feet together. Rotate the rope with your wrists and jump just high enough to clear it, landing softly on the balls of your feet with your knees slightly bent. Keep your hops small and consistent, aiming for a steady rhythm.
- Time: 30 seconds jumping, then 30 seconds rest. Repeat for 3-5 rounds.
- Form cue: Keep your elbows close to your sides and your gaze straight ahead, not at your feet.
- Make it easier: Jump without the rope first to practice the rhythm. Make it harder: Increase jumping time to 45 seconds, or reduce rest to 15 seconds.
5. Alternate Foot Jump
Once you’re comfortable with the two-foot basic jump, try shifting your weight from one foot to the other with each rope rotation, as if jogging in place. This variation builds coordination and challenges your balance. Keep your core engaged and maintain a light, bouncy step.
- Time: 30 seconds jumping, then 30 seconds rest.
- Form cue: Land softly on the ball of each foot, keeping your knees slightly bent.
- Make it easier or harder: Slow the rope speed to find your rhythm, or increase your pace once the movement feels smooth.
6. Side-to-Side Jump
From the two-foot basic jump, add lateral movement. With each rope rotation, hop both feet a few inches to the left, then on the next rotation hop to the right. Keep the shift small and controlled, focusing on quick, light footwork. Jump for 30 seconds, then rest for 30 seconds.
- Time: 30 seconds jumping, 30 seconds rest. Repeat 3-5 rounds.
- Form cue: Keep your upper body still and let your feet do the work.
- Make it easier: Slow down the rope speed and take a wider hop.
- Make it harder: Increase the speed of your hops or jump for 45 seconds with 15 seconds rest.
7. Cool-Down: Calf Stretches
To stretch your calves after jumping, stand facing a wall and place your hands on it at shoulder height. Step one foot back, keeping that heel pressed into the floor. Bend your front knee and lean forward until you feel a gentle pull in the back of your lower leg. Hold for 20-30 seconds, then switch legs.
- Time: 20-30 seconds per leg, repeat once if needed.
- Form cue: Keep your back leg straight and the heel down the whole time.
- Make it easier or harder: Step the back foot farther away for a deeper stretch, or closer for a milder one.
8. Cool-Down: Quad Stretches
Cooling down helps prevent stiffness and keeps your legs ready for your next session. To stretch your quads, stand tall and hold onto a wall or chair for balance if you need it. Grab your right ankle with your right hand and gently pull your heel toward your glutes, keeping your knees together. Hold for 20 to 30 seconds, then switch legs. You should feel the stretch along the front of your thigh.
- Time: 20 to 30 seconds per leg
- Form cue: Keep your standing leg slightly bent and your hips tucked under to avoid arching your back
- Make it easier: Loop a towel or strap around your ankle if you can’t reach it comfortably
Your Beginner Jump Rope Weekly Plan
Consistency builds skill and fitness faster than long, irregular sessions. Start with 3 to 5 jump rope sessions per week, and always include a rest day between workouts. Begin each session with the warm-up, then jump for 30 seconds followed by 30 seconds of rest. Repeat that cycle for a total of 10 minutes. As your stamina improves, gradually increase the jumping time to 45 or 60 seconds per interval, or add an extra minute to your total workout. The goal is steady progress, not speed.
| Day | Workout | Total Time |
|---|---|---|
| Monday | Jump 30 sec, rest 30 sec x 10 rounds | 10 min |
| Tuesday | Rest or light walking | |
| Wednesday | Jump 30 sec, rest 30 sec x 10 rounds | 10 min |
| Thursday | Rest or light walking | |
| Friday | Jump 30 sec, rest 30 sec x 10 rounds | 10 min |
| Saturday | Optional: jump 30 sec, rest 30 sec x 10 rounds | 10 min |
| Sunday | Rest |
Common Jump Rope Mistakes to Avoid
Even small form errors can make jumping harder on your body and less efficient. Here are the most common beginner mistakes and how to fix them.
- Wrong rope length: If you stand on the middle of the rope, the handles should reach your armpits. A rope that is too long or too short will trip you up.
- Jumping too high: You only need to lift your feet enough to clear the rope. High jumps waste energy and increase impact on your joints.
- Swinging your arms widely: Keep your elbows close to your body and rotate the rope mostly with your wrists. Big arm movements tire you out faster and throw off your rhythm.
- Landing flat-footed or with stiff knees: Land softly on the balls of your feet with your knees slightly bent. This absorbs shock and protects your ankles and knees.
Frequently Asked Questions
Is jumping rope bad for your knees?
Jumping rope can be low impact on the knees when done with proper form, meaning you land softly on the balls of your feet with bent knees. Jumping on a forgiving surface like a mat or grass also helps. If you have existing knee issues, consult a doctor before starting and stop if you feel sharp pain.
What kind of shoes are best for jumping rope?
Supportive athletic shoes with good cushioning are best for jump rope. Look for cross-trainers or running shoes that provide shock absorption and lateral support. Avoid shoes with very thin soles or those that are worn down, as they won’t protect your feet and joints during repetitive impact.
Can jumping rope help with weight loss?
Yes, jumping rope can help with weight loss because it burns a significant number of calories in a short amount of time, similar to running. Combined with a balanced diet and consistent practice, it can be an effective part of a weight management plan. Start with short sessions and gradually increase duration.
What is the best jump rope for beginners?
An adjustable speed rope or a beaded rope is often recommended for beginners. Speed ropes are lightweight and allow for fast rotations, while beaded ropes provide more feedback and are easier to control. The most important factor is choosing a rope that fits your height correctly.
Final Thoughts
My tip: stick with three to five sessions per week, even if each one is only 10 minutes. Consistency builds skill and stamina faster than sporadic longer workouts. Expect to see noticeable improvements in your coordination and cardiovascular fitness within a few weeks. Jump rope is a simple, effective tool to add to your routine, so grab a rope and give it a try.
This article provides general fitness information and is not a substitute for professional medical advice. Consult your doctor before starting any new exercise program, especially if you have pre-existing health conditions or joint concerns. Stop immediately if you experience sharp pain and seek guidance from a qualified professional.